Creating a DIY dartboard surround from cork is a fantastic way to protect your walls and add a touch of style to your game room. This article will guide you through the entire process, from gathering materials to the final touches, ensuring you have a durable and aesthetically pleasing surround. We’ll also cover tips for choosing the right cork, measuring accurately, and achieving a professional finish.
⚠️ Still Using Pen & Paper (or a Chalkboard)?! ⚠️
Step into the future! The Dart Counter App handles all the scoring, suggests checkouts, and tracks your stats automatically. It's easier than you think!
Try the Smart Dart Counter App FREE!Ready for an upgrade? Click above!
Before we dive into the specifics of building your DIY dartboard surround from cork, let’s consider why cork is such a great material for this project. Cork is naturally impact-resistant, meaning it will effectively absorb the force of errant darts, preventing damage to your walls. It’s also easy to work with, requiring minimal tools and expertise. Further, cork offers a degree of sound dampening, reducing the noise of the game, which can be beneficial for those sharing their homes with others. Choosing a cork that’s thicker than usual, for instance around 2-3cm will also increase its impact absorption capabilities. Finally, cork is an environmentally friendly material which is increasingly important to many DIY enthusiasts. Now, let’s get started!
Choosing the Right Cork for Your DIY Dartboard Surround
The success of your DIY dartboard surround from cork hinges on selecting the appropriate cork material. You’ll want to find a cork sheet that is thick enough to adequately protect your walls from dart impacts. Aim for a minimum thickness of 1.5 centimeters, but consider a thicker sheet for added durability and sound absorption. Thicker sheets generally offer more stability and resilience to repeated impact, extending the life of your surround. Consider the aesthetic aspect as well; thicker cork sheets have a noticeably different look from thinner ones. You might find that thinner cork is more flexible, easier to cut around the dartboard’s curve, although it might require more support to maintain its shape.
You can source cork sheets from various places, including home improvement stores, craft stores, and online retailers. When choosing, look for cork that is dense and free from significant imperfections. Remember to purchase enough cork to encompass your dartboard with a generous overlap – aim for at least 15cm of extra cork on all sides. The extra will be more helpful than you may realize. Consider checking out your local home improvement store’s options first for availability; in some regions online cork sheets might have longer delivery times.
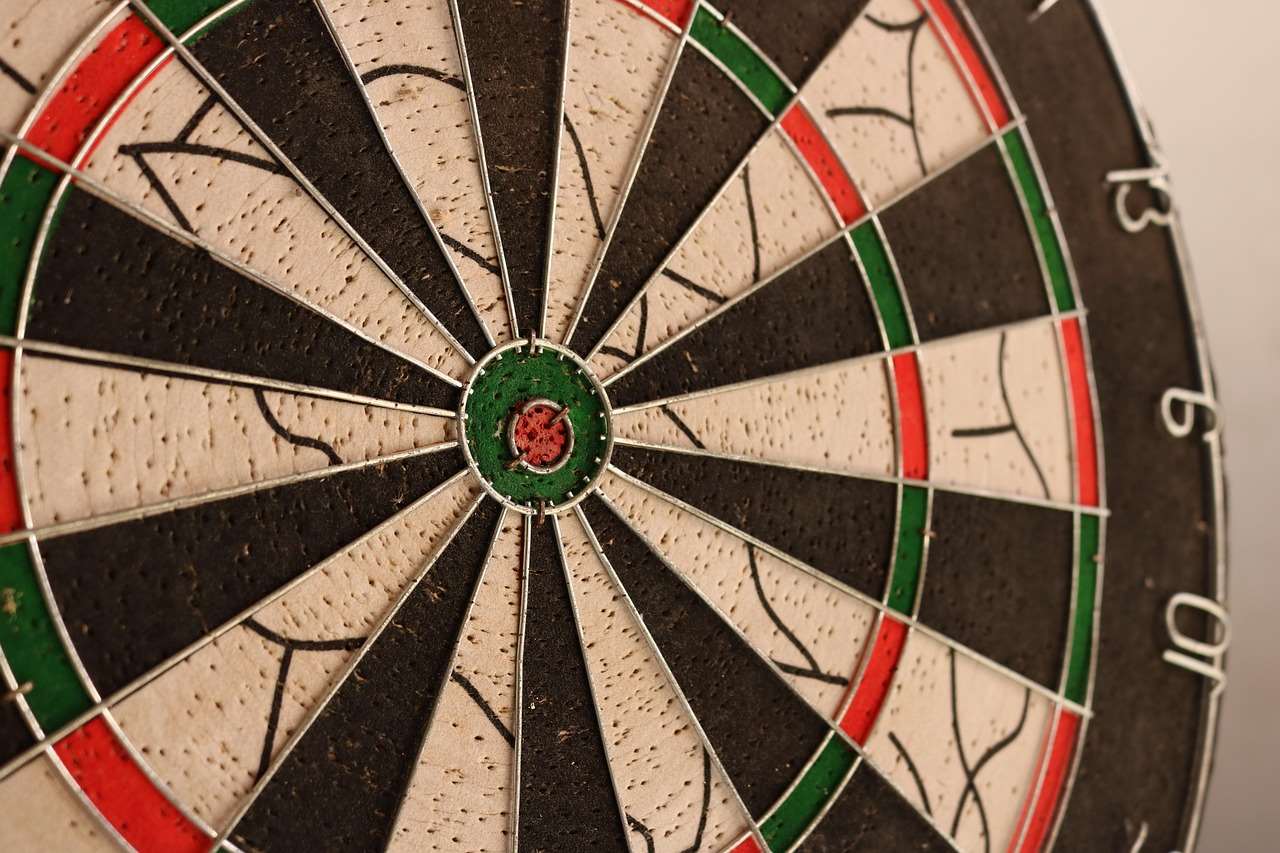
Measuring and Cutting the Cork for Your DIY Dartboard Surround
Accurate measurements are critical for a neat and professional-looking DIY dartboard surround from cork. Begin by carefully measuring the dimensions of your dartboard, including its thickness. Add the desired overlap to these measurements. This overlap will provide a secure and aesthetically pleasing fit to the wall behind it. Using a pencil, mark out the required dimensions on the back of your cork sheet.
Cutting the cork requires the use of a sharp utility knife or a craft knife. Remember to use a cutting mat or similar surface to protect your work area. Score the cork multiple times along your pencil lines before applying firmer pressure. Take your time and use precise cuts to ensure you avoid mistakes. A straightedge can be of great assistance in making perfectly straight lines. It might be helpful to get another person to help you keep the dartboard steady as you work around it to ensure accurate positioning.
Handling Curves and Corners
Cutting curves around the dartboard’s edge might require more care and patience. A sharp utility knife might cause uneven edges. You could potentially use a jigsaw to cut more intricate shapes and achieve a more precise fit, but that also requires additional caution. Consider practicing on a scrap piece of cork before attempting to cut the final piece for your DIY dartboard surround from cork. For sharp corners, use a series of small, angled cuts to achieve a clean finish. This approach is more accurate than attempting to cut the corners at once.
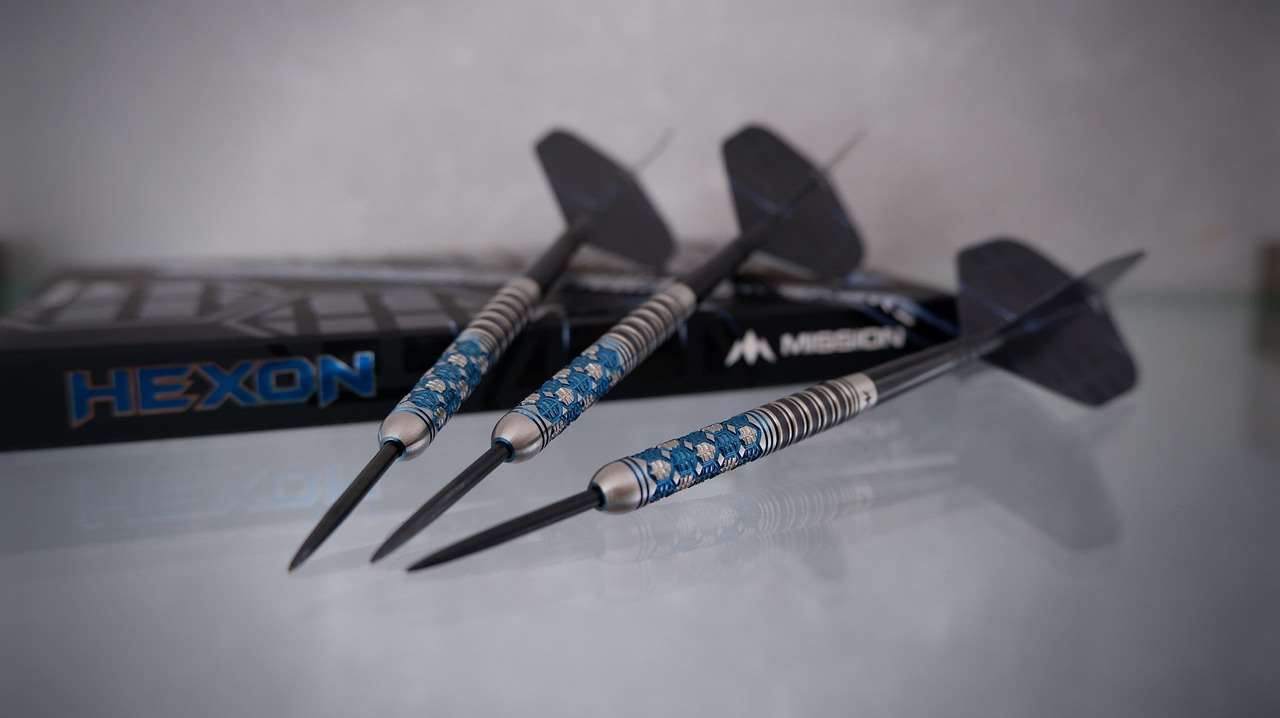
Securing Your DIY Dartboard Surround from Cork to the Wall
Once you’ve cut the cork to the correct size, it’s time to attach it to the wall. There are several ways to do this, each with its advantages and disadvantages. Using strong adhesive is a common method. Double-sided mounting tape is a convenient option for smaller or lighter cork boards. However, for larger and heavier projects, construction adhesive, particularly one designed for use on cork, will provide the most secure hold. Be sure to apply the adhesive according to the manufacturer’s instructions.
For heavier cork or situations where extra security is preferred, you could also consider using screws. These should be small enough not to damage the cork, yet strong enough to hold it securely in place. Drill pilot holes into the wall and cork before inserting and screwing them in. Be sure to avoid overtightening the screws, or you could risk cracking the cork. Always pre-drill to avoid splitting the cork material. In situations where screws are used, filling the screw holes with matching coloured filler or putty will provide a cleaner aesthetic finish.
Regardless of the method chosen for your DIY dartboard surround from cork, ensure the cork is firmly attached and properly aligned. Take your time, and use a level to ensure it’s straight. Accurate placement is essential to avoid later adjustments, which might damage the cork. It’s also prudent to consider using a level when applying your adhesive in order to prevent tilt issues.
Finishing Touches for Your DIY Dartboard Surround from Cork
After securing the cork to the wall, you might want to add some finishing touches to enhance the look of your DIY dartboard surround from cork. You could consider painting the edges for a neater finish. Consider sealing the cork with a sealant intended for porous materials. This will offer greater protection against moisture, and help the cork resist dirt and stains, significantly extending its lifespan. You might be surprised by how much better it looks once sealed. Remember to always follow the manufacturer’s instructions when using any sealant or paint, taking appropriate safety precautions.
Alternatively, you might want to consider adding decorative elements to the surround. For example, adding thin wooden strips at the corners can provide an aesthetic upgrade while also adding extra durability. Remember that different cork types will have different levels of thickness and texture, so these factors should be accounted for when planning your design.
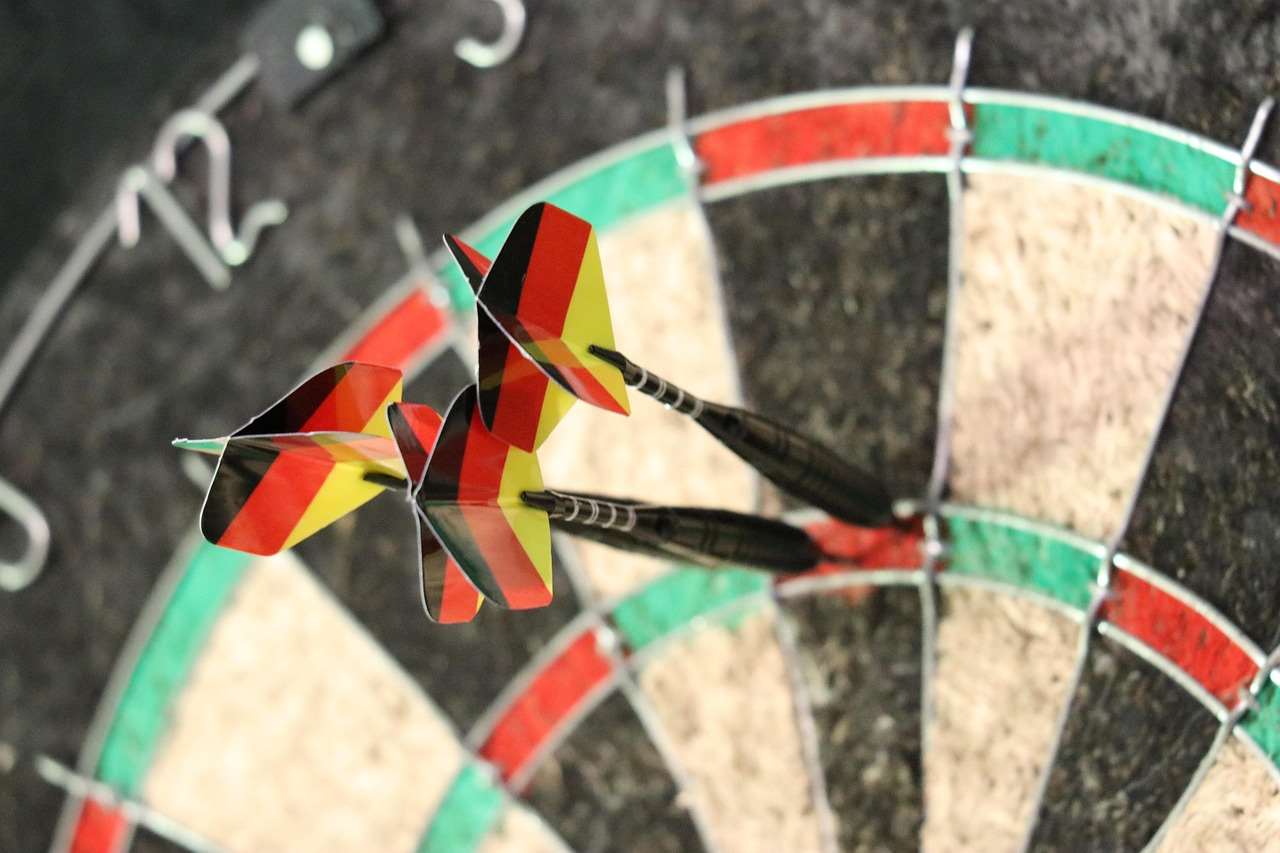
Troubleshooting Your DIY Dartboard Surround from Cork
Even with careful planning and execution, you might encounter some challenges during your DIY dartboard surround from cork project. If you find the cork isn’t adhering properly to the wall, try adding extra adhesive or using a stronger adhesive. If the cork is too thick to fit properly around the dartboard, you could carefully trim it down. If you’re unhappy with the look, you could always consider repainting or using additional decorative elements to improve the aesthetics of the dartboard surround.
Remember, patience is key. Don’t rush the process. Take your time to ensure each step is done accurately. If you encounter unexpected problems, don’t be afraid to seek advice from more experienced DIY enthusiasts online or in your local community. Searching for ‘DIY dartboard surround from cork’ tutorials on YouTube might help solve many issues.
If the cork starts to show signs of wear and tear, you may want to consider learning more about the Darts Gear Lifespan Program to help plan replacements. Regular maintenance is key to ensuring your DIY dartboard surround from cork provides long-lasting protection for your walls. This involves regular cleaning and inspection for any signs of damage or deterioration.
Maintaining Your DIY Dartboard Surround from Cork
To ensure your DIY dartboard surround from cork stays looking its best and lasts for years to come, regular maintenance is essential. Regular dusting with a soft cloth will remove dust and debris. For more stubborn stains, use a damp cloth or mild cleaning solution designed for cork. Avoid using harsh chemicals, as these could damage the surface. Remember to check for loose edges and re-secure them as needed.
Consider using a sealant every 6-12 months to help your cork better withstand impacts, as well as providing protection from moisture and dirt. This will maintain its protective qualities and improve its lifespan. Remember to always follow the manufacturer’s instructions and safety precautions when using any cleaning or sealing products. If you’re wondering about general Darts Equipment Maintenance Customization, this link offers a broad overview.
Beyond the Basics: Enhancing Your DIY Dartboard Surround
Once you’ve mastered the basics of creating a DIY dartboard surround from cork, you can explore more advanced techniques and customization options. Adding lighting around the dartboard can enhance the playing experience and create a more dramatic atmosphere. Using different colors of cork or adding decorative molding can add a unique personal touch. You might even consider incorporating a built-in scoreboard or other game-related accessories.
Consider experimenting with different textures and finishes for your DIY dartboard surround from cork. You could add a layer of fabric over the cork for added visual appeal and sound dampening, or experiment with different types of adhesives and fasteners for a more secure and professional-looking finish. The options are only limited by your imagination and resourcefulness.
For those interested in enhancing their dart game, you might find the article on dart flight design tips helpful. It provides some insight into optimizing your darts for improved performance. Remember to account for the potential impact on flight paths when building a surround, especially if you’re considering a thick or unusually shaped surround.
Understanding when to replace darts gear is crucial for maintaining a consistent playing experience. This includes the dartboard itself, and understanding the factors involved in the maintenance of your dartboard surround can help in proactively planning replacements if necessary.
Conclusion
Creating a DIY dartboard surround from cork is a rewarding project that protects your walls and adds a personalized touch to your game room. By following the steps outlined in this guide, you can create a durable and aesthetically pleasing surround that enhances your dart-playing experience. Remember to choose the right cork, measure accurately, and secure it firmly to the wall. Don’t be afraid to experiment with different designs and finishes to create a truly unique piece. With a little patience and attention to detail, you can enjoy the satisfaction of a job well done, and a protected wall to boot! Happy throwing!
Consider checking out our other articles on dart maintenance, such as maintain dart accessories and cleaning dart shafts, for additional tips on keeping your equipment in top condition. You might also find the information on dart point length and match play and experimenting dart point lengths valuable for improving your game.
Finally, for those interested in adding further aesthetic enhancements to their dartboard area, we encourage you to check out our guide on dartboard cabinet finishes for more creative ideas and suggestions.
Hi, I’m Dieter, and I created Dartcounter (Dartcounterapp.com). My motivation wasn’t being a darts expert – quite the opposite! When I first started playing, I loved the game but found keeping accurate scores and tracking stats difficult and distracting.
I figured I couldn’t be the only one struggling with this. So, I decided to build a solution: an easy-to-use application that everyone, no matter their experience level, could use to manage scoring effortlessly.
My goal for Dartcounter was simple: let the app handle the numbers – the scoring, the averages, the stats, even checkout suggestions – so players could focus purely on their throw and enjoying the game. It began as a way to solve my own beginner’s problem, and I’m thrilled it has grown into a helpful tool for the wider darts community.