Getting the bullseye at the right height is crucial for consistent darts play, and measuring dartboard height precisely is key to ensuring a fair game. This article provides a comprehensive guide on how to accurately mount your dartboard, covering everything from standard measurements to practical tips for achieving perfect placement.
⚠️ Still Using Pen & Paper (or a Chalkboard)?! ⚠️
Step into the future! The Dart Counter App handles all the scoring, suggests checkouts, and tracks your stats automatically. It's easier than you think!
Try the Smart Dart Counter App FREE!Ready for an upgrade? Click above!
Why Accurate Dartboard Height Matters
The official height of a dartboard is not arbitrary; it’s based on years of gameplay and designed to provide a level playing field for all players. A dartboard that’s too high or too low can significantly impact your throwing technique and accuracy. Consistency is paramount in darts, and an improperly mounted board introduces an unnecessary variable that can hinder your progress.
Imagine developing a throwing style perfectly suited for a specific height, only to find that every time you play at a different location, the board is at a different level. This inconsistency can be frustrating and prevent you from reaching your full potential. Furthermore, if you are hosting friends for a dart night, ensuring the board is properly mounted is key to creating a fun and competitive environment.
Beyond personal performance, adhering to the standard height ensures that tournaments and leagues are fair. Whether you are playing casually or competitively, accurate setup according to regulations is an integral component of the game.
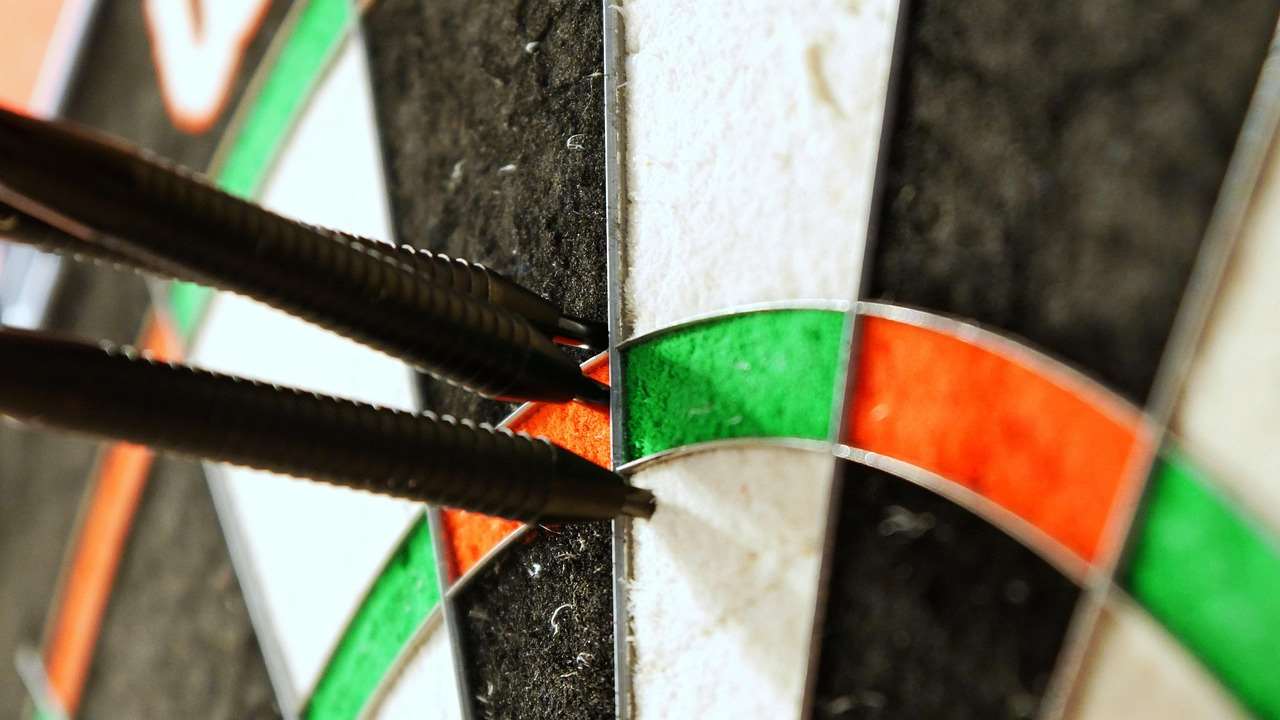
Standard Dartboard Measurements: Bullseye Height and Throwing Line
The official measurements are essential for both casual and competitive play. Let’s break down the key figures:
- Dartboard Height: The vertical distance from the floor to the center of the bullseye (the ‘bull’) should be 5 feet 8 inches (1.73 meters).
- Throwing Line (Oche): The horizontal distance from the face of the dartboard (not the wall) to the front edge of the throwing line (oche) should be 7 feet 9 1/4 inches (2.37 meters).
- Diagonal Measurement (Optional): For those who prefer a diagonal measurement, it should be 9 feet 7 3/8 inches (2.93 meters) from the bullseye to the oche.
These measurements apply to both steel-tip and soft-tip darts, although some soft-tip leagues may have slightly different regulations. Always check with the specific league rules if you’re playing competitively. Understanding the importance of standard dimensions prevents unfair advantages and makes dart games enjoyable. If you’re new to the game, understanding Basic Darts Fundamentals for Beginners is a great starting point.
Tools You’ll Need for Measuring Dartboard Height Precisely
Before you start measuring dartboard height precisely, gather the necessary tools. Having the right equipment will ensure accuracy and make the process much smoother. Here’s a list of essentials:
- Measuring Tape or Laser Distance Measurer: A reliable measuring tool is crucial. A laser measure can be particularly helpful for accuracy, especially over longer distances.
- Level: A level (spirit level or laser level) is essential to ensure the dartboard is perfectly vertical.
- Pencil or Marker: For marking the wall where you’ll need to drill holes.
- Drill and Drill Bits: Select drill bits that match the size of the screws and anchors you’ll be using to mount the dartboard.
- Screws and Anchors: Choose appropriate hardware for your wall type (drywall, plaster, wood, etc.).
- Ladder or Step Stool: To reach the desired height comfortably and safely.
- Dartboard Mounting Bracket: Most dartboards come with a mounting bracket. Ensure it’s compatible with your dartboard and wall.
Investing in good-quality tools will not only make the installation easier but also ensure a more secure and long-lasting dartboard setup. Take the time to gather everything needed to ensure a smooth and efficient installation process. Consider safety equipment when working at heights.
Step-by-Step Guide to Measuring and Mounting Your Dartboard
Now, let’s get to the practical part: measuring and mounting your dartboard with precision. Follow these steps carefully to achieve the perfect setup.
- Find Your Location: Choose a suitable location for your dartboard. Ensure there’s ample space around the board for players to throw comfortably and safely. Consider wall protection to prevent damage from stray darts.
- Mark the Bullseye Height: Using your measuring tape, measure 5 feet 8 inches (1.73 meters) from the floor and mark this point on the wall with your pencil. Use your level to ensure the mark is perfectly vertical. This mark represents the center of your bullseye.
- Install the Mounting Bracket: Position the mounting bracket on the wall, aligning the center of the bracket with the mark you made for the bullseye. Use your pencil to mark the locations of the screw holes.
- Drill Pilot Holes: Drill pilot holes at the marked locations. The size of the pilot holes should be slightly smaller than the diameter of your screws. If you’re drilling into drywall, use appropriate drywall anchors.
- Attach the Mounting Bracket: Secure the mounting bracket to the wall using the screws. Make sure the bracket is firmly attached and doesn’t wobble.
- Hang the Dartboard: Most dartboards have a circular wire on the back that fits over the mounting bracket. Carefully hang the dartboard on the bracket.
- Level the Dartboard: Use your level to ensure the dartboard is perfectly vertical. If necessary, adjust the dartboard on the bracket until it’s level. Some dartboards come with small wedges that can be used to fine-tune the level.
- Measure the Throwing Line (Oche): Measure 7 feet 9 1/4 inches (2.37 meters) horizontally from the face of the dartboard to determine the position of the throwing line (oche). Mark this line on the floor. You can use tape or a permanent marker, or even install a physical oche for a more permanent setup.
- Test the Setup: Throw a few darts to test the setup. Pay attention to how the dartboard feels and make any necessary adjustments.
Following these steps carefully will ensure your dartboard is mounted correctly and provides a consistent playing experience. Now you’re ready to enjoy a game of darts!
Common Mistakes to Avoid When Measuring Dartboard Height Precisely
Even with careful planning, mistakes can happen. Here are some common pitfalls to avoid when measuring dartboard height precisely:
- Incorrect Measurement: Double-check your measurements! Use a reliable measuring tool and be sure to measure from the floor to the center of the bullseye.
- Unlevel Dartboard: Ensure the dartboard is perfectly vertical. An unlevel board can significantly affect your accuracy.
- Weak Wall Anchors: Use appropriate wall anchors for your wall type. A dartboard falling off the wall is not only inconvenient but also potentially dangerous.
- Ignoring Throwing Line Distance: The throwing line is just as important as the dartboard height. Make sure it’s at the correct distance from the dartboard.
- Not Considering Wall Protection: Darts can miss the board, so consider protecting the wall around your dartboard with a backboard or surround.
Avoiding these common mistakes will help you achieve a professional and safe dartboard setup. Take your time and pay attention to detail.
Advanced Tips for Achieving Perfect Dartboard Placement
Beyond the basics, here are some advanced tips to ensure your dartboard setup is truly perfect:
- Use a Laser Level: A laser level can provide more accurate and consistent measurements than a traditional spirit level.
- Consider Lighting: Proper lighting is essential for a good dartboard setup. Ensure the board is well-lit without creating glare. Consider using a dartboard light specifically designed for this purpose.
- Wall Protection: Invest in a dartboard surround or backboard to protect your wall from stray darts. This will save you from costly repairs down the line.
- Permanent Throwing Line: For a more professional setup, consider installing a permanent throwing line (oche). You can purchase commercially available oches or create your own using wood or metal.
- Sound Dampening: Darts hitting the board can be noisy. Consider using sound-dampening materials behind the dartboard to reduce noise levels.
These advanced tips will elevate your dartboard setup and create a more enjoyable and professional playing experience. Don’t be afraid to experiment and find what works best for you. When starting out, you might even consider Adapting darts rules for small spaces: tips and tricks to help choose a good setup.
Troubleshooting Common Dartboard Installation Problems
Even with the best planning, you might encounter some challenges during dartboard installation. Here’s how to troubleshoot some common problems:
- Dartboard Wobbles: If your dartboard wobbles, check the mounting bracket to ensure it’s securely attached to the wall. You may need to tighten the screws or use larger wall anchors. Also, check the dartboard itself; some have adjustable feet to help level them.
- Darts Keep Falling Out: If your darts keep falling out of the board, the board may be worn out or the segments may be loose. Consider replacing the board or tightening the segments if possible. Also, ensure you are using darts with sharp points.
- Difficulty Finding Studs: If you’re having trouble finding studs in your wall, use a stud finder or tap lightly on the wall to listen for a solid sound. If you can’t find a stud, use heavy-duty wall anchors.
- Inconsistent Scoring: If you’re experiencing inconsistent scoring, ensure the dartboard is properly calibrated (if it’s an electronic dartboard) and that the segments are securely in place.
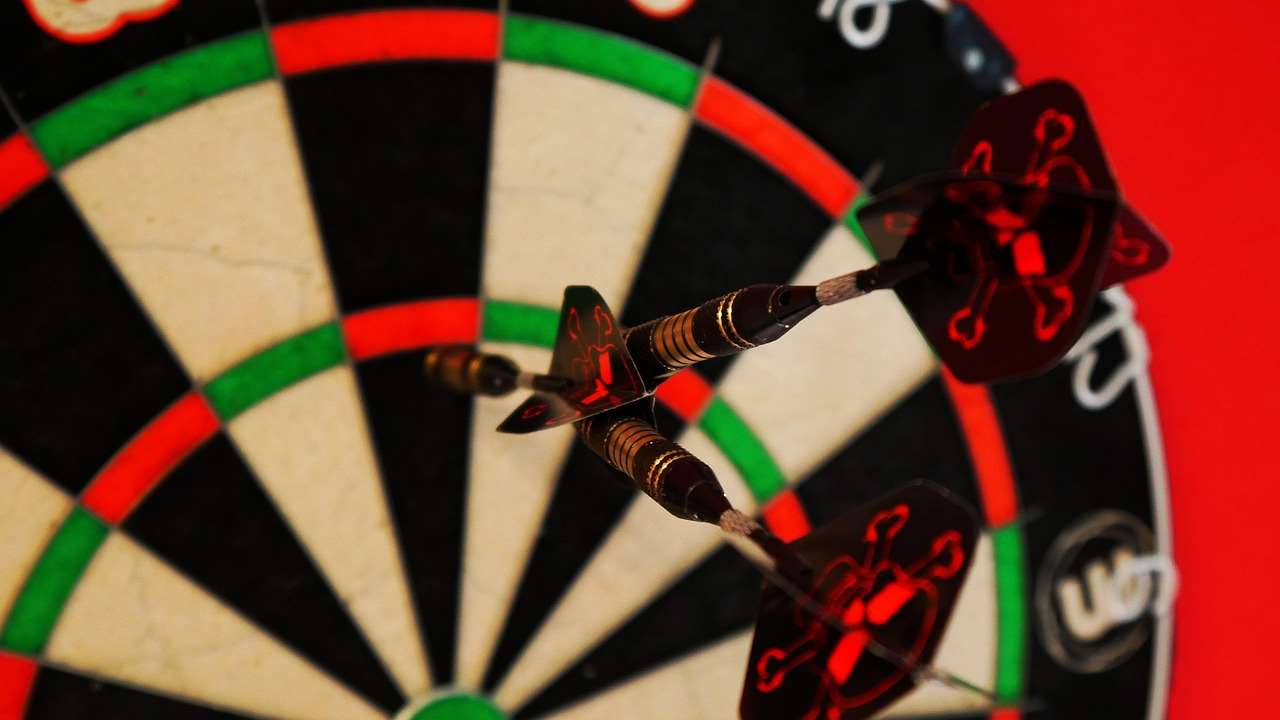
By addressing these common problems proactively, you can ensure a smooth and enjoyable dartboard experience. Don’t get discouraged if you encounter challenges – with a little troubleshooting, you can overcome them.
Maintaining Your Dartboard for Longevity
Once you’ve successfully installed your dartboard, it’s important to maintain it properly to ensure its longevity. Here are some tips for dartboard maintenance:
- Rotate the Dartboard: Regularly rotate the dartboard to distribute wear evenly. This will prevent certain segments from becoming overly worn while others remain relatively unused.
- Clean the Dartboard: Use a soft, dry cloth to clean the dartboard regularly. Avoid using water or cleaning solutions, as these can damage the board.
- Sharpen Your Darts: Keep your dart points sharp to ensure they penetrate the board properly and don’t damage the segments. Use a dart sharpener to maintain the points.
- Store Your Darts Properly: Store your darts in a case or holder to protect them from damage.
- Replace Worn Segments: If a segment becomes excessively worn or damaged, replace it promptly to maintain the board’s playability.
Proper maintenance will significantly extend the life of your dartboard and ensure a consistent playing experience for years to come. Taking these steps will prolong the lifespan of the board, saving money in the long run. You might even explore some Alternative darts rules for home play to keep the game interesting over the years!
Beyond the Basics: Customizing Your Dartboard Setup
After mastering the fundamentals of measuring dartboard height precisely and installation, consider personalizing your setup. Customization is more than aesthetics; it can enhance your playing experience. Here are some ideas:
- Dartboard Cabinet: A dartboard cabinet not only protects your wall but also provides storage for your darts and accessories.
- Custom Lighting: Install custom lighting to create a unique and personalized ambiance.
- Personalized Oche: Create a personalized oche with your name, initials, or a favorite quote.
- Wall Mural: Paint a wall mural behind your dartboard to create a visually stunning backdrop.
- Scoreboard: Use a traditional chalkboard scoreboard or a modern electronic scoreboard to keep track of scores.
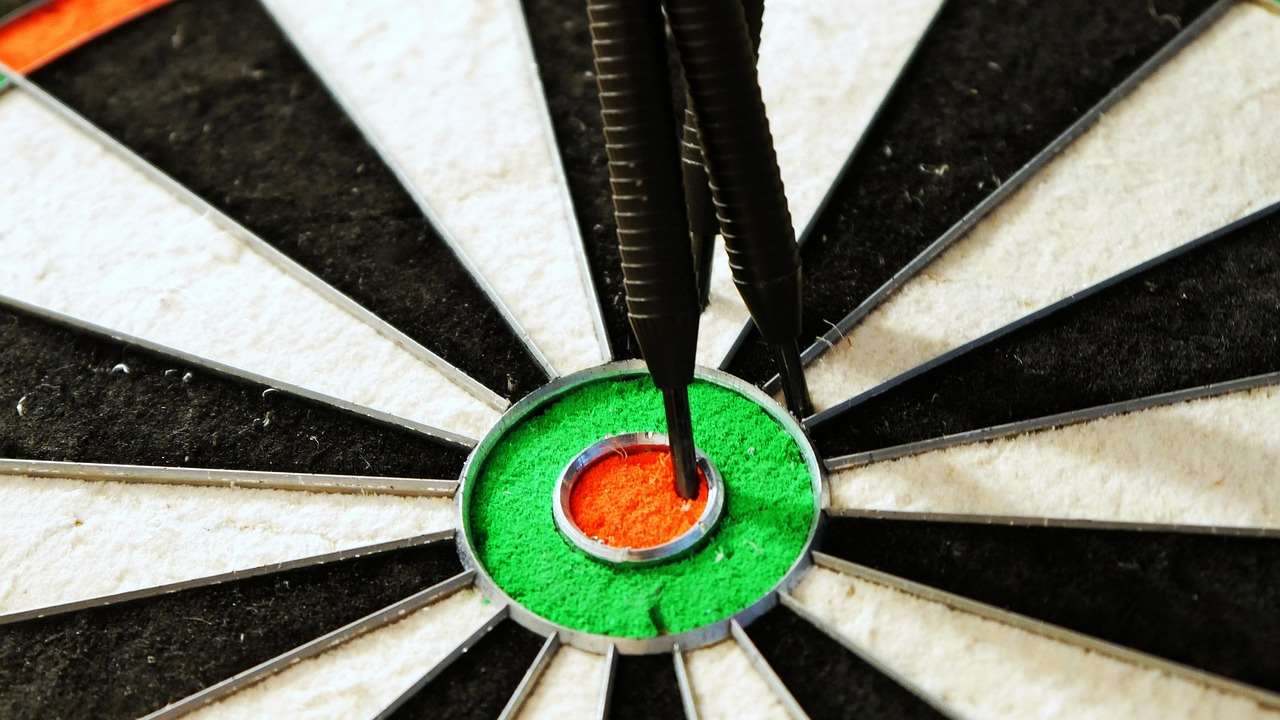
Customizing your dartboard setup allows you to express your personal style and create a space that’s truly your own. It can also enhance your enjoyment of the game. Remember, you can even consider modifying rules for mixed-level dart players to make the game fun and engaging for every player at any level.
The Psychological Impact of Accurate Dartboard Setup
While the technical aspects of measuring dartboard height precisely are important, it’s crucial to recognize the psychological impact of a well-setup dartboard. A properly mounted board can boost your confidence and improve your focus.
Knowing that your dartboard is set up correctly eliminates any doubt or uncertainty about the playing field. This allows you to concentrate solely on your throwing technique and strategy, rather than worrying about whether the board is level or at the correct height. This can lead to a more relaxed and confident mindset, which can translate into better performance.
Conversely, an improperly mounted dartboard can create anxiety and frustration, leading to a negative impact on your game. If you are constantly second-guessing your setup, it will be difficult to maintain focus and consistency. Prioritizing precision eliminates distractions. A level playing field makes for more enjoyable competition.
Conclusion: Achieving Dartboard Perfection
Measuring dartboard height precisely is paramount for a fair, consistent, and enjoyable game of darts. By following the steps outlined in this guide, you can ensure that your dartboard is mounted correctly and provides an optimal playing experience. Remember the official measurements, gather the right tools, avoid common mistakes, and consider advanced tips for achieving dartboard perfection.
Now that you’re armed with the knowledge and tools, it’s time to put your skills to the test! Go ahead and set up your dartboard with precision. And if you want to up your dart game even more, check out How to make darts fairer with handicap rules to create a fair playing field when skill levels differ! Happy darting!
Hi, I’m Dieter, and I created Dartcounter (Dartcounterapp.com). My motivation wasn’t being a darts expert – quite the opposite! When I first started playing, I loved the game but found keeping accurate scores and tracking stats difficult and distracting.
I figured I couldn’t be the only one struggling with this. So, I decided to build a solution: an easy-to-use application that everyone, no matter their experience level, could use to manage scoring effortlessly.
My goal for Dartcounter was simple: let the app handle the numbers – the scoring, the averages, the stats, even checkout suggestions – so players could focus purely on their throw and enjoying the game. It began as a way to solve my own beginner’s problem, and I’m thrilled it has grown into a helpful tool for the wider darts community.