Successfully **how to mount dartboard** involves precise measurements and secure fixing to ensure fair play and prevent damage; generally, the bullseye should be 5 feet 8 inches from the floor. This article will guide you through the entire process, from gathering the necessary tools to properly securing your dartboard and setting up your playing area, as well as covering additional considerations like safety and maintenance.
⚠️ Still Using Pen & Paper (or a Chalkboard)?! ⚠️
Step into the future! The Dart Counter App handles all the scoring, suggests checkouts, and tracks your stats automatically. It's easier than you think!
Try the Smart Dart Counter App FREE!Ready for an upgrade? Click above!
Understanding the Importance of Correct Dartboard Mounting
Before diving into the specifics of **how to mount dartboard**, it’s crucial to understand why proper installation is paramount. A correctly mounted dartboard ensures a fair and consistent game for all players. If the board is too high, too low, or not perfectly level, it can significantly impact the trajectory of your darts and create an uneven playing field. Furthermore, a securely mounted board is essential for safety. A wobbly or poorly fixed dartboard can easily fall, causing injury or damage to your surroundings. Proper mounting also protects the dartboard itself from unnecessary wear and tear.
International Standards for Dartboard Height and Distance
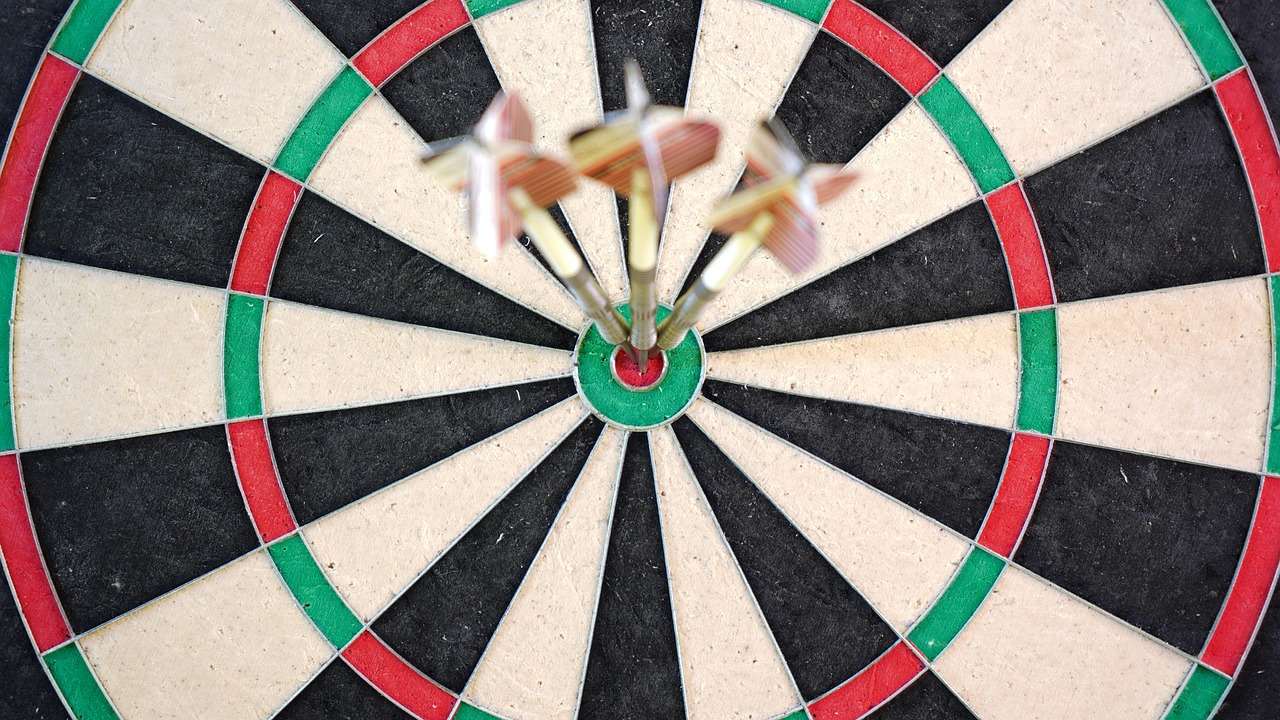
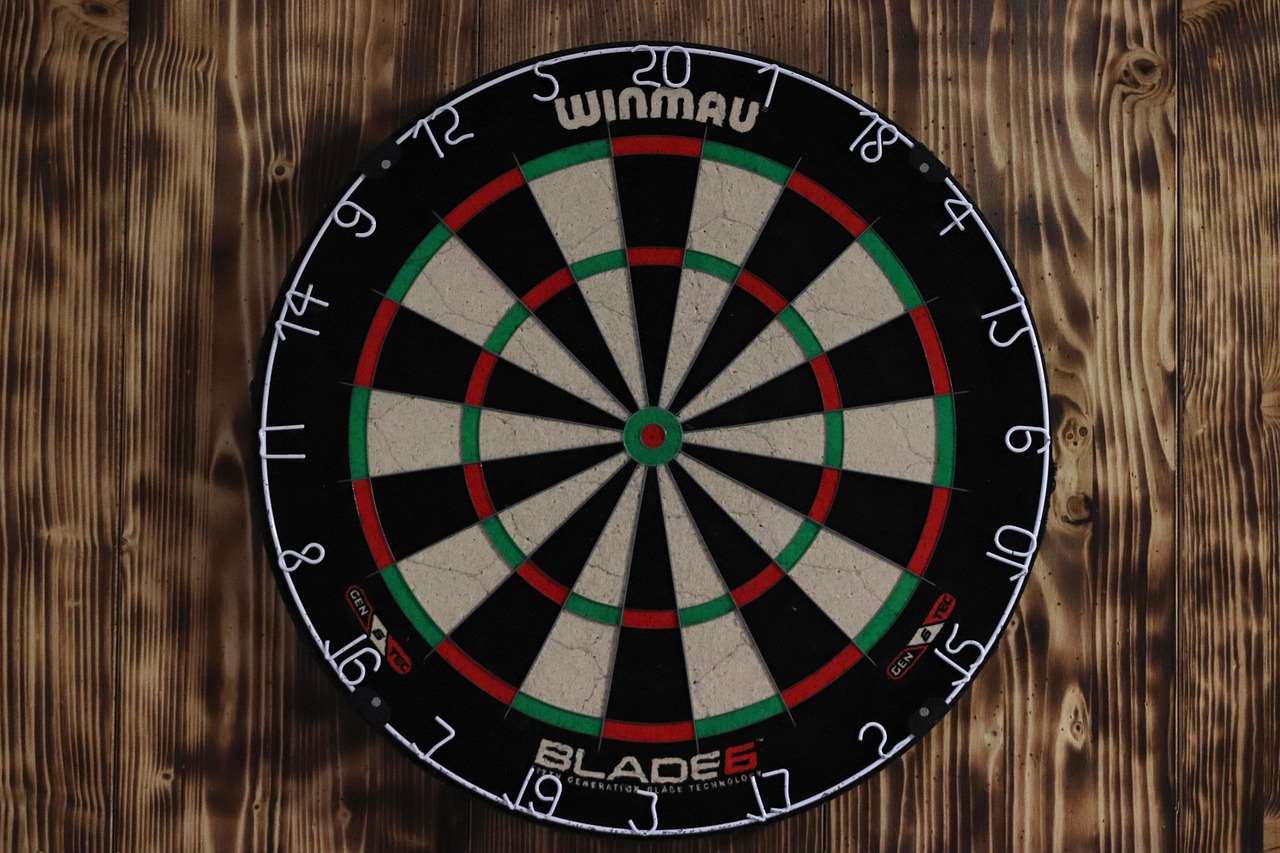
The **official dartboard height**, as defined by the World Darts Federation (WDF), dictates that the center of the bullseye must be exactly 5 feet 8 inches (1.73 meters) from the floor. This ensures uniformity across all competitive games. Equally important is the throwing distance, which is measured from the face of the dartboard to the oche (the throwing line). The official distance is 7 feet 9 1/4 inches (2.37 meters). Adhering to these standards guarantees a consistent and regulated playing experience. If you’re playing casually, you can deviate slightly, but maintaining these dimensions provides the best practice for competitive play. You might also want to check darts target japan for approved equipment.
Gathering the Necessary Tools and Materials
Before you begin to **how to mount dartboard**, you’ll need to assemble the right tools and materials. Having everything readily available will streamline the process and prevent frustrating interruptions. Here’s a comprehensive list:
- Dartboard Mounting Bracket: Most dartboards come with a mounting bracket, but it’s worth checking before you start.
- Measuring Tape: Essential for accurately determining the bullseye height and throwing distance.
- Pencil: For marking the wall and board positions.
- Level: Crucial for ensuring the dartboard is perfectly vertical.
- Drill and Drill Bits: Select drill bits appropriate for your wall type (wood, drywall, brick, etc.).
- Screws or Anchors: Choose screws and anchors designed for your wall type. For drywall, use drywall anchors. For brick or concrete, use masonry screws and anchors.
- Stud Finder (Optional): Useful for locating studs in drywall walls for added stability.
- Safety Glasses: Protect your eyes from dust and debris while drilling.
- Hammer (Optional): For tapping in drywall anchors.
Investing in high-quality tools will make the mounting process easier and ensure a more secure and lasting installation. Using plastic darts (plastic darts) on your new board could be a great way to start practicing without damaging the board too much.
Step-by-Step Guide: How to Mount Dartboard
Now, let’s proceed with a detailed step-by-step guide on **how to mount dartboard**. Follow these instructions carefully for optimal results:
- Locate a Suitable Location: Choose a wall that is relatively free of obstacles and provides ample space for throwing. Consider the surrounding area and ensure there is enough clearance for players to move around safely.
- Measure and Mark the Bullseye Height: Using your measuring tape, measure 5 feet 8 inches (1.73 meters) from the floor and mark this point on the wall with a pencil. This is where the center of your dartboard (the bullseye) will be.
- Attach the Mounting Bracket to the Dartboard: Most dartboards have a pre-drilled hole in the center of the back. Align the mounting bracket with this hole and securely attach it using the screws provided.
- Position the Dartboard on the Wall: Carefully align the center of the mounting bracket with the mark you made on the wall for the bullseye height. Use a level to ensure the dartboard is perfectly vertical.
- Mark the Mounting Holes: With the dartboard held in place, use a pencil to mark the locations of the mounting holes on the wall through the bracket.
- Drill Pilot Holes: Remove the dartboard and drill pilot holes at the marked locations. Select a drill bit size that is slightly smaller than the diameter of your screws or anchors. For drywall, use drywall anchors.
- Secure the Dartboard to the Wall: Align the mounting bracket with the pilot holes and securely screw the dartboard to the wall. Use appropriate screws for the wall type. If using drywall anchors, follow the manufacturer’s instructions for installation.
- Double-Check the Level: Once the dartboard is mounted, use a level to ensure it is still perfectly vertical. Make any necessary adjustments to ensure a level playing surface.
- Measure the Throwing Distance: Measure 7 feet 9 1/4 inches (2.37 meters) horizontally from the face of the dartboard and mark the oche (throwing line) on the floor. You can use tape or a permanent marker to create the line.
Following these steps meticulously will ensure a secure, level, and properly positioned dartboard. For information about rules, you might find the wdf darts rules useful.
Alternative Mounting Methods for Different Wall Types
The standard mounting method described above works well for most wall types, but certain situations may require alternative approaches. Here are some common scenarios and solutions:
Mounting on Drywall Without Studs
If you’re mounting your dartboard on drywall and can’t locate a stud, you’ll need to use drywall anchors. These anchors provide a secure hold in the drywall, preventing the screws from pulling out. Choose heavy-duty drywall anchors that are specifically designed for holding weight. Follow the manufacturer’s instructions for installing the anchors, ensuring they are properly seated in the drywall. Using Dart Counter App during practice helps you track your progress regardless of the wall type!
Mounting on Brick or Concrete Walls
Mounting a dartboard on brick or concrete requires the use of masonry screws and anchors. These screws are specifically designed to penetrate hard surfaces. Drill pilot holes using a masonry drill bit that is appropriate for the size of your screws and anchors. Insert the anchors into the pilot holes and then screw the dartboard to the wall. Ensure that the screws are securely tightened to prevent the dartboard from wobbling.
Using a Dartboard Backboard
A dartboard backboard can provide additional protection for your walls and enhance the overall aesthetic of your playing area. Backboards come in various sizes and materials, including wood, cork, and felt. To install a dartboard with a backboard, simply mount the backboard to the wall using the appropriate screws and anchors. Then, mount the dartboard to the center of the backboard. This method can distribute the force of impacts, protecting the wall and potentially reducing noise.
Ensuring Safety and Preventing Wall Damage
Once you’ve successfully **how to mount dartboard**, it’s essential to prioritize safety and take steps to prevent potential wall damage. Here are some key considerations:
Using a Dartboard Surround
A dartboard surround is a padded ring that fits around the dartboard, providing a protective barrier against stray darts. Surrounds are typically made of foam or rubber and can significantly reduce the risk of wall damage. They also help to dampen the sound of darts hitting the wall, which can be beneficial in shared living spaces. Consider the dartboard lighting system to ensure the play area is always well lit.
Educating Players on Proper Throwing Techniques
Proper throwing technique is crucial for both accuracy and safety. Encourage players to use a controlled and consistent throwing motion, avoiding excessive force or wild swings. Emphasize the importance of aiming carefully and focusing on the target. This will minimize the likelihood of darts missing the board and causing damage to the surrounding area. Also, be mindful of what is a darts leg during game play!
Regularly Inspecting and Maintaining Your Dartboard
Regular inspection and maintenance are essential for prolonging the life of your dartboard and ensuring its continued performance. Rotate the dartboard regularly to distribute wear and tear evenly. Remove any loose fibers or debris from the board. Tighten any loose screws or bolts on the mounting bracket. By taking these simple steps, you can keep your dartboard in top condition and prevent potential safety hazards. It is good to be knowledgeable about darts of dart board.
Troubleshooting Common Mounting Problems
Even with careful planning and execution, you may encounter some common problems while **how to mount dartboard**. Here are some troubleshooting tips to help you resolve these issues:
Dartboard Wobbles or Isn’t Secure
If your dartboard wobbles or doesn’t feel secure, it’s likely that the screws or anchors are not properly tightened. Try tightening the screws to see if that resolves the issue. If the screws are stripped or the anchors are loose, you may need to replace them with larger or more robust ones. Ensure that the anchors are properly seated in the wall and that the screws are fully engaged.
Dartboard Isn’t Level
If your dartboard isn’t perfectly level, it can affect the accuracy of your throws. Use a level to check the dartboard and make any necessary adjustments to the mounting bracket. You may need to loosen the screws slightly and reposition the dartboard until it is level. Once you’ve achieved a level position, tighten the screws securely.
Difficulty Drilling into the Wall
If you’re having difficulty drilling into the wall, it could be due to a dull drill bit or a hard surface. Make sure you’re using a drill bit that is appropriate for the wall type. If you’re drilling into brick or concrete, use a masonry drill bit. Apply firm and steady pressure while drilling, and avoid overheating the drill bit. If you’re still having difficulty, try using a hammer drill.
Conclusion
Mastering **how to mount dartboard** is vital for enjoying a fair, safe, and consistent game of darts. By following the steps outlined in this comprehensive guide, you can confidently and securely install your dartboard, ensuring it meets international standards for height and distance. Remember to gather the necessary tools, choose the appropriate mounting method for your wall type, and prioritize safety by using a dartboard surround and educating players on proper throwing techniques. With a properly mounted dartboard, you’re ready to enjoy countless hours of fun and competition. Now that you know **how to mount dartboard**, why not gather your friends and family for a tournament? Get started today and elevate your dart-playing experience! Don’t forget to check out our other articles for more tips and tricks on improving your dart game.
Hi, I’m Dieter, and I created Dartcounter (Dartcounterapp.com). My motivation wasn’t being a darts expert – quite the opposite! When I first started playing, I loved the game but found keeping accurate scores and tracking stats difficult and distracting.
I figured I couldn’t be the only one struggling with this. So, I decided to build a solution: an easy-to-use application that everyone, no matter their experience level, could use to manage scoring effortlessly.
My goal for Dartcounter was simple: let the app handle the numbers – the scoring, the averages, the stats, even checkout suggestions – so players could focus purely on their throw and enjoying the game. It began as a way to solve my own beginner’s problem, and I’m thrilled it has grown into a helpful tool for the wider darts community.