Building your own dartboard cabinet is a rewarding project that not only protects your walls but also adds a touch of personalized style to your game room. This comprehensive guide will walk you through a detailed dartboard cabinet build process, covering everything from planning and material selection to construction and finishing touches.
⚠️ Still Using Pen & Paper (or a Chalkboard)?! ⚠️
Step into the future! The Dart Counter App handles all the scoring, suggests checkouts, and tracks your stats automatically. It's easier than you think!
Try the Smart Dart Counter App FREE!Ready for an upgrade? Click above!
Why Undertake a Dartboard Cabinet Build?
There are several compelling reasons to embark on a dartboard cabinet build. Firstly, a cabinet provides crucial wall protection from stray darts, preventing unsightly holes and potential damage. Secondly, it offers a dedicated and stylish space for your dartboard, enhancing the overall aesthetic of your game area. Finally, building it yourself allows for complete customization to match your specific needs and preferences, creating a truly unique piece.

Benefits of a DIY Dartboard Cabinet:
- Cost Savings: Building your own cabinet can be significantly cheaper than purchasing a pre-made one, especially if you have some of the necessary tools and materials already.
- Customization: You have complete control over the design, dimensions, materials, and finish, allowing you to create a cabinet that perfectly complements your space.
- Personal Satisfaction: There’s a unique sense of accomplishment that comes with building something yourself, knowing you’ve created a functional and beautiful piece of furniture.
Planning Your Dartboard Cabinet Build
Before you start cutting wood, careful planning is essential. This stage involves determining the dimensions, style, and features of your dartboard cabinet. Consider the available space, your budget, and your skill level when making these decisions.
Determining the Dimensions:
Standard dartboard regulations dictate that the center of the bullseye should be 5 feet 8 inches (1.73 meters) from the floor. The official throwing distance (the oche) is 7 feet 9 1/4 inches (2.37 meters) from the face of the dartboard. Ensure your cabinet design accommodates these measurements.
Choosing a Style:
Dartboard cabinets come in various styles, from simple and functional to elaborate and decorative. Consider the overall aesthetic of your game room and choose a style that complements it. Popular options include:
- Traditional: Often made from wood with a classic design and features like raised panels and decorative moldings.
- Modern: Sleek and minimalist, often using materials like metal and glass.
- Rustic: Emphasizes natural materials and a weathered look.
Adding Features:
Consider incorporating additional features into your cabinet design, such as:
- Scoreboards: Built-in scoreboards on the inside of the doors provide a convenient place to track scores.
- Dart Holders: Securely store your darts when not in use.
- Lighting: Integrated lighting can improve visibility and create a more professional playing environment. If you are looking for a new set of darts, you may want to read Harrows Wolfram darts review.
Gathering Materials and Tools
Once you have a plan in place, it’s time to gather the necessary materials and tools for your dartboard cabinet build. Here’s a list of essential items:
Materials:
- Wood: Plywood, MDF (medium-density fiberboard), or solid wood (pine, oak, maple) are common choices. Choose a wood that is suitable for painting or staining.
- Hinges: Two hinges for the doors.
- Latch or Magnetic Catch: To keep the doors closed.
- Screws: Various sizes for assembling the cabinet.
- Wood Glue: For strong and durable joints.
- Sandpaper: For smoothing the wood surface.
- Primer and Paint or Stain: To finish the cabinet.
- Dartboard Surround (Optional): Provides extra wall protection.
- Felt or Cork (Optional): To line the inside of the doors.
Tools:
- Measuring Tape: For accurate measurements.
- Pencil: For marking cuts.
- Saw: Circular saw, jigsaw, or hand saw for cutting the wood.
- Drill: For drilling pilot holes and driving screws.
- Screwdriver: For tightening screws.
- Clamps: To hold pieces together while the glue dries.
- Sander: For smoothing the wood surface (optional but recommended).
- Paintbrush or Roller: For applying primer and paint or stain.
- Safety Glasses: To protect your eyes.
- Dust Mask: To protect your lungs.
Step-by-Step Dartboard Cabinet Construction
Now, let’s dive into the actual dartboard cabinet construction process. Follow these steps carefully to ensure a successful build.
Step 1: Cutting the Wood:
Using your plan as a guide, carefully measure and cut all the pieces of wood to the required dimensions. Double-check your measurements before cutting to avoid mistakes. It’s better to cut slightly larger and then sand down to the correct size.
Step 2: Assembling the Cabinet Box:
Apply wood glue to the edges of the side, top, and bottom pieces. Clamp the pieces together and secure them with screws. Make sure the corners are square before the glue dries. Let the glue dry completely according to the manufacturer’s instructions. You can also use pocket hole joinery for a stronger and cleaner look.
Step 3: Creating the Doors:
Cut the door pieces to the appropriate size. If you’re adding decorative panels or moldings, attach them to the door frames using wood glue and clamps. Let the glue dry completely. Sand the doors smooth.
Step 4: Installing the Hinges:
Position the hinges on the cabinet box and doors, and mark the screw holes. Drill pilot holes to prevent the wood from splitting. Attach the hinges to the cabinet box and doors using screws. Ensure the doors swing smoothly and align properly.
Step 5: Adding the Latch or Magnetic Catch:
Install the latch or magnetic catch to keep the doors closed. Position the latch or catch on the cabinet box and doors, and mark the screw holes. Drill pilot holes and attach the latch or catch using screws.
Step 6: Sanding and Finishing:
Sand the entire cabinet smooth using sandpaper. Start with a coarser grit and gradually move to a finer grit. Remove all dust with a tack cloth. Apply a coat of primer to the cabinet and let it dry completely. Then, apply two coats of paint or stain, allowing each coat to dry completely before applying the next. For a durable finish, consider applying a clear coat of varnish or lacquer. Don’t forget to check out what dartboard does the PDC use.
Adding the Finishing Touches
Once the cabinet is assembled and finished, it’s time to add the finishing touches to make it truly your own.
Installing the Dartboard:
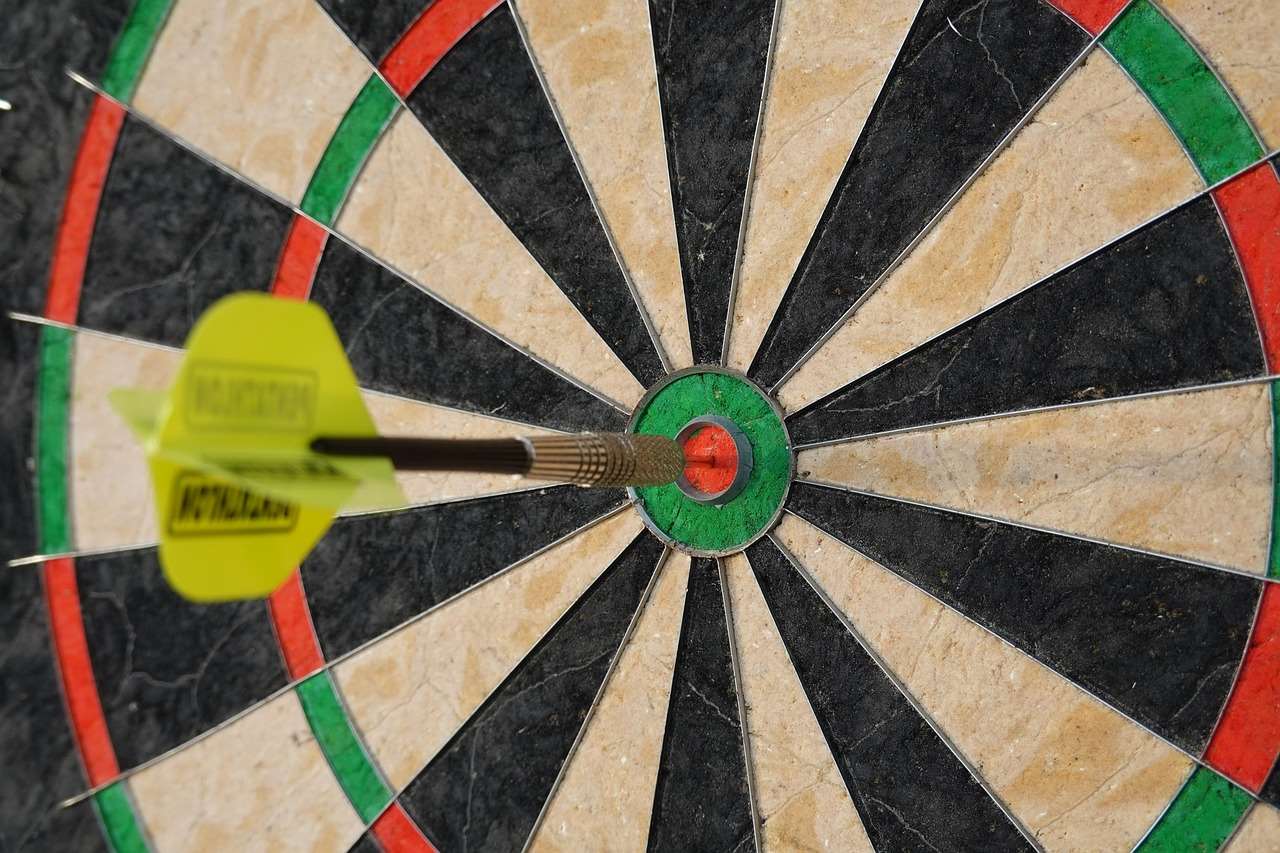
Mount the dartboard in the center of the cabinet, following the manufacturer’s instructions. Ensure the bullseye is 5 feet 8 inches from the floor. Use a level to ensure the dartboard is perfectly vertical.
Adding Scoreboards:
If you’ve chosen to include scoreboards, attach them to the inside of the doors. You can use chalkboards, whiteboards, or even printed score sheets. If you are looking for an app to keep score, consider an App to score darts.
Installing Dart Holders:
Securely mount dart holders to the inside of the cabinet or on the sides. Choose dart holders that will accommodate your darts and keep them from falling out.
Adding Lighting:
If you’ve chosen to add lighting, install the light fixture above the dartboard. Make sure the light is bright enough to illuminate the dartboard but not so bright that it causes glare. Consider using LED lights for energy efficiency.
Lining the Doors:
Lining the inside of the doors with felt or cork can protect the doors from damage and reduce noise. Cut the felt or cork to size and attach it to the doors using adhesive.
Dartboard Cabinet Maintenance
To keep your dartboard cabinet looking its best, follow these simple maintenance tips:
Cleaning:
Regularly wipe down the cabinet with a damp cloth to remove dust and dirt. Avoid using harsh chemicals or abrasive cleaners, as they can damage the finish.
Repairing Damage:
If the cabinet gets scratched or dented, repair the damage as soon as possible. Small scratches can be touched up with paint or stain. Larger dents may require filling with wood filler.
Adjusting Hinges:
Over time, the hinges may loosen, causing the doors to sag or not close properly. Adjust the hinges as needed to ensure the doors swing smoothly and align properly.
Troubleshooting Common Issues
Even with careful planning and execution, you may encounter some common issues during your dartboard cabinet build. Here are some tips for troubleshooting these problems:
Doors Don’t Close Properly:
If the doors don’t close properly, check the alignment of the hinges. Adjust the hinges as needed to ensure the doors swing smoothly and align properly. Also, make sure the latch or magnetic catch is properly aligned.
Cabinet is Wobbly:
If the cabinet is wobbly, check the joints. Make sure all the screws are tight and the glue has dried completely. If necessary, reinforce the joints with additional screws or glue.
Finish is Uneven:
If the finish is uneven, sand the surface smooth and apply another coat of paint or stain. Make sure to use a high-quality primer and paint or stain.

Advanced Dartboard Cabinet Build Ideas
For those looking to take their dartboard cabinet build to the next level, consider these advanced ideas:
Hidden Dartboard Cabinet:
Disguise your dartboard cabinet as a piece of artwork or a bookshelf. This can be a great way to conceal your dartboard when it’s not in use and add a touch of intrigue to your game room.
Interactive Dartboard Cabinet:
Incorporate technology into your dartboard cabinet, such as a digital scoreboard, voice-activated controls, or even a built-in projector. This can create a truly immersive and interactive gaming experience. If you are really enjoying darts, consider a darts for windows app.
Themed Dartboard Cabinet:
Design your dartboard cabinet around a specific theme, such as your favorite sports team, movie, or hobby. This can be a fun way to personalize your cabinet and create a unique conversation piece.
Conclusion
A dartboard cabinet build is a fantastic DIY project that offers numerous benefits, from protecting your walls to adding a personal touch to your game room. By following the steps outlined in this guide, you can create a functional and stylish cabinet that will enhance your dart-playing experience for years to come. Remember to plan carefully, gather the necessary materials and tools, and take your time during the construction process. With a little effort and creativity, you can build a dartboard cabinet that you’ll be proud to show off. Now that you know how to embark on a **dartboard cabinet build**, grab your tools and get started! Don’t forget to share your completed project and inspire others. Happy building!
Hi, I’m Dieter, and I created Dartcounter (Dartcounterapp.com). My motivation wasn’t being a darts expert – quite the opposite! When I first started playing, I loved the game but found keeping accurate scores and tracking stats difficult and distracting.
I figured I couldn’t be the only one struggling with this. So, I decided to build a solution: an easy-to-use application that everyone, no matter their experience level, could use to manage scoring effortlessly.
My goal for Dartcounter was simple: let the app handle the numbers – the scoring, the averages, the stats, even checkout suggestions – so players could focus purely on their throw and enjoying the game. It began as a way to solve my own beginner’s problem, and I’m thrilled it has grown into a helpful tool for the wider darts community.