Calibrating electronic dartboard sensors based on dimensions is crucial for accurate scoring and a fair game. By precisely adjusting the sensors according to the board’s specifications, you ensure that darts landing in specific segments are correctly registered, eliminating frustrating miscounts. This article guides you through the process, covering everything from measuring your board to fine-tuning the sensor sensitivity for optimal performance.
⚠️ Still Using Pen & Paper (or a Chalkboard)?! ⚠️
Step into the future! The Dart Counter App handles all the scoring, suggests checkouts, and tracks your stats automatically. It's easier than you think!
Try the Smart Dart Counter App FREE!Ready for an upgrade? Click above!
Understanding the Importance of Dimensionally Accurate Calibration
Electronic dartboards rely on a complex network of sensors to detect where a dart lands. These sensors are calibrated at the factory, but factors like shipping, handling, and even ambient temperature can affect their accuracy. If your dartboard isn’t scoring correctly, even after seemingly adjusting settings, the root cause could be inaccurate sensor calibration. Think of it like trying to drive a car with misaligned wheels – it might technically work, but the experience won’t be smooth or reliable. A correctly calibrated electronic dartboard ensures every throw counts, leading to a more enjoyable and competitive experience.
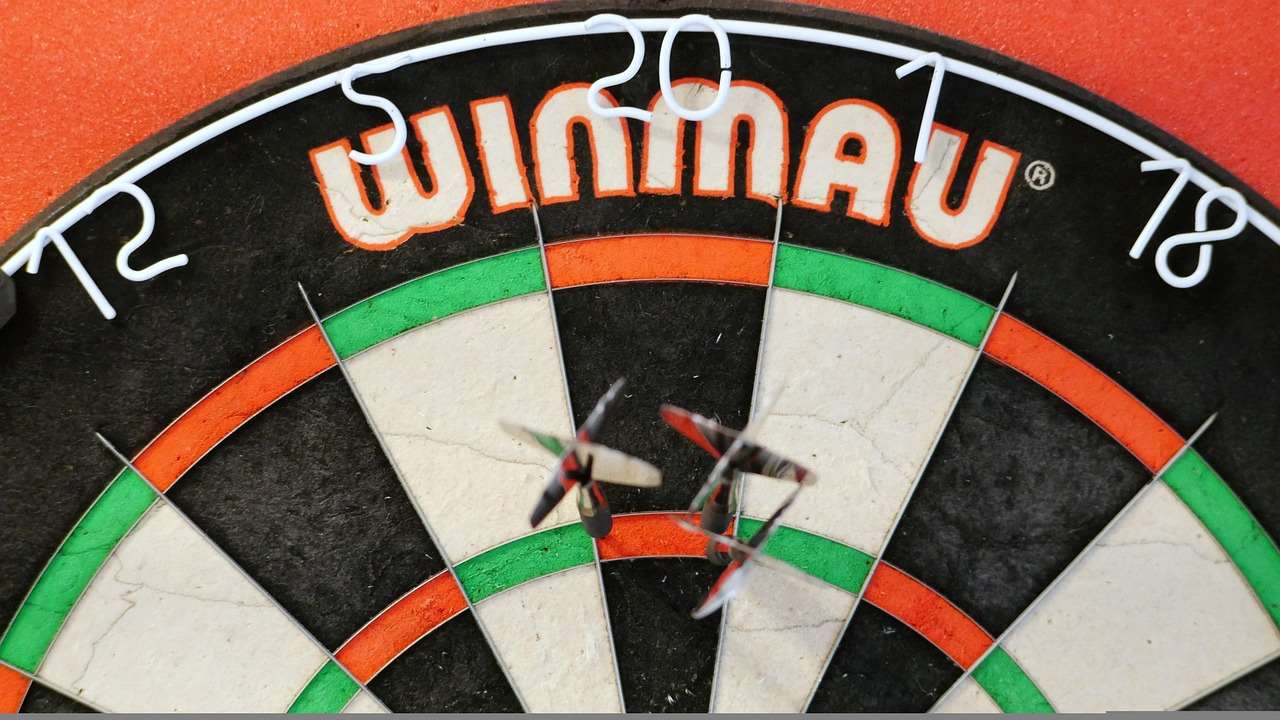
Specifically, issues arise when the physical dimensions of the board (like the radius of the bullseye or the width of the scoring segments) deviate from the values programmed into the dartboard’s software. Calibrating electronic dartboard sensors based on dimensions involves adjusting the sensor thresholds to match the actual, physical layout of the board. This is not simply a matter of setting the sensitivity higher or lower; it’s about ensuring that the sensors correctly interpret the signals they receive based on the board’s geometry.
Common Symptoms of Miscalibrated Sensors
- Ghosting: The dartboard registers hits in segments where no dart landed.
- Missed Scores: Darts land in a segment, but the dartboard doesn’t register the hit.
- Incorrect Scores: Darts land in one segment, but the dartboard registers a hit in an adjacent segment.
- Inconsistent Scoring: Similar throws result in different scores, even when the darts land in the same area.
Tools and Materials for Calibration
Before diving into the calibration process, gather the necessary tools. Having everything at hand will make the task smoother and more efficient. Here’s what you’ll need:
- Accurate Measuring Tool: A digital caliper is ideal for precise measurements, but a high-quality ruler or measuring tape can also work. Accuracy is key here!
- Screwdriver Set: Many electronic dartboards have internal access points secured with screws. Ensure you have a set of screwdrivers that fit the screws on your board.
- Manufacturer’s Specifications: Consult your dartboard’s manual for recommended sensor settings and specific dimensional information.
- Calibration Darts (Optional): Some manufacturers provide specific calibration darts. If you have them, use them for the most accurate results. Otherwise, use your regular darts.
- Notebook and Pen: Keep track of the measurements you take and the adjustments you make. This will help you revert to previous settings if needed.
Measuring Your Electronic Dartboard
This is a critical step in calibrating electronic dartboard sensors based on dimensions. Accurate measurements are the foundation of a successful calibration.
Key Dimensions to Measure
- Bullseye Radius: Measure the distance from the center of the bullseye to its outer edge.
- Double/Triple Ring Width: Measure the width of the double and triple rings. These are often the most sensitive areas for scoring inaccuracies.
- Segment Width: Measure the width of a standard scoring segment (e.g., the 20 segment) at both the inner and outer edges. Note any variations.
- Spider Height: Although less directly related to sensor calibration, knowing the height of the spider (the wire framework) can help diagnose bounce-outs and their potential impact on sensor readings.
Techniques for Accurate Measurement
- Take Multiple Measurements: Measure each dimension several times and calculate the average. This minimizes errors due to minor inconsistencies.
- Use Consistent Pressure: When using a caliper, apply consistent pressure to avoid compressing the plastic of the dartboard.
- Account for the Spider: The spider can slightly obscure the edge of the segments. Make sure your measurement is accurate to the edge of the scoring area, not the edge of the spider.
Remember, even small discrepancies can lead to significant scoring errors. Therefore, take your time and be as precise as possible.
If you’re new to darts, it might be a good idea to review Basic Darts Fundamentals for Beginners to get a better understanding of the game’s structure and scoring.
Accessing Sensor Settings
The method for accessing the sensor settings varies depending on the brand and model of your electronic dartboard. Consult your owner’s manual for specific instructions. However, here are some common methods:
- Dedicated Buttons: Some dartboards have dedicated buttons for accessing calibration or settings menus. Look for labels like “Calibration,” “Setup,” or “Options.”
- Button Combinations: You might need to press and hold specific button combinations to enter the settings menu. Again, refer to your manual for the correct combination.
- Hidden Menus: Some dartboards have hidden menus that can be accessed by entering a specific code or sequence of button presses. These menus often contain advanced calibration options.
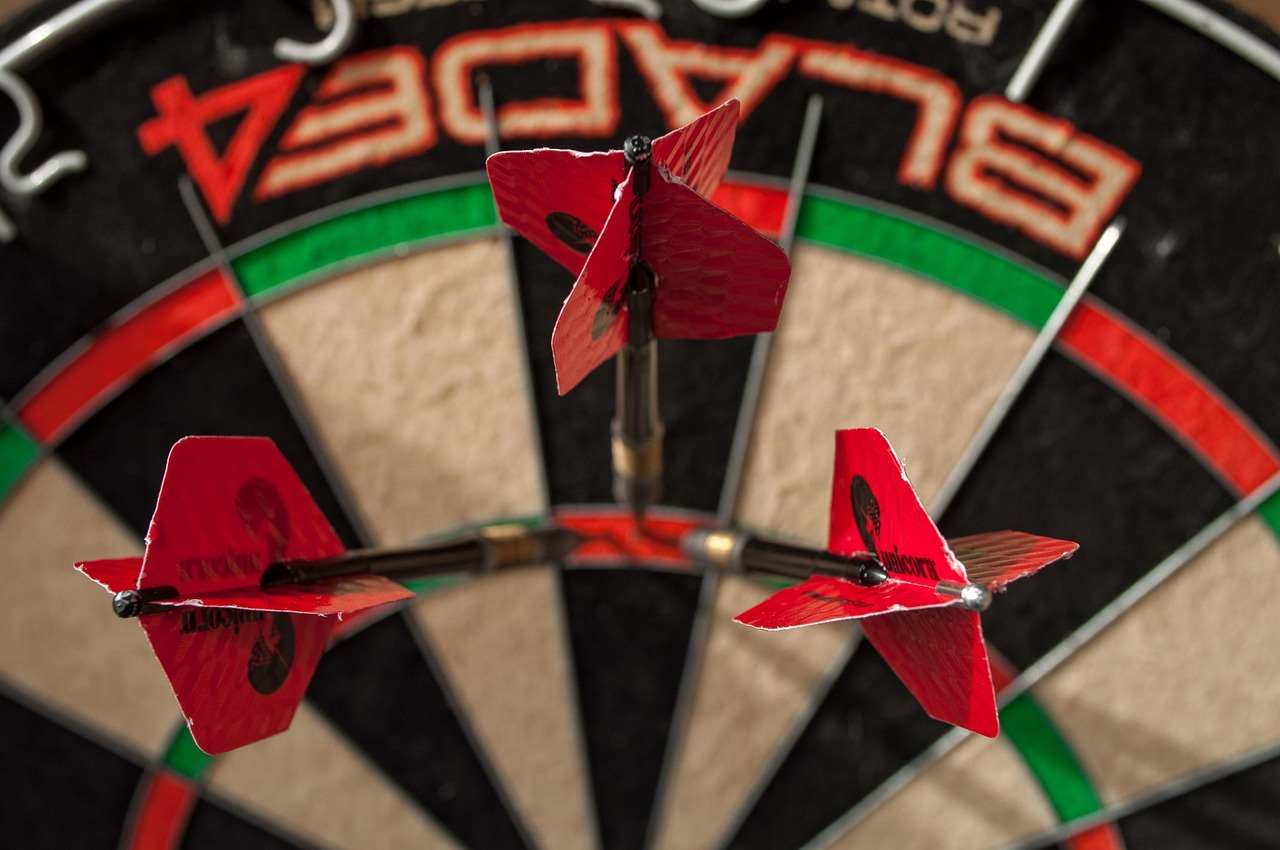
Once you’ve accessed the settings menu, navigate to the sensor calibration options. This might be labeled as “Sensor Sensitivity,” “Calibration,” or something similar. Be prepared to experiment and carefully document the changes you make.
Fine-Tuning Sensor Sensitivity
Now comes the crucial part of calibrating electronic dartboard sensors based on dimensions: adjusting the sensor sensitivity. This is where you’ll use the measurements you took earlier to fine-tune the dartboard’s response.
Understanding Sensitivity Levels
Most electronic dartboards allow you to adjust the sensitivity of individual sensors or groups of sensors. A higher sensitivity setting means that the sensor will register hits more easily, while a lower sensitivity setting requires a stronger impact to register a hit.
Adjusting Based on Measurements
Here’s how to use your measurements to guide your adjustments:
- If the dartboard is missing scores: Increase the sensitivity of the relevant sensors. Start with small increments and test frequently.
- If the dartboard is ghosting: Decrease the sensitivity of the relevant sensors. Again, make small adjustments and test.
- Focus on Problem Areas: Pay particular attention to the double and triple rings, as these are often the most sensitive areas.
Iterative Testing and Adjustment
The key to successful calibration is iterative testing and adjustment. After making each adjustment, throw several darts at the target area and observe the results. If the scoring is still inaccurate, make further adjustments until you achieve the desired result. This process may take some time and patience, but it’s essential for optimal performance.
If you’re playing with people of different skill levels, you may want to learn about How to make darts fairer with handicap rules.
Advanced Calibration Techniques
For some electronic dartboards, you may have access to more advanced calibration options. These options allow you to fine-tune the sensor response in even greater detail.
Individual Sensor Calibration
Some dartboards allow you to adjust the sensitivity of each individual sensor separately. This can be useful for addressing specific scoring issues in particular segments.
Threshold Adjustment
Threshold adjustment allows you to set the minimum signal strength required to register a hit. This can be useful for eliminating ghosting caused by ambient noise or vibration.
Calibration Darts
If your dartboard came with calibration darts, use them according to the manufacturer’s instructions. These darts are designed to provide a consistent impact force, which can improve the accuracy of the calibration process.
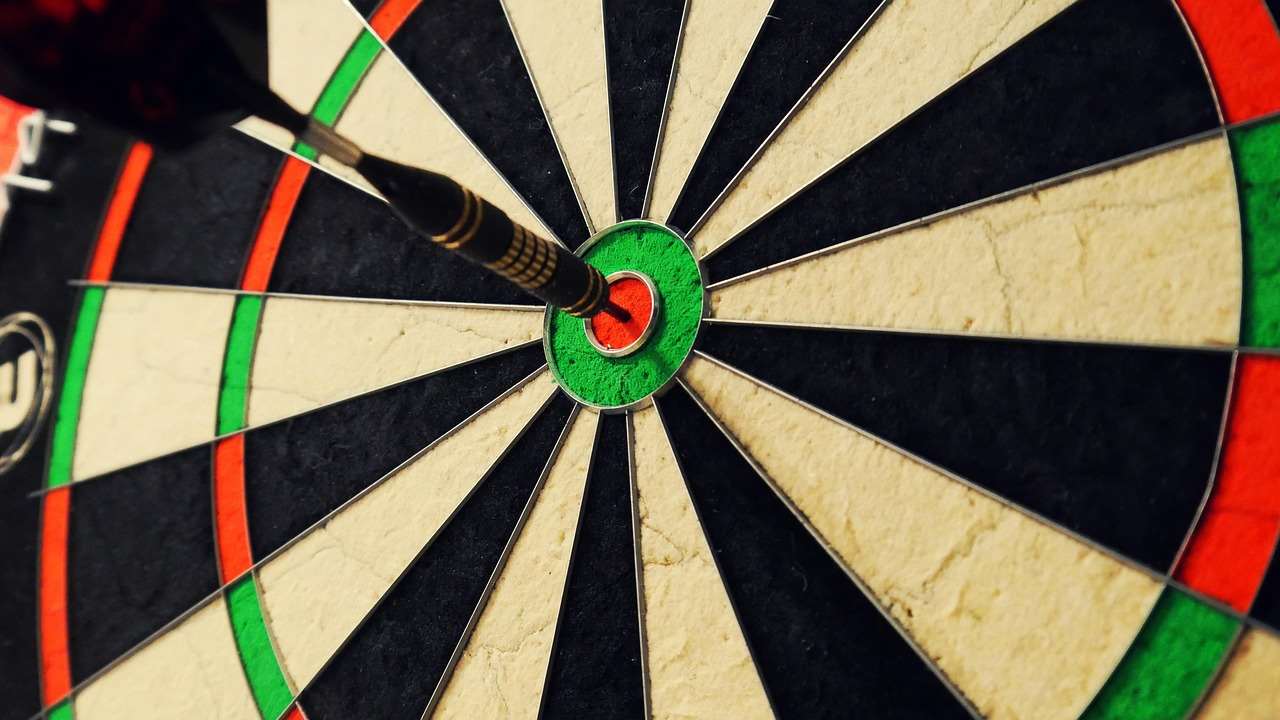
Be careful when using advanced calibration techniques, as incorrect settings can worsen the problem. Always refer to your owner’s manual for guidance, and don’t be afraid to start over if you make a mistake.
Troubleshooting Common Calibration Issues
Even with careful measurement and adjustment, you may encounter some common calibration issues. Here’s how to troubleshoot them:
- Persistent Ghosting: If you’re still experiencing ghosting after lowering the sensor sensitivity, check for external sources of vibration, such as a nearby washing machine or subwoofer. Try moving the dartboard to a more stable location.
- Consistent Missed Scores: If you’re consistently missing scores in a particular segment, check for obstructions in front of the sensor, such as a loose wire or a piece of debris.
- Inconsistent Scoring: If the scoring is inconsistent, try cleaning the sensor contacts with a soft cloth. Dust and debris can interfere with the sensor’s ability to detect hits accurately.
If you’ve tried all of these troubleshooting steps and you’re still experiencing problems, consult your owner’s manual or contact the manufacturer for assistance.
Preventative Maintenance for Optimal Performance
Once you’ve successfully calibrated electronic dartboard sensors based on dimensions, it’s important to maintain the board properly to ensure optimal performance over time.
- Regular Cleaning: Clean the dartboard regularly with a soft, dry cloth to remove dust and debris.
- Dart Maintenance: Keep your darts in good condition by sharpening the tips and tightening the flights. Dull dart tips can cause bounce-outs, which can damage the sensor surface.
- Avoid Extreme Temperatures: Avoid exposing the dartboard to extreme temperatures or humidity, as this can damage the sensors and electronics.
- Firm Mounting: Securely mount the dartboard to a stable surface to minimize vibration and movement.
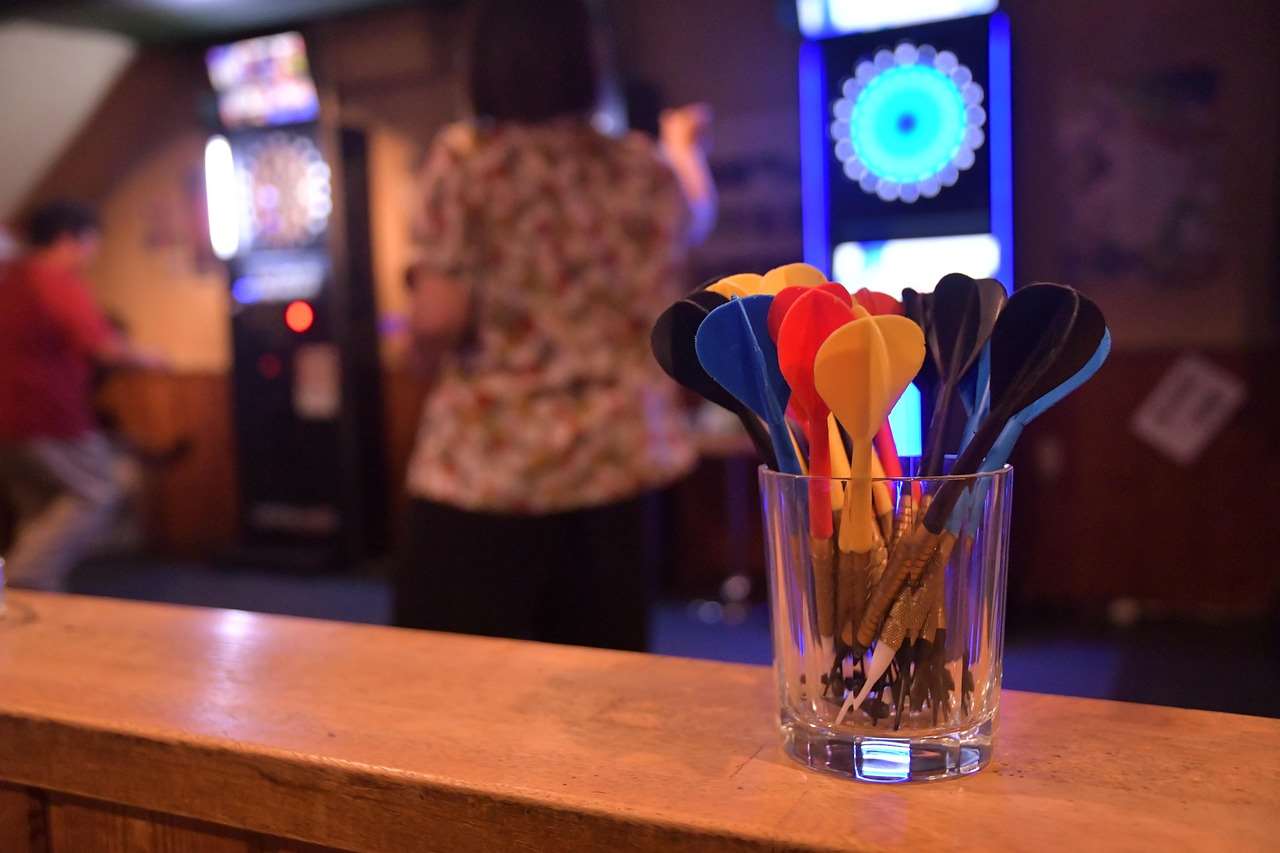
By following these preventative maintenance tips, you can extend the life of your electronic dartboard and ensure accurate scoring for years to come.
Looking to add some variety to your games? Check out Fun dart game variations with modified rules to keep things interesting!
Conclusion
Calibrating electronic dartboard sensors based on dimensions is an essential process for ensuring accurate scoring and a fair game. By carefully measuring your board, accessing the sensor settings, and fine-tuning the sensitivity, you can eliminate frustrating miscounts and improve your overall dart-playing experience. Remember to be patient, take accurate measurements, and test frequently. With a little time and effort, you can transform your electronic dartboard into a precision scoring machine. Now, grab your darts and enjoy a perfectly calibrated game! If you’re a beginner, remember to review Basic Darts Fundamentals for Beginners.
Hi, I’m Dieter, and I created Dartcounter (Dartcounterapp.com). My motivation wasn’t being a darts expert – quite the opposite! When I first started playing, I loved the game but found keeping accurate scores and tracking stats difficult and distracting.
I figured I couldn’t be the only one struggling with this. So, I decided to build a solution: an easy-to-use application that everyone, no matter their experience level, could use to manage scoring effortlessly.
My goal for Dartcounter was simple: let the app handle the numbers – the scoring, the averages, the stats, even checkout suggestions – so players could focus purely on their throw and enjoying the game. It began as a way to solve my own beginner’s problem, and I’m thrilled it has grown into a helpful tool for the wider darts community.