Getting your **dart board measurements** correct is crucial for fair and enjoyable gameplay; adhering to these official standards ensures consistency whether you’re playing a friendly game at home or competing in a serious tournament. This article will guide you through all the essential **dart board measurements**, including the height, throwing distance, and the bullseye’s specific dimensions, so you can set up your dartboard like a pro.
⚠️ Still Using Pen & Paper (or a Chalkboard)?! ⚠️
Step into the future! The Dart Counter App handles all the scoring, suggests checkouts, and tracks your stats automatically. It's easier than you think!
Try the Smart Dart Counter App FREE!Ready for an upgrade? Click above!
Understanding Official Dart Board Measurements
The official **dart board measurements** are dictated by the World Darts Federation (WDF) and the Professional Darts Corporation (PDC). These standards ensure that all games, regardless of location, are played under the same conditions. Let’s break down each measurement:
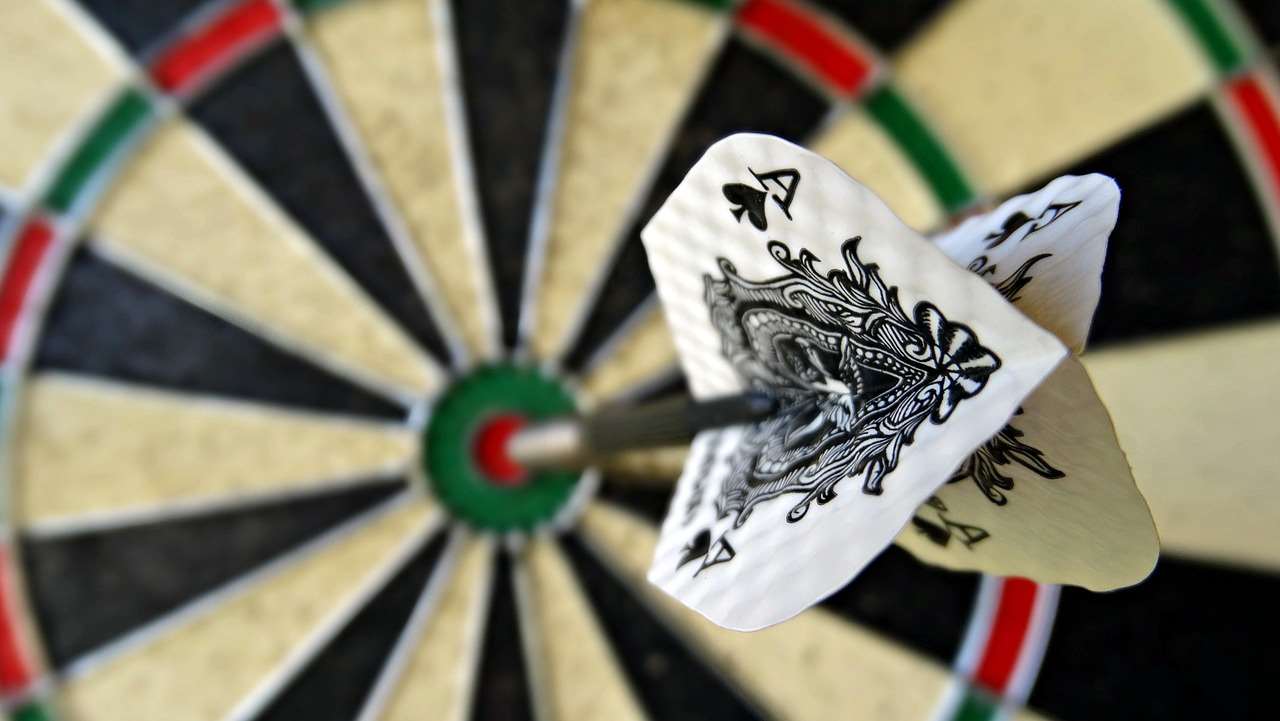
- Height: The distance from the floor to the center of the bullseye should be 5 feet 8 inches (1.73 meters).
- Throwing Distance: The oche, or throwing line, should be 7 feet 9 1/4 inches (2.37 meters) from the face of the dartboard. Some people measure from the wall, in which case the distance is 9 feet 7 3/8 inches (2.93 meters) when using a standard dartboard depth of 1 3/4 inches.
- Diagonal Distance: This is the distance from the bullseye to the oche. It should measure 9 feet 7 1/2 inches (2.93 meters).
Following these **dart board measurements** will give you an authentic and regulation playing experience. It also helps you practice under conditions that mimic professional settings.
Why are Standard Dart Board Measurements Important?
Using standardized **dart board measurements** is essential for several reasons:
- Fair Play: Standard measurements ensure fairness and consistency across different playing locations.
- Skill Development: Practicing with correct **dart board measurements** allows you to develop muscle memory and improve your accuracy.
- Tournament Compliance: If you plan to participate in any official tournaments, adhering to these standards is mandatory.
- Enjoyment: Playing on a properly set up board enhances the overall enjoyment of the game.
Step-by-Step Guide to Measuring Your Dartboard Setup
Setting up your dartboard with the correct **dart board measurements** might seem daunting, but it’s actually quite straightforward. Here’s a simple step-by-step guide:
- Locate the Bullseye Center: Most dartboards have a clear center point for the bullseye. If not, you can measure the diameter and find the center.
- Measure the Height: Using a measuring tape, measure 5 feet 8 inches (1.73 meters) from the floor and mark the spot on the wall. This is where the center of your bullseye should be.
- Mount the Dartboard: Securely mount your dartboard so that the bullseye aligns with the marked spot. Make sure it’s level.
- Measure the Throwing Distance: From the face of the dartboard, measure 7 feet 9 1/4 inches (2.37 meters) along the floor. Mark this spot – this is where your oche (throwing line) will be placed.
- Install the Oche: Place a raised oche (a physical marker) at the marked throwing distance. This can be a piece of wood, metal, or even tape.
- Double-Check the Diagonal: As a final check, measure the diagonal distance from the bullseye to the oche. It should be 9 feet 7 1/2 inches (2.93 meters). This confirms that both the height and throwing distance are accurate.
Following these steps guarantees that your **dart board measurements** are accurate, allowing you to play with confidence.

Tools You’ll Need for Accurate Dart Board Measurements
To ensure accurate **dart board measurements**, you’ll need a few essential tools:
- Measuring Tape: A long measuring tape (at least 10 feet) is crucial for accurate measurements.
- Level: A level ensures that your dartboard is mounted straight.
- Pencil: A pencil is needed to mark the wall for the bullseye height and throwing line.
- Drill and Screws: Depending on your wall type, you may need a drill and screws to mount the dartboard securely.
- Oche: A physical marker (such as a piece of wood or metal) to indicate the throwing line. Alternatively, you can also check out Electronic dart score counter
Having these tools readily available will make the setup process much smoother and more accurate.
Common Mistakes to Avoid When Setting Up Your Dartboard
Even with careful planning, it’s easy to make mistakes when setting up your dartboard. Here are some common errors to avoid to ensure correct **dart board measurements**:
- Incorrect Height: Not measuring the height accurately is a frequent mistake. Always double-check the height to ensure it’s precisely 5 feet 8 inches (1.73 meters).
- Inaccurate Throwing Distance: Measuring the throwing distance incorrectly can significantly impact your game. Use a reliable measuring tape and double-check your measurement.
- Unlevel Dartboard: A dartboard that isn’t level can affect your accuracy. Use a level to ensure it’s perfectly straight.
- Loose Mounting: A loosely mounted dartboard can wobble and affect your throws. Make sure it’s securely attached to the wall.
- Ignoring Diagonal Distance: While less common, forgetting to check the diagonal distance can result in cumulative errors. Always verify this measurement as a final check.
Avoiding these mistakes will ensure that your **dart board measurements** are accurate and that you have a fair and enjoyable playing experience. It’s always useful to check out steady dart tips too.
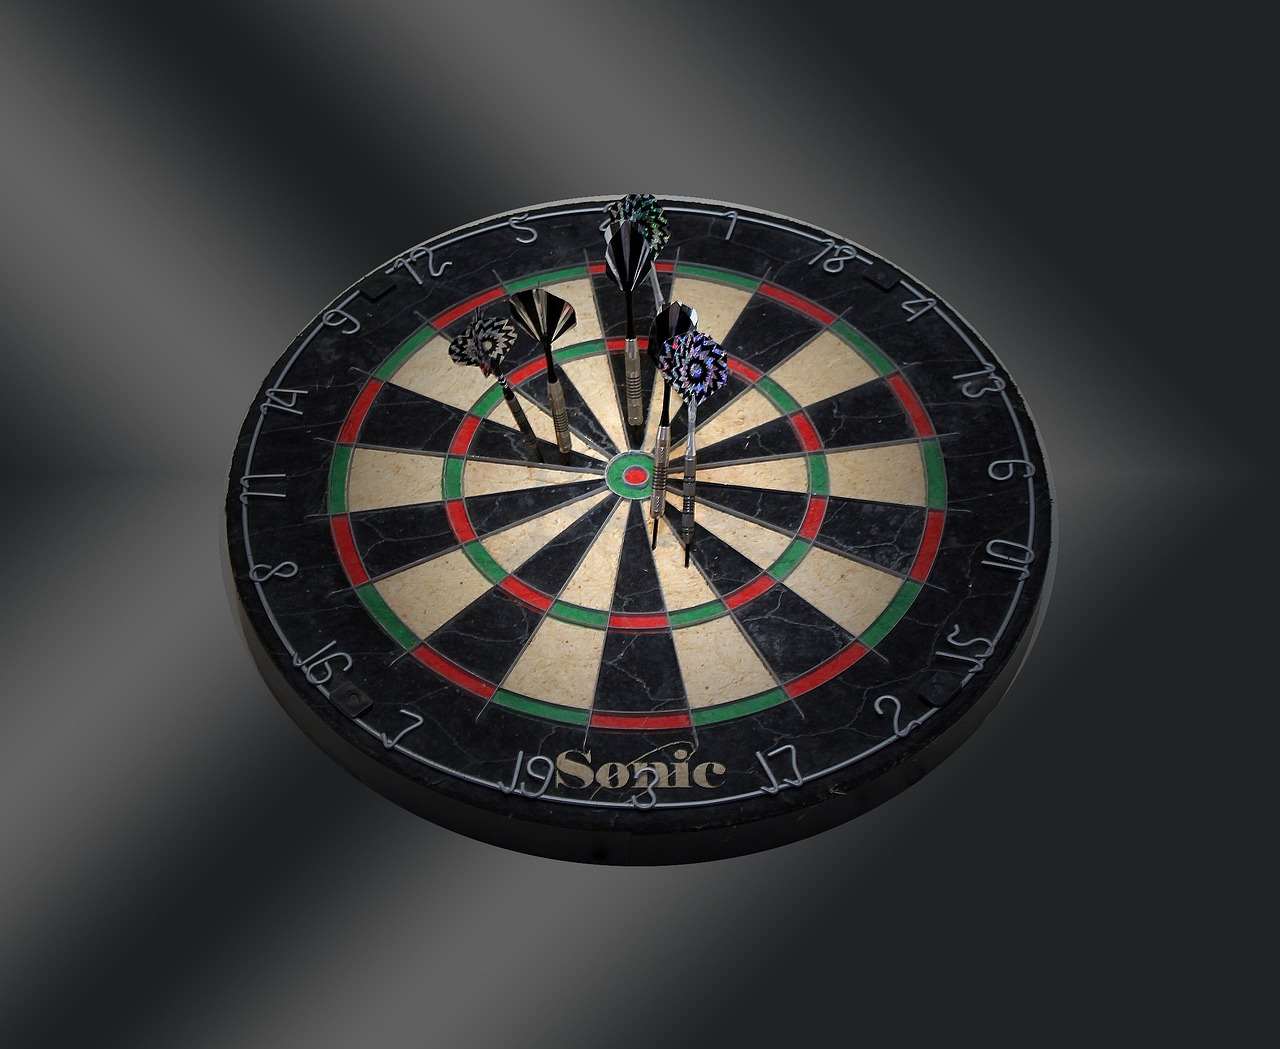
Beyond the Basics: Additional Considerations for Your Dart Setup
While the core **dart board measurements** are essential, there are other factors to consider for an optimal dart-playing environment:
- Lighting: Good lighting is crucial for clear visibility of the dartboard. Consider installing a dedicated dartboard light or ensuring adequate ambient lighting.
- Surround: A dartboard surround protects your wall from stray darts. It’s a worthwhile investment to prevent damage.
- Flooring: Consider using a dart mat to protect your floor from dropped darts and to provide a consistent playing surface.
- Space: Ensure you have enough clear space around the dartboard for comfortable movement and throwing.
- Distractions: Minimize distractions in the playing area to maintain focus and concentration.
These additional considerations can enhance your dart-playing experience and create a more professional setup.
Dart Board Measurement Variations: Soft-Tip vs. Steel-Tip
While the fundamental **dart board measurements** remain consistent between soft-tip and steel-tip dartboards, there are subtle differences to be aware of:
- Dartboard Material: Steel-tip dartboards are typically made of sisal fibers, while soft-tip dartboards are made of plastic with small holes.
- Scoring System: Soft-tip dartboards use electronic scoring systems, whereas steel-tip dartboards require manual scoring. You can improve this by using a dart scorer app.
- Dart Weight: Steel-tip darts are generally heavier than soft-tip darts.
- Segment Size: While the overall diameter is similar, the individual segments on a soft-tip dartboard might be slightly different in size to accommodate the electronic scoring sensors.
Despite these variations, the official height and throwing distance remain the same for both types of dartboards. Therefore, ensuring correct **dart board measurements** is always critical regardless of the dart type you use.
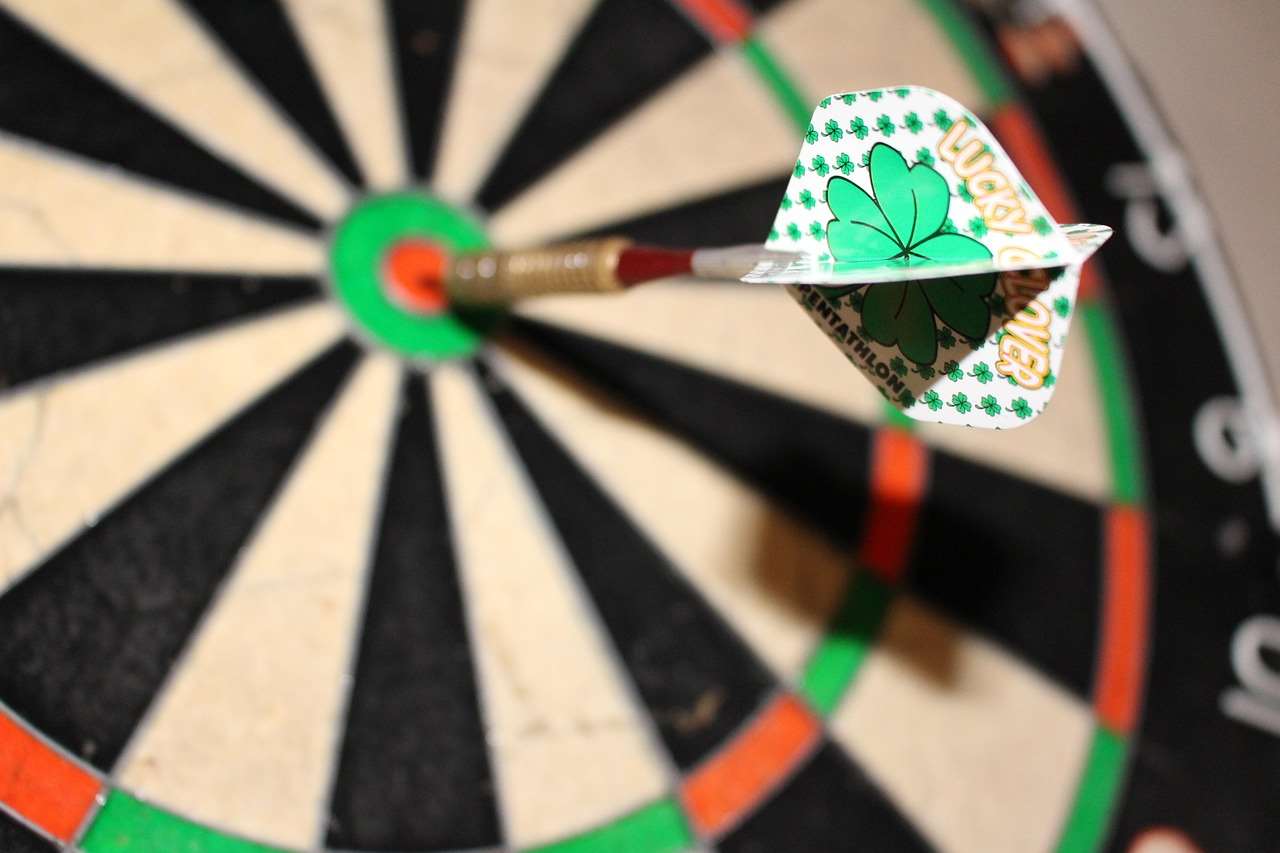
Troubleshooting Common Dartboard Setup Issues
Sometimes, even with careful **dart board measurements**, you might encounter issues. Here are some common problems and their solutions:
- Darts Bouncing Out: If darts are frequently bouncing out, the dartboard may be too dry. Rotate the board regularly to distribute wear. Consider using a dartboard treatment to moisturize the sisal fibers (for steel-tip boards).
- Wobbly Dartboard: If the dartboard is wobbling, tighten the mounting hardware or use shims to stabilize it.
- Uneven Scoring: If you notice uneven scoring, double-check that the dartboard is level and that the segments are properly aligned.
- Incorrect Throwing Distance: If your throws feel off, remeasure the throwing distance to ensure accuracy.
Addressing these issues promptly will help maintain your dartboard setup and improve your playing experience. If you want to improve the experience, you should check out darts live score board.
Dart Board Maintenance Tips to Prolong Its Life
Proper maintenance is key to extending the lifespan of your dartboard. Here are some essential tips:
- Rotate the Board: Regularly rotating your dartboard distributes wear and prevents certain areas from becoming overly worn.
- Clean the Board: Use a soft brush to remove dust and debris from the board. Avoid using liquids, as they can damage the sisal fibers (for steel-tip boards).
- Moisturize the Board: For steel-tip dartboards, consider using a dartboard treatment to moisturize the sisal fibers and prevent them from drying out.
- Protect from Sunlight: Avoid exposing your dartboard to direct sunlight, as this can cause the colors to fade and the sisal fibers to dry out.
- Store Properly: If you’re not using the dartboard for an extended period, store it in a cool, dry place to prevent damage.
Following these maintenance tips will help you keep your dartboard in good condition for years to come.
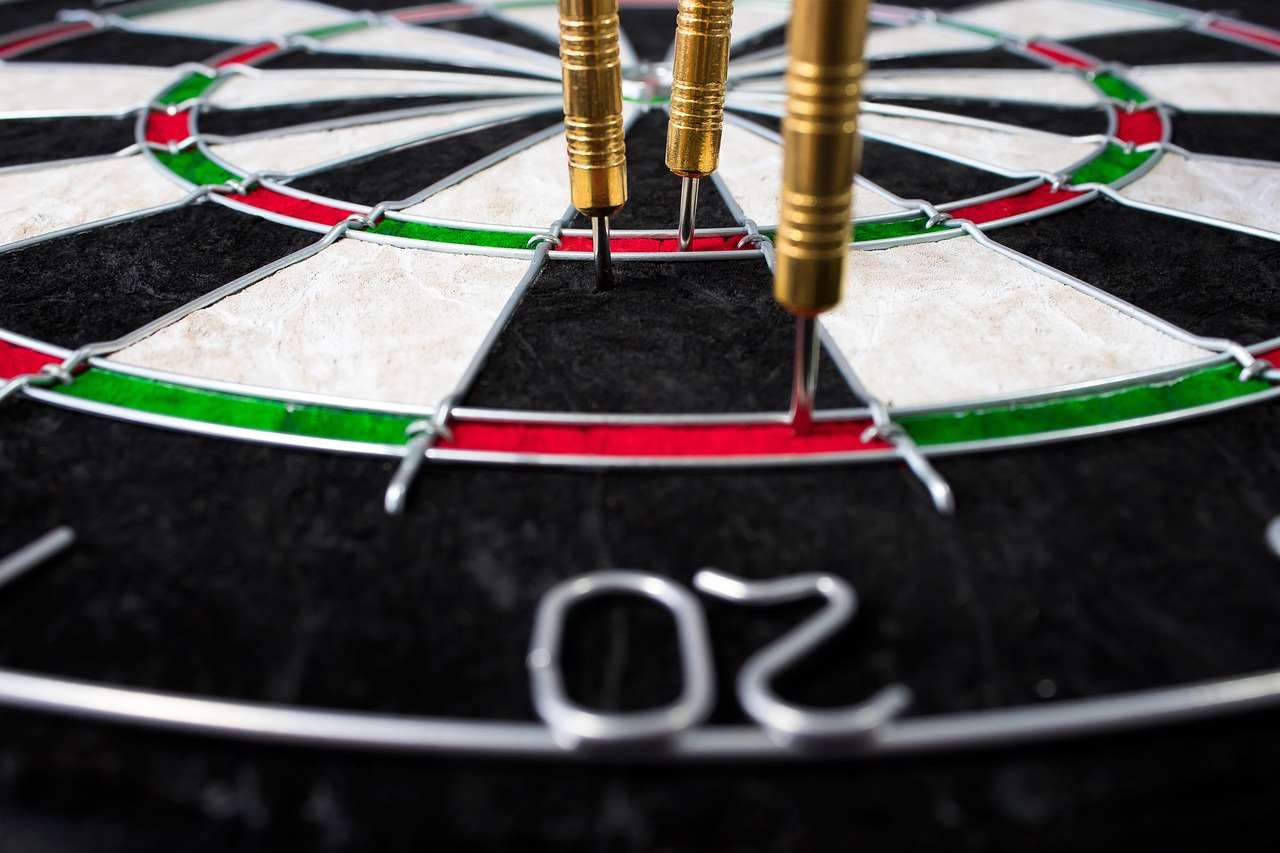
Conclusion
Accurate **dart board measurements** are paramount for fair play, skill development, and overall enjoyment of the game. By understanding the official standards, following our step-by-step guide, and avoiding common mistakes, you can ensure that your dartboard is set up correctly. Remember to consider additional factors like lighting and surrounds, and to perform regular maintenance to prolong the life of your board. Now that you’re equipped with this knowledge, grab your darts and enjoy a perfectly calibrated game! Interested in joining a local game? Search for dart tournaments near me. Consider investing in a quality measuring tape and get started today.
Hi, I’m Dieter, and I created Dartcounter (Dartcounterapp.com). My motivation wasn’t being a darts expert – quite the opposite! When I first started playing, I loved the game but found keeping accurate scores and tracking stats difficult and distracting.
I figured I couldn’t be the only one struggling with this. So, I decided to build a solution: an easy-to-use application that everyone, no matter their experience level, could use to manage scoring effortlessly.
My goal for Dartcounter was simple: let the app handle the numbers – the scoring, the averages, the stats, even checkout suggestions – so players could focus purely on their throw and enjoying the game. It began as a way to solve my own beginner’s problem, and I’m thrilled it has grown into a helpful tool for the wider darts community.