Setting up your dartboard correctly is crucial for fair play, accurate scoring, and protecting your walls; proper dartboard setup means adhering to specific measurements and using the right mounting techniques. This article will guide you through every step, from measuring the official height and distance to securely mounting your board and understanding essential accessories.
⚠️ Still Using Pen & Paper (or a Chalkboard)?! ⚠️
Step into the future! The Dart Counter App handles all the scoring, suggests checkouts, and tracks your stats automatically. It's easier than you think!
Try the Smart Dart Counter App FREE!Ready for an upgrade? Click above!
Essential Measurements for Your Dartboard Setup
Before you even think about mounting your dartboard, you need to understand the official regulations set by governing bodies like the World Darts Federation (WDF). These measurements ensure consistent play, whether you’re practicing at home or competing in a tournament.
Dartboard Height: The Bullseye’s Position
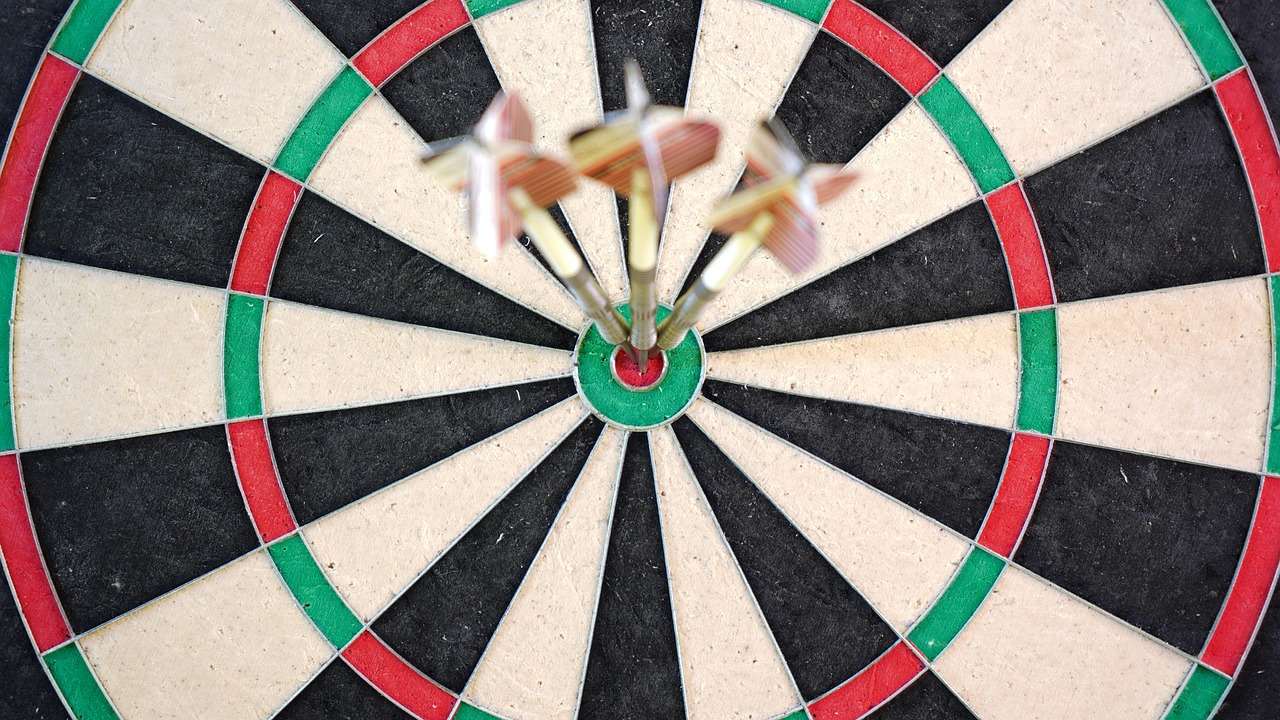
The most important measurement is the height of the bullseye. The official height from the floor to the center of the bullseye on the dartboard is 5 feet 8 inches (1.73 meters). Use a tape measure and a level to ensure accuracy. A slight inaccuracy can significantly affect your aim, so don’t skip this step.
Oche Distance: Stepping Up to the Line
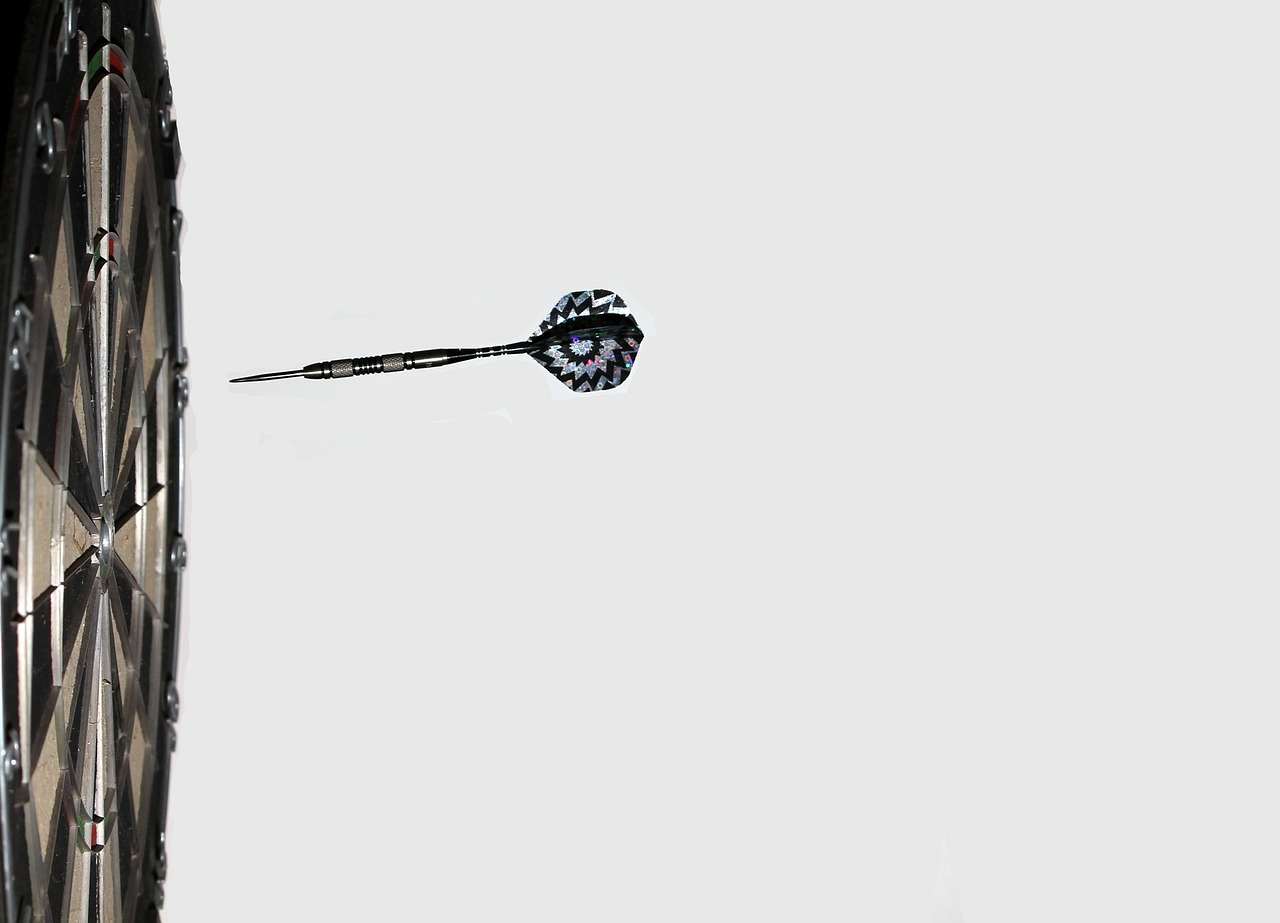
The oche, or throwing line, is just as critical. There are two common measurements for the oche distance, depending on where you’re measuring from. The horizontal distance from the face of the dartboard to the oche is 7 feet 9 1/4 inches (2.37 meters). Another measurement, commonly used is measuring diagonally from the bullseye to the oche, which is 9 feet 7 3/8 inches (2.93 meters). Make sure you clearly define where you start your measurement from to ensure accurate results. A correctly measured oche ensures proper throwing form and consistency.
Step-by-Step Guide to Mounting Your Dartboard
Once you have your measurements, it’s time to mount your dartboard. This process can seem daunting, but with the right tools and patience, anyone can do it. Securing your dartboard properly is essential for safety and preventing damage to your walls.
Gather Your Tools and Materials
You’ll need the following tools and materials:
- A measuring tape
- A pencil
- A level
- A drill with appropriate drill bits (depending on your wall type)
- Screws or mounting hardware (usually included with the dartboard)
- A stud finder (optional, but highly recommended)
- A dartboard surround (to protect your wall)
Finding a Stud or Using Anchors
Ideally, you should mount your dartboard directly onto a wall stud. Use a stud finder to locate a stud behind the wall. If you can’t find a stud, you’ll need to use wall anchors. Choose anchors that are appropriate for the weight of your dartboard and the type of wall you have (drywall, plaster, etc.). Consult a hardware store employee if you’re unsure which anchors to use. You may want to look at darts stand nearby.
Marking and Drilling Pilot Holes
Using your measurements, mark the spot where the bullseye should be on the wall. Use a level to ensure the mark is straight. Drill pilot holes for the screws or mounting hardware. If you’re using wall anchors, follow the instructions that come with the anchors to install them properly.
Mounting the Dartboard Bracket
Most dartboards come with a mounting bracket that attaches to the back of the board. Screw the bracket securely onto the back of the dartboard. Make sure it’s centered and aligned properly.
Hanging the Dartboard
Carefully hang the dartboard onto the screws or mounting hardware in the wall. Ensure it’s level and securely attached. Give it a gentle tug to make sure it won’t fall.
Choosing the Right Dartboard Surround
A dartboard surround is a padded ring that fits around the dartboard. It’s designed to protect your wall from stray darts. This is a worthwhile investment, especially if you’re a beginner or have plaster walls. There are different types of surrounds available, including rubber and foam surrounds. Choose one that fits snugly around your dartboard.
Understanding Lighting for Your Dartboard
Proper lighting is essential for a good dartboard experience. You need bright, even lighting that illuminates the entire dartboard without casting shadows. Several lighting options are available, including:
- Dartboard lights that attach directly to the board
- Overhead lights
- Floor lamps
Choose a lighting solution that provides adequate illumination and doesn’t create glare. Also, consider the dart board background when selecting lighting.
Dartboard Maintenance and Care
To ensure your dartboard lasts for years to come, it’s essential to perform regular maintenance. This includes:
- Rotating the dartboard regularly to distribute wear evenly.
- Removing any loose fibers or debris from the board.
- Using a dartboard cleaner to remove dirt and grime.
Essential Dartboard Accessories
In addition to the dartboard, surround, and lighting, several other accessories can enhance your dartboard experience. These include:
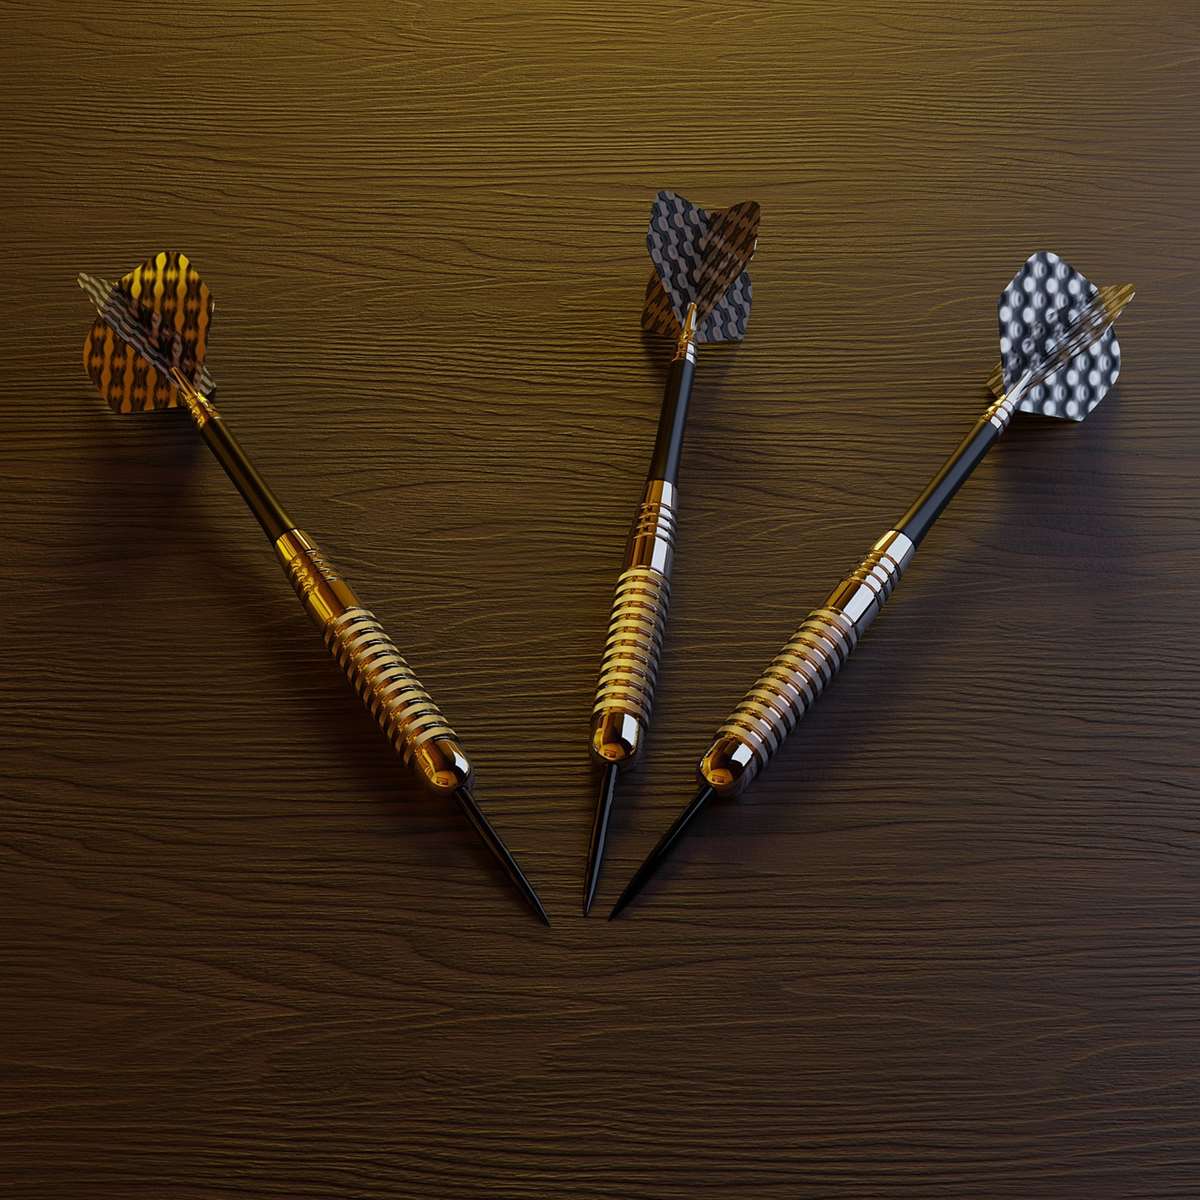
- Darts: Choose darts that are comfortable to hold and throw. Experiment with different weights and styles to find what works best for you. You can even check out the target darts of the month to see what’s trending.
- Dartboard cabinet: A cabinet provides a stylish way to conceal your dartboard when not in use.
- Oche mat: An oche mat provides a consistent throwing surface and protects your floor.
- Dart sharpener: A dart sharpener keeps your darts sharp for better grip on the dartboard.
Troubleshooting Common Dartboard Setup Problems
Even with careful planning, you might encounter problems during your dartboard setup. Here are some common issues and how to resolve them:
Dartboard Not Level
If your dartboard isn’t level, darts will tend to drift in one direction. Use a level to adjust the mounting until the board is perfectly level.
Dartboard Not Secure
If your dartboard is wobbly or loose, tighten the screws or mounting hardware. If necessary, use larger screws or more secure wall anchors. You want to avoid the board falling and damaging the wall, the board, or even worse, hurting someone!
Wall Damage
If you’re still experiencing wall damage despite using a surround, consider moving the dartboard to a different location or using a thicker surround. You can also try using a dartboard backboard, which provides additional protection for your wall. Ensure you correctly implement the darts afstand bord guidelines.
Advanced Dartboard Setup Tips
Once you’ve mastered the basics, you can take your dartboard setup to the next level with these advanced tips:
Customizing Your Oche
Instead of simply marking the oche with tape, consider installing a permanent oche line or a raised platform. This will provide a more consistent and professional throwing experience.
Integrating Technology
Consider using a practice darts app such as Practice darts app with scoring to help improve your skills.
Creating a Dedicated Darts Room
If you’re serious about darts, consider dedicating an entire room to the game. This will allow you to create the ultimate dartboard setup, with plenty of space for throwing, scoring, and relaxing.
Choosing the Right Dartboard: Sisal vs. Electronic
When it comes to dartboards, you have two main choices: traditional sisal dartboards and electronic dartboards. Each has its own advantages and disadvantages.
Sisal Dartboards
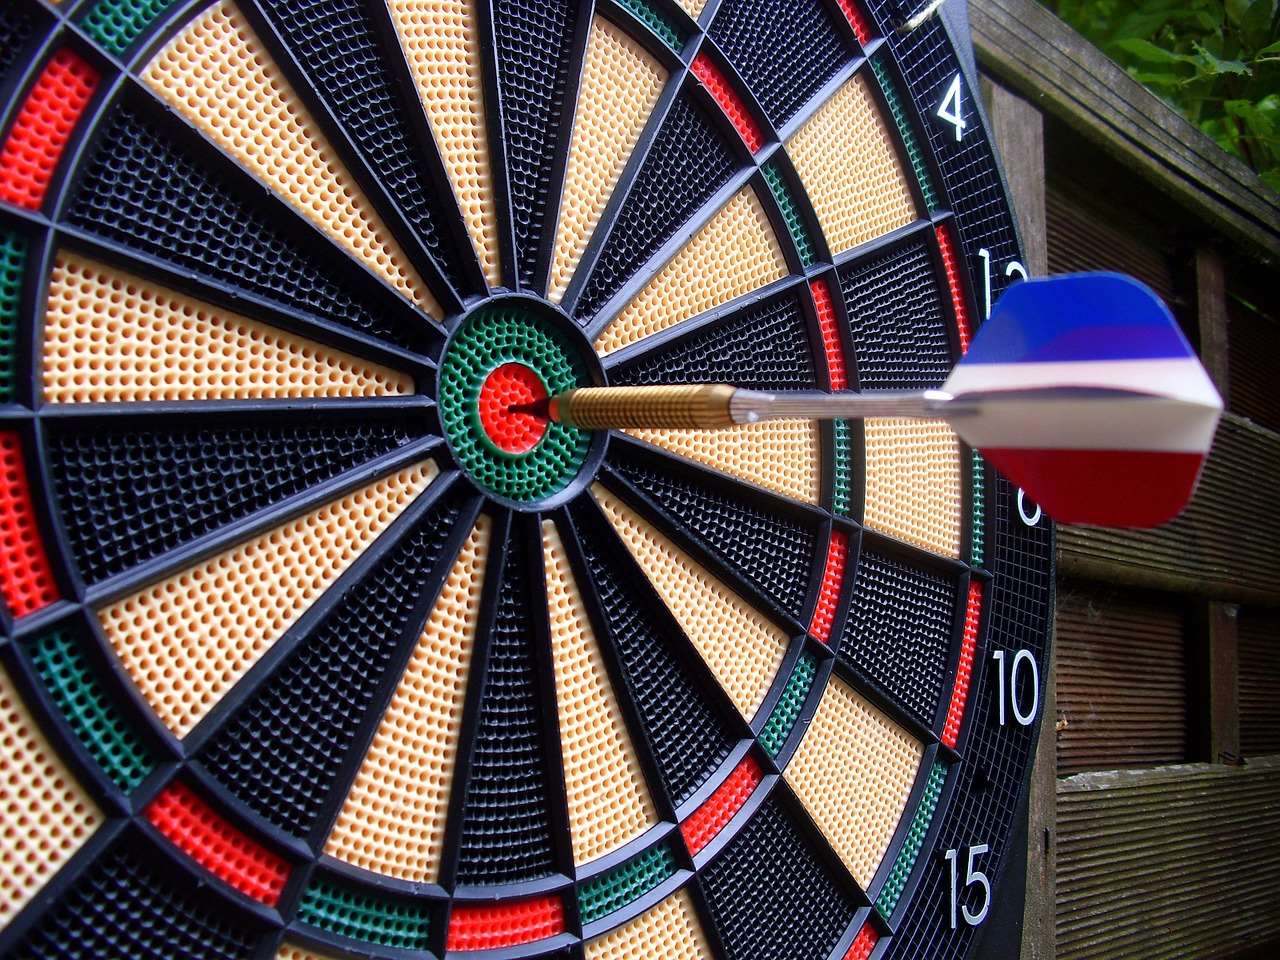
Sisal dartboards are made from tightly packed fibers that naturally heal when darts are removed. They offer a more traditional and authentic dartboard experience. Sisal boards require more maintenance but are preferred by most serious players.
Electronic Dartboards
Electronic dartboards automatically score your darts and offer various game modes. They’re a great option for casual players and beginners. However, they can be more expensive than sisal boards and may not be as durable. You might even consider looking into darts scoring format.
The Psychology of Dartboard Setup
Believe it or not, the dartboard setup can even have a psychological impact on your game. A well-lit, properly mounted dartboard can boost your confidence and help you focus. Conversely, a poorly set up dartboard can lead to frustration and poor performance.
Creating a Positive Environment
Make sure your dartboard setup is in a clean, well-organized space. Avoid clutter and distractions. Consider adding some artwork or decorations to create a positive and inviting atmosphere. Check for any new updates on darts results yesterday luke littler. It is important to stay in the know when it comes to the world of darts.
Visual Cues
Use visual cues, such as a colored oche line or a dartboard surround with contrasting colors, to help you align your body and focus your attention.
Dartboard Setup for Different Spaces
The ideal dartboard setup will vary depending on the space you have available. Here are some tips for setting up a dartboard in different environments:
Small Apartments
In a small apartment, space is at a premium. Consider using a dartboard cabinet that can be closed when not in use. Mount the dartboard on a wall that doesn’t have any furniture in front of it.
Basements
Basements often have low ceilings, so make sure you have enough headroom to throw comfortably. Install proper lighting to compensate for the lack of natural light.
Garages
Garages can be dusty and dirty, so clean the area thoroughly before setting up your dartboard. Consider using a dartboard surround to protect the walls from dirt and grime.
Conclusion: Achieving the Perfect Dartboard Setup
A well-executed dartboard setup is more than just hanging a board on a wall; it’s about creating an environment that promotes fair play, accurate scoring, and enjoyable competition. By following the steps outlined in this guide, you can ensure that your dartboard setup meets official regulations, provides adequate protection for your walls, and enhances your overall darts experience. So, gather your tools, take your measurements, and get ready to enjoy countless hours of dart-throwing fun. Now that you know all about setting up your dartboard, why not explore our website for more tips and tricks to improve your game? Good luck, and happy throwing!
Hi, I’m Dieter, and I created Dartcounter (Dartcounterapp.com). My motivation wasn’t being a darts expert – quite the opposite! When I first started playing, I loved the game but found keeping accurate scores and tracking stats difficult and distracting.
I figured I couldn’t be the only one struggling with this. So, I decided to build a solution: an easy-to-use application that everyone, no matter their experience level, could use to manage scoring effortlessly.
My goal for Dartcounter was simple: let the app handle the numbers – the scoring, the averages, the stats, even checkout suggestions – so players could focus purely on their throw and enjoying the game. It began as a way to solve my own beginner’s problem, and I’m thrilled it has grown into a helpful tool for the wider darts community.