Keeping your electronic dartboard clean is essential for maintaining its accuracy and prolonging its lifespan. This guide covers everything you need to know about Cleaning Electronic Dartboard, from gathering the right supplies to mastering the cleaning process and implementing preventive maintenance strategies. Learn how to keep your dartboard in top condition!
⚠️ Still Using Pen & Paper (or a Chalkboard)?! ⚠️
Step into the future! The Dart Counter App handles all the scoring, suggests checkouts, and tracks your stats automatically. It's easier than you think!
Try the Smart Dart Counter App FREE!Ready for an upgrade? Click above!
Why Cleaning Your Electronic Dartboard Matters
A dirty electronic dartboard can lead to several issues. Dust, dirt, and residue from broken darts can accumulate on the target segments, affecting the sensors and causing inaccurate scoring. Over time, this build-up can even damage the internal components, shortening the lifespan of your dartboard. Regular cleaning and maintenance are crucial for ensuring consistent performance and preventing costly repairs or replacements.
Think of it like this: just as you maintain your darts with regular sharpening and cleaning, the dartboard itself needs care to function properly. Ignoring the need for dartboard cleaning is like neglecting any other piece of valuable sporting equipment – it will inevitably lead to problems down the road.

The Impact of Dirt and Debris
The main culprit behind electronic dartboard malfunctions is the accumulation of dirt, dust, and dart debris. These particles can interfere with the sensors that register where the darts land. When the sensors are blocked or misaligned due to debris, the board may register scores inaccurately, or not register them at all. This can be frustrating during gameplay and can lead to disputes among players. It is crucial to understand the importance of choosing the right darts too, to prevent frequent breakages.
- Inaccurate scoring
- Missed dart registrations
- Reduced sensor sensitivity
- Potential damage to internal components
Gathering the Right Supplies for Dartboard Cleaning
Before you begin cleaning your electronic dartboard, it’s essential to gather the necessary supplies. Using the right tools will make the process easier and more effective, while also preventing damage to the delicate sensors and electronics within the board.
Essential Cleaning Tools and Materials
- Soft Microfiber Cloth: A microfiber cloth is ideal for wiping down the surface of the dartboard without scratching it. Avoid using abrasive materials that could damage the target segments.
- Isopropyl Alcohol (90% or higher): Isopropyl alcohol is a great cleaning agent because it evaporates quickly and doesn’t leave a residue. It helps dissolve dirt and grime without damaging the electronic components.
- Cotton Swabs: Cotton swabs are useful for cleaning hard-to-reach areas and crevices around the target segments and sensor holes.
- Compressed Air: A can of compressed air can help to blow away dust and debris from the internal components without having to disassemble the board.
- Soft Brush: A soft-bristled brush, like a toothbrush or paintbrush, can gently loosen dirt and debris from the surface of the dartboard.
The Cleaning Electronic Dartboard Process: A Step-by-Step Guide
Now that you’ve gathered your supplies, let’s walk through the process of cleaning your electronic dartboard step by step. Following these instructions carefully will ensure that you clean your dartboard effectively without causing any damage.
Step 1: Power Off and Unplug the Dartboard
Before you begin cleaning your dartboard, always make sure to power it off and unplug it from the electrical outlet. This is a crucial safety precaution to prevent any electrical shock or damage to the electronic components.
Step 2: Wipe Down the Surface with a Microfiber Cloth
Start by using a dry microfiber cloth to wipe down the entire surface of the dartboard. This will remove any loose dust, dirt, and debris. Pay close attention to the target segments and the area surrounding the bullseye. Remember to be gentle and avoid applying too much pressure.

Step 3: Apply Isopropyl Alcohol
Dampen a clean microfiber cloth with a small amount of isopropyl alcohol. Gently wipe down the target segments, focusing on areas with visible dirt or residue. Avoid using too much alcohol, as it could seep into the internal components and cause damage. Use a cotton swab dampened with alcohol to clean around the sensor holes and in tight crevices.
Step 4: Use Compressed Air
Use a can of compressed air to blow away any remaining dust and debris from the internal components of the dartboard. Focus on the sensor holes and any other areas where dirt may have accumulated. Hold the can of compressed air a few inches away from the surface of the dartboard and use short bursts to avoid damaging the sensors.
Step 5: Final Wipe Down
After using compressed air, give the entire surface of the dartboard a final wipe down with a clean, dry microfiber cloth. This will remove any remaining residue and ensure that the target segments are clean and dry.
Addressing Common Issues During Dartboard Cleaning
While cleaning an electronic dartboard is generally straightforward, you may encounter some common issues along the way. Knowing how to address these issues will help you to avoid damaging your dartboard and ensure that it is properly cleaned.
Dealing with Sticky Residue
If you encounter sticky residue on the target segments, try using a slightly stronger cleaning solution, such as a mixture of isopropyl alcohol and water. Apply the solution sparingly and be sure to wipe it off immediately with a clean, dry cloth. Avoid using harsh chemicals or abrasive cleaners, as they could damage the surface of the dartboard.
Removing Broken Dart Tips
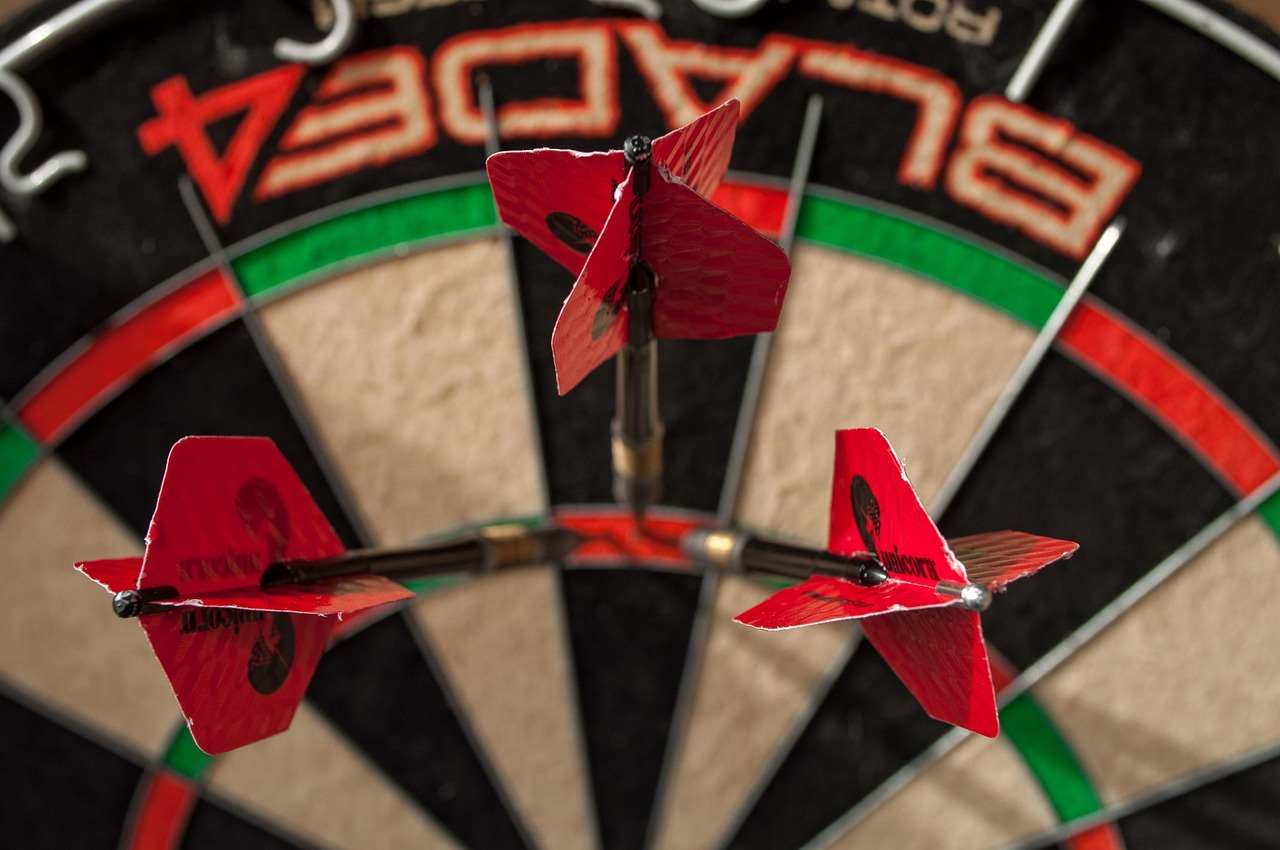
Broken dart tips can often become lodged in the target segments of an electronic dartboard. To remove a broken dart tip, use a pair of pliers or tweezers to gently pull it out. Be careful not to damage the surrounding segments. If the dart tip is deeply embedded, you may need to use a small drill bit to carefully extract it. Consider that beginners may want to start with budget friendly dart options when learning.
Preventing Sensor Damage
The sensors in an electronic dartboard are delicate and can be easily damaged if they are exposed to excessive moisture or pressure. To prevent sensor damage, avoid using too much liquid when cleaning the dartboard. Also, be gentle when wiping down the target segments and avoid pressing too hard.
Preventive Maintenance Tips for Your Electronic Dartboard
In addition to regular cleaning, there are several preventive maintenance tips that can help to prolong the lifespan of your electronic dartboard and keep it in top condition. Implementing these strategies will save you time and money in the long run.
Regularly Rotate the Target Segments
Over time, certain target segments may become worn or damaged due to frequent use. To prevent this, regularly rotate the target segments to distribute the wear evenly. This will help to extend the lifespan of the dartboard and ensure that all of the segments remain in good condition.
Use Quality Darts
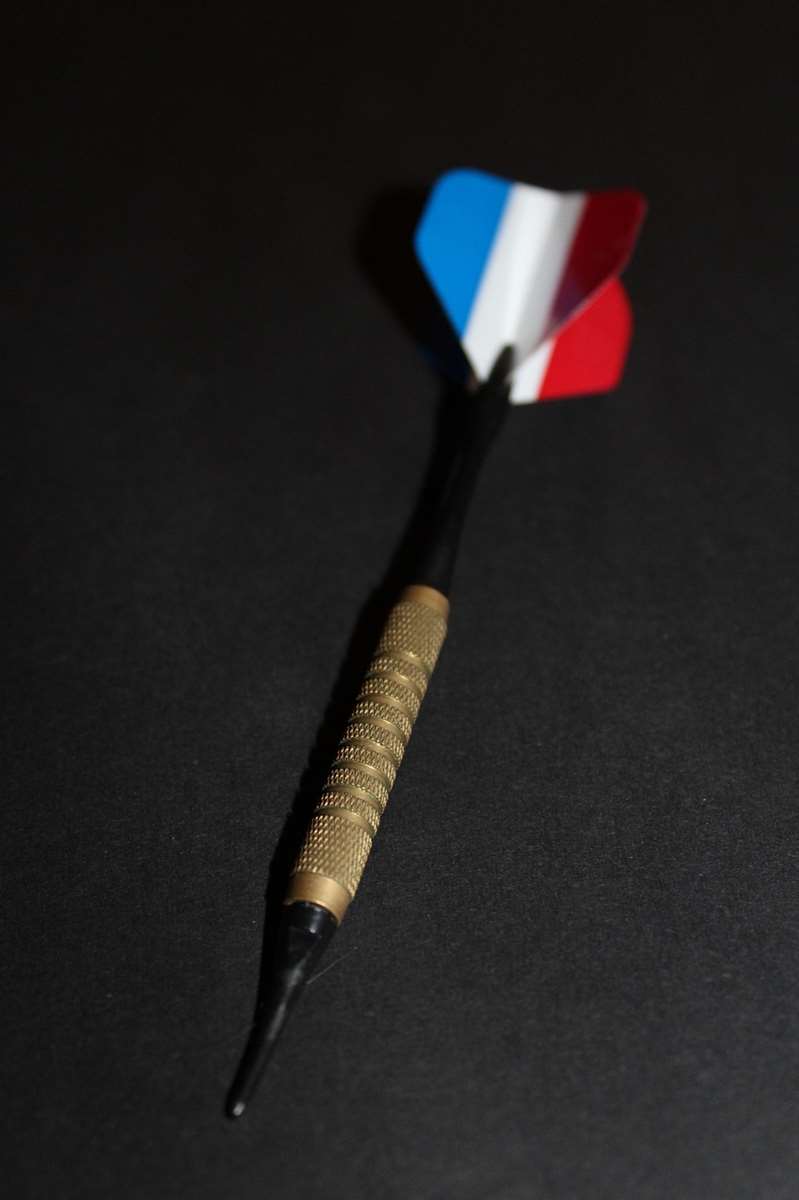
Using high-quality darts can also help to prolong the lifespan of your electronic dartboard. Darts with sharp, well-maintained tips are less likely to cause damage to the target segments. Avoid using darts with bent or broken tips, as they can damage the surface of the dartboard.
Protect Your Dartboard from Moisture
Moisture can damage the electronic components of your dartboard and cause it to malfunction. To protect your dartboard from moisture, avoid placing it in damp or humid environments. If you live in a humid area, consider using a dehumidifier to keep the air dry. Also, be careful not to spill any liquids on the dartboard.
Dust Cover
When not in use, cover your dartboard with a dust cover. This simple step can prevent dust and debris from accumulating on the target segments and help to keep the dartboard clean.
Troubleshooting Common Electronic Dartboard Problems
Even with regular cleaning and maintenance, you may still encounter some common problems with your electronic dartboard. Here are some troubleshooting tips to help you resolve these issues.
Inaccurate Scoring
If your dartboard is registering scores inaccurately, the first thing you should do is clean the target segments and sensor holes. Dirt and debris can interfere with the sensors and cause them to misread the dart placement. If cleaning doesn’t resolve the issue, you may need to recalibrate the sensors according to the manufacturer’s instructions.
Missed Dart Registrations
If your dartboard is not registering darts at all, the problem could be with the sensors or the wiring. Check to make sure that all of the wires are properly connected and that there are no loose connections. If the wiring is intact, the sensors may need to be replaced.
Dartboard Not Turning On
If your dartboard is not turning on, the first thing you should check is the power supply. Make sure that the dartboard is plugged into a working outlet and that the power cord is not damaged. If the power supply is working, the problem could be with the internal circuitry. In this case, you may need to consult a qualified technician.
When to Consider Professional Dartboard Cleaning or Repair
While most dartboard cleaning and maintenance tasks can be performed at home, there may come a time when you need to consider professional cleaning or repair services. If you are experiencing persistent problems with your dartboard, or if you are not comfortable disassembling it yourself, it is best to seek professional help.
Signs that you may need professional assistance include:
- Persistent scoring inaccuracies
- Frequent missed dart registrations
- Electrical malfunctions
- Visible damage to internal components
- Unfamiliar with the disassembling and reassembling process
A professional technician can diagnose and repair any underlying issues with your dartboard, ensuring that it is functioning properly and safely. Remember to consider dart quality and maintenance too, when looking at your overall dart setup.
Conclusion: Maintaining a Clean and Functional Electronic Dartboard
Cleaning your electronic dartboard is an essential part of maintaining its performance and longevity. By following the steps outlined in this guide, you can keep your dartboard clean, accurate, and ready for countless hours of fun. Remember to gather the right supplies, follow the cleaning process carefully, and implement preventive maintenance strategies to avoid common problems. Don’t forget to consider budget options if you are just starting out. If you encounter persistent issues, don’t hesitate to seek professional assistance. Invest the time and effort in caring for your electronic dartboard, and it will reward you with years of enjoyable gameplay. So, grab your cleaning supplies and get ready to give your dartboard the attention it deserves. Happy darting!
Hi, I’m Dieter, and I created Dartcounter (Dartcounterapp.com). My motivation wasn’t being a darts expert – quite the opposite! When I first started playing, I loved the game but found keeping accurate scores and tracking stats difficult and distracting.
I figured I couldn’t be the only one struggling with this. So, I decided to build a solution: an easy-to-use application that everyone, no matter their experience level, could use to manage scoring effortlessly.
My goal for Dartcounter was simple: let the app handle the numbers – the scoring, the averages, the stats, even checkout suggestions – so players could focus purely on their throw and enjoying the game. It began as a way to solve my own beginner’s problem, and I’m thrilled it has grown into a helpful tool for the wider darts community.