Successfully mounting a dartboard cabinet involves careful planning and precise execution to protect your walls and ensure an enjoyable playing experience. This article provides a step-by-step guide, covering everything from choosing the right location and gathering essential tools to the actual mounting process and finishing touches. We’ll also delve into troubleshooting common issues and exploring alternative mounting options.
⚠️ Still Using Pen & Paper (or a Chalkboard)?! ⚠️
Step into the future! The Dart Counter App handles all the scoring, suggests checkouts, and tracks your stats automatically. It's easier than you think!
Try the Smart Dart Counter App FREE!Ready for an upgrade? Click above!
Choosing the Right Location for Mounting Your Dartboard Cabinet
Before you even think about picking up a drill, you need to select the ideal spot for your dartboard cabinet. Several factors come into play here. Consider the following:
- Space: You’ll need ample clear space in front of the dartboard for throwing, typically around 8-10 feet. Ensure there are no obstructions like furniture or walkways.
- Wall Material: Identify the type of wall you’ll be mounting the dartboard cabinet on – drywall, plaster, or concrete. Each material requires different anchors and techniques.
- Lighting: Good lighting is crucial for accurate aiming and a pleasant playing experience. Natural light is ideal, but if that’s not available, consider installing a dedicated dartboard light.
- Safety: Think about safety. Avoid areas where stray darts could hit people or valuable objects. A clear and uncluttered surrounding is paramount.
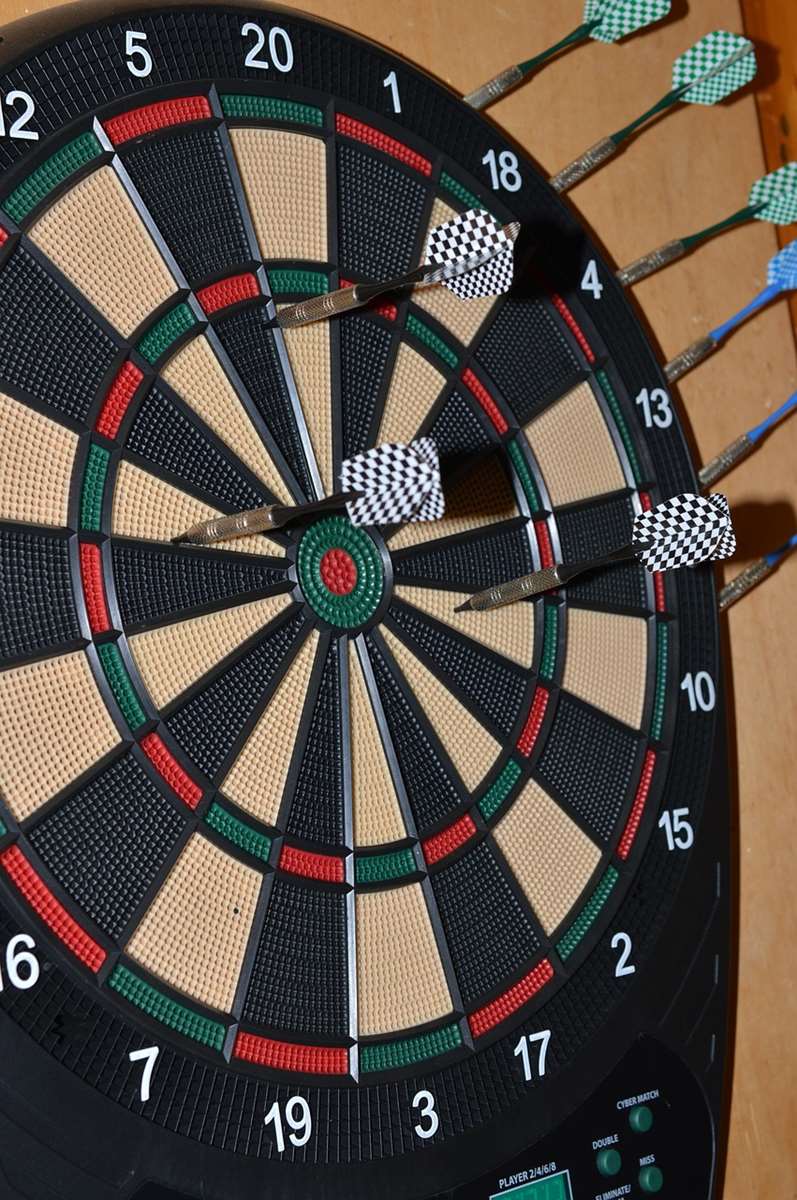
A level floor is also essential. An unlevel floor will cause inaccuracies in your throws and potentially damage the dartboard. Once you’ve assessed these factors, you can confidently move on to gathering your tools.
Gathering the Essential Tools and Materials
Having the right tools on hand will make the mounting dartboard cabinet process significantly smoother and more efficient. Here’s a checklist of what you’ll need:
- Dartboard Cabinet: Obviously! Ensure you have all the necessary hardware included, such as screws and hinges.
- Dartboard: This seems obvious, but make sure you have your dartboard ready to install into the cabinet once it’s mounted. If you are looking for tips on what to buy, you might consider reading Choose Best Dart Equipment.
- Measuring Tape: Accurate measurements are essential for proper dartboard height and distance.
- Pencil: For marking the wall and pilot holes.
- Level: Ensuring the dartboard cabinet is perfectly level is crucial for fair play.
- Stud Finder: If mounting to drywall, a stud finder will help you locate wall studs for secure anchoring.
- Drill: With appropriate drill bits for your wall type.
- Screwdriver: Both Phillips and flathead screwdrivers may be needed.
- Wall Anchors: Choose anchors appropriate for your wall type (drywall, plaster, concrete) and the weight of the dartboard cabinet.
- Safety Glasses: Protect your eyes from dust and debris.
Investing in quality tools will not only make this project easier but also serve you well for future DIY endeavors. Now that you’re equipped, let’s move on to the actual mounting process.
Step-by-Step Guide to Mounting Dartboard Cabinet
Follow these steps carefully to ensure a successful and secure mounting dartboard cabinet installation:
- Measure and Mark: Using your measuring tape and pencil, mark the location for the top of the dartboard cabinet on the wall. Remember the standard height: the bullseye should be 5 feet 8 inches (1.73 meters) from the floor. The throwing line (oche) should be 7 feet 9 1/4 inches (2.37 meters) from the face of the dartboard.
- Locate Studs (if applicable): Use a stud finder to locate wall studs near your marked location. If possible, aim to mount the cabinet directly to a stud for maximum stability.
- Pre-Drill Pilot Holes: If mounting to studs, pre-drill pilot holes through the cabinet’s mounting holes into the stud. If mounting to drywall without studs, pre-drill pilot holes for your wall anchors.
- Install Wall Anchors (if needed): If not mounting to studs, insert wall anchors into the pre-drilled holes. Ensure they are flush with the wall surface.
- Mount the Cabinet: Carefully align the cabinet with your marked location and pilot holes. Use the appropriate screws to attach the cabinet to the wall, either directly into the studs or into the wall anchors.
- Level and Adjust: Use a level to ensure the cabinet is perfectly vertical. Make any necessary adjustments by loosening and re-tightening the screws.
- Install the Dartboard: Follow the dartboard manufacturer’s instructions to install the dartboard within the cabinet.
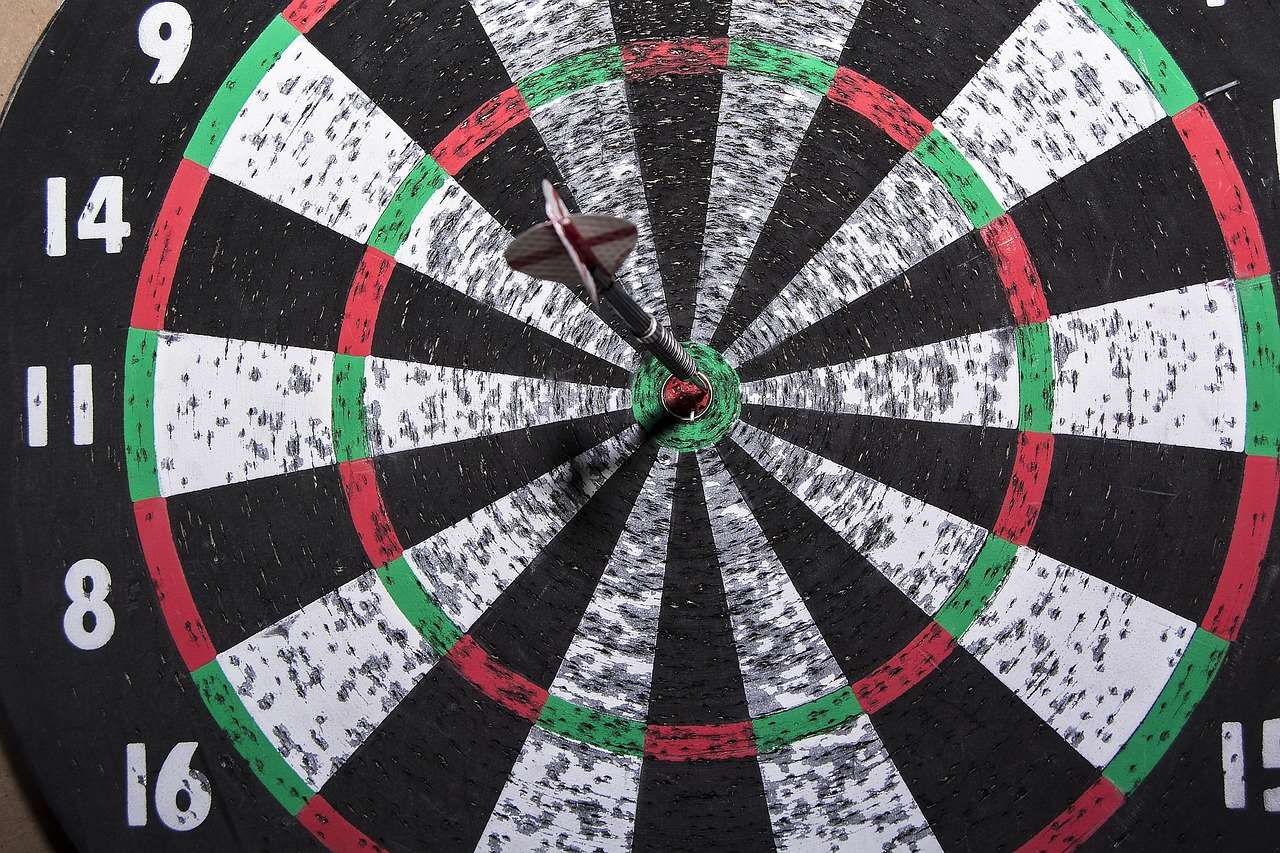
Take your time and double-check your measurements at each step. Precision is key to a professional-looking and functional installation. Also, remember that Are Premium Darts Worth It might be something to consider when thinking about how serious you are about darts.
Securing the Dartboard Cabinet to Drywall
Mounting dartboard cabinets on drywall requires special attention due to the material’s relative fragility. Wall anchors are essential for distributing the weight and preventing the cabinet from pulling away from the wall. There are several types of drywall anchors available, each with its own load capacity and installation method. Choose anchors that are rated for the weight of your dartboard cabinet and dartboard. Toggle bolts are often a good choice for heavier items. Always follow the manufacturer’s instructions for installing your chosen anchors.
Mounting on Concrete or Brick Walls
Mounting a dartboard cabinet on concrete or brick requires a different approach. You’ll need a hammer drill and masonry drill bits to create pilot holes. Use concrete screws or expansion bolts for secure anchoring. Be sure to wear safety glasses to protect your eyes from flying debris.
Troubleshooting Common Issues During Mounting
Even with careful planning, you might encounter some challenges during the mounting dartboard cabinet process. Here are some common issues and their solutions:
- Stripped Screws: If you strip a screw head, try using a rubber band or steel wool between the screwdriver and the screw. If that doesn’t work, you may need to use a screw extractor.
- Wall Anchors Not Holding: If your wall anchors are spinning in the hole, try using larger anchors or patching the hole and starting over.
- Cabinet Not Level: Double-check your measurements and adjust the screws as needed. You may need to use shims to level the cabinet perfectly.
- Difficulty Finding Studs: Sometimes studs can be tricky to locate. Try using a different stud finder or tapping on the wall to listen for a solid sound.
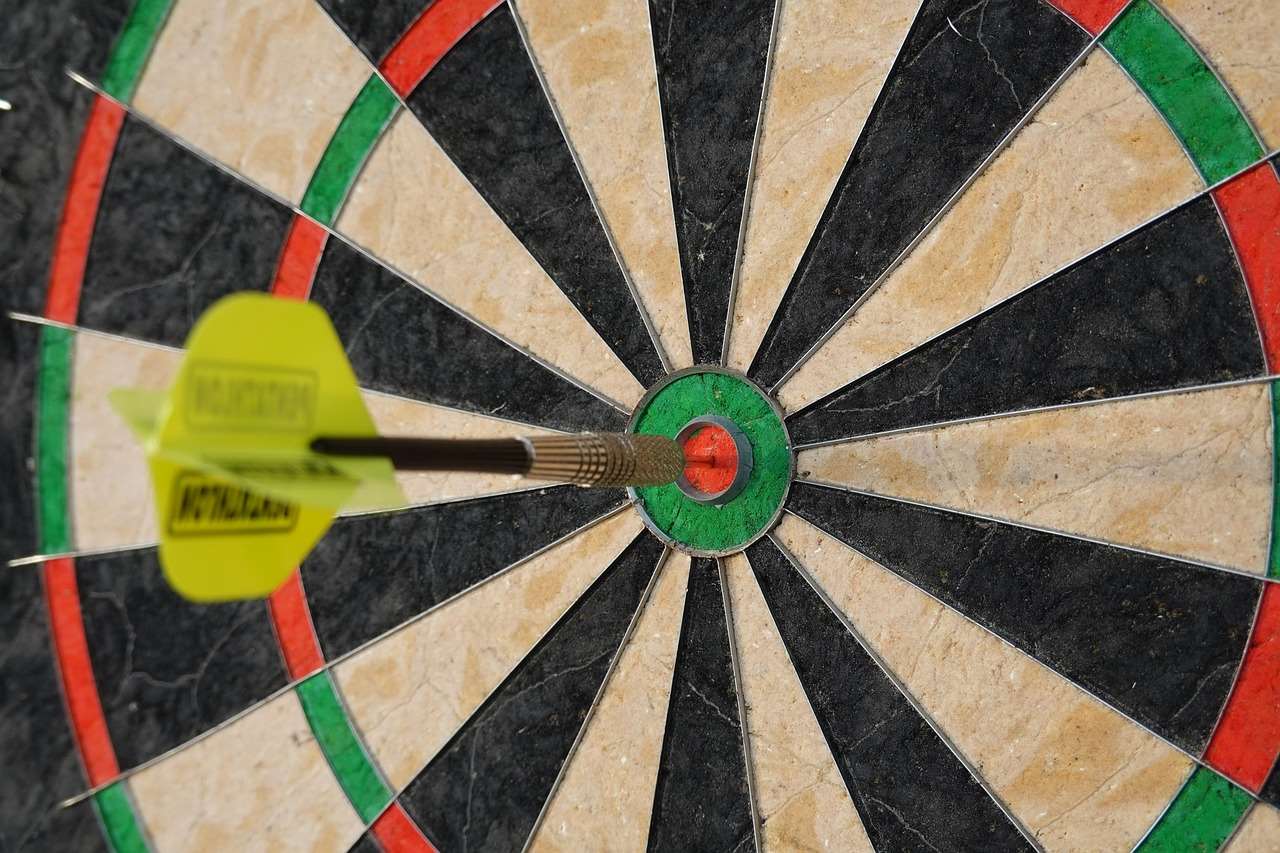
Don’t get discouraged if you run into problems. With a little patience and troubleshooting, you can overcome any obstacles and achieve a successful installation. Always prioritize safety and accuracy throughout the process.
Alternative Mounting Options for Dartboard Cabinets
While mounting a dartboard cabinet directly to the wall is the most common method, there are alternative options for situations where wall mounting isn’t feasible or desired. Consider these alternatives:
- Dartboard Stand: A dartboard stand provides a portable and freestanding solution. This is ideal for renters or those who don’t want to drill holes in their walls.
- Free-Standing Cabinet: Some dartboard cabinets are designed to be free-standing, eliminating the need for wall mounting.
- Custom-Built Frame: If you’re feeling creative, you can build a custom frame for your dartboard cabinet. This allows for a unique and personalized look.
These alternative options offer flexibility and convenience, making it easier to enjoy darts regardless of your living situation.
Finishing Touches and Maintaining Your Dartboard Cabinet
Once your mounting dartboard cabinet project is complete, add some finishing touches to enhance the playing experience and protect your investment:
- Install a Dartboard Surround: A dartboard surround protects your wall from stray darts and provides a professional look.
- Add Lighting: Install a dedicated dartboard light for optimal visibility.
- Regular Cleaning: Clean your dartboard and cabinet regularly to remove dust and debris.
- Protect the Area: Placing a dart mat on the floor prevents damage from falling darts and adds a professional look.
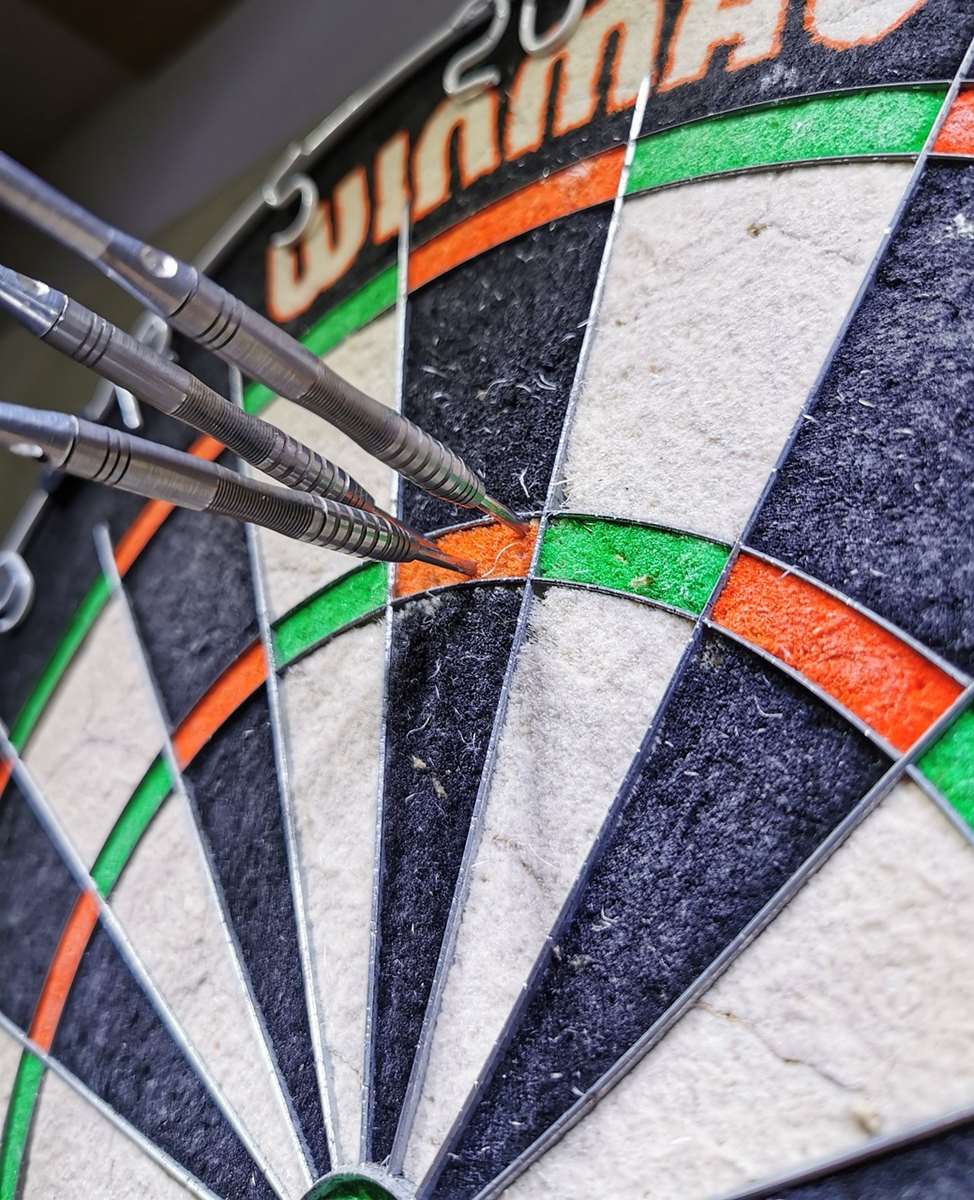
Proper maintenance will keep your dartboard cabinet looking and functioning its best for years to come.
The Importance of Proper Lighting and Space
Beyond just the physical mounting dartboard cabinet process, it’s important to consider the environment you’re creating. Proper lighting is critical; shadows can significantly impact your accuracy. Similarly, ensure you have adequate space to throw comfortably without feeling cramped or restricted. A well-lit and spacious area will make playing darts more enjoyable and improve your performance. It’s worth noting that Difference Budget Premium Darts can be a factor in improving your game, but the setup of your dart area is even more important.
Enjoying Your Newly Mounted Dartboard Cabinet
Congratulations! You’ve successfully mounted your dartboard cabinet. Now it’s time to grab your darts, gather your friends, and enjoy the game. Remember to practice regularly to improve your skills and have fun!
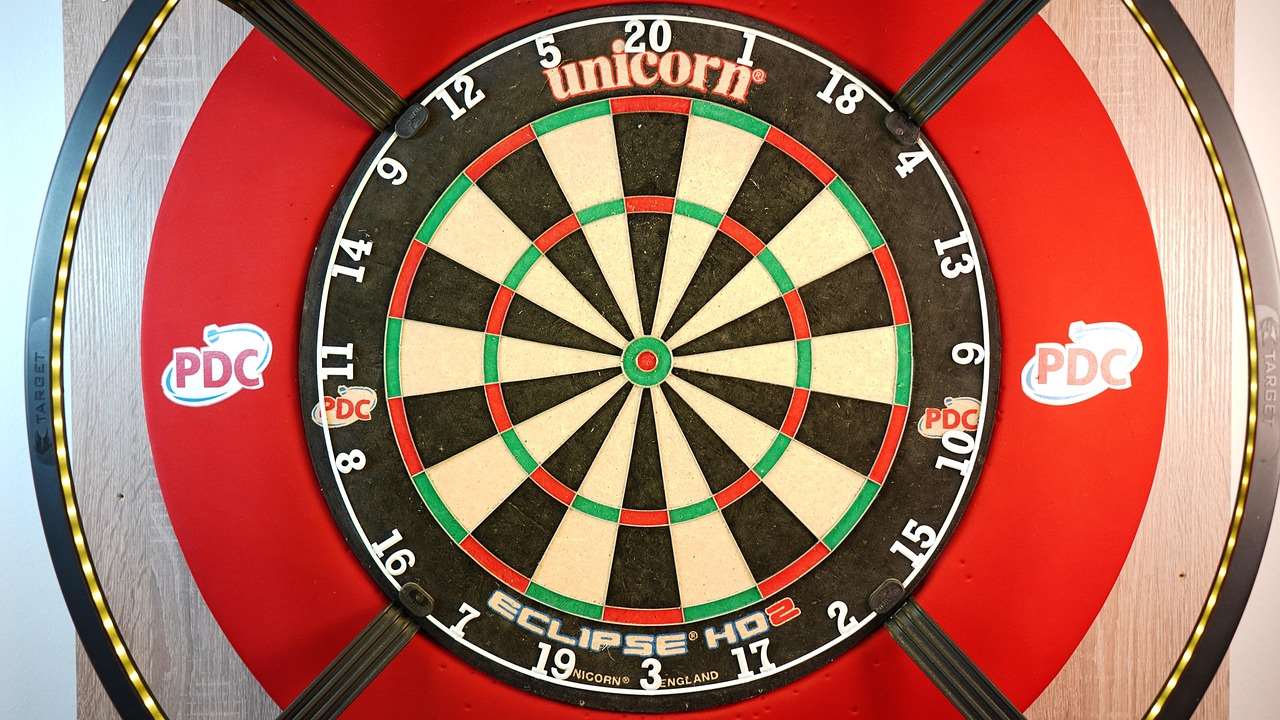
Consider investing in quality darts if you haven’t already, this will greatly enhance your experience.
Conclusion
Mounting a dartboard cabinet is a rewarding DIY project that brings fun and entertainment to your home. By following the steps outlined in this guide, you can ensure a secure and professional installation. Remember to choose the right location, gather the necessary tools, and take your time. With a little effort, you’ll be enjoying a game of darts in no time. For more tips on setting up your game room, including information on Finding Value Budget Dart Sets, check out our other articles. Ready to elevate your game? Find the perfect dartboard and cabinet for your space today!
Hi, I’m Dieter, and I created Dartcounter (Dartcounterapp.com). My motivation wasn’t being a darts expert – quite the opposite! When I first started playing, I loved the game but found keeping accurate scores and tracking stats difficult and distracting.
I figured I couldn’t be the only one struggling with this. So, I decided to build a solution: an easy-to-use application that everyone, no matter their experience level, could use to manage scoring effortlessly.
My goal for Dartcounter was simple: let the app handle the numbers – the scoring, the averages, the stats, even checkout suggestions – so players could focus purely on their throw and enjoying the game. It began as a way to solve my own beginner’s problem, and I’m thrilled it has grown into a helpful tool for the wider darts community.