Getting the mounting height for dartboard exactly right is crucial for fair play and enjoyable games. This article provides a comprehensive guide to setting your dartboard at the regulation height and distance, plus essential tips for creating the perfect dart-playing setup. You’ll learn about official measurements, alternative setups, and best practices to ensure consistent and accurate gameplay.
⚠️ Still Using Pen & Paper (Of een schoolbord)?! ⚠️
Stap in de toekomst! De Dart Teller -app behandelt alle scoren, stelt kassa voor, en volgt uw statistieken automatisch. It's easier than you think!
Probeer de Smart Dart Teller -app gratis!Klaar voor een upgrade? Klik hierboven!
The Official Mounting Height For Dartboard: A Must-Know
The official regulations, as dictated by organizations like the Professional Darts Corporation (PDC) en de wereld schiet federatie (WDF), clearly define the standard mounting height for dartboard and the oche (throwing line) distance. Adhering to these guidelines ensures a level playing field, whether you’re practicing solo or competing with friends.
Regulation Dartboard Height
The bullseye of the dartboard must be exactly **5 feet 8 inches (68 inches or 173 centimeters)** from the floor. This is the universally accepted standard, and it’s the first thing you should address when setting up your dartboard.
Use a reliable measuring tape to determine the exact height, starting from the floor and marking the wall. Ensure the board is mounted so the center of the bullseye aligns precisely with this mark. Accuracy is key – even slight deviations can affect your throws.
Regulation Throwing Distance
The distance from the face of the dartboard to the **oche (throwing line)** is equally important. This distance should be **7 feet 9 1/4 inches (93.25 inches or 237 centimeters)**. It’s measured horizontally from the face of the board (not the wall behind it) to the front edge of the oche.
The oche itself should be clearly defined. You can use a raised line, a piece of wood, or even tape to mark the throwing line. Herinneren, players must stand behind this line when throwing.
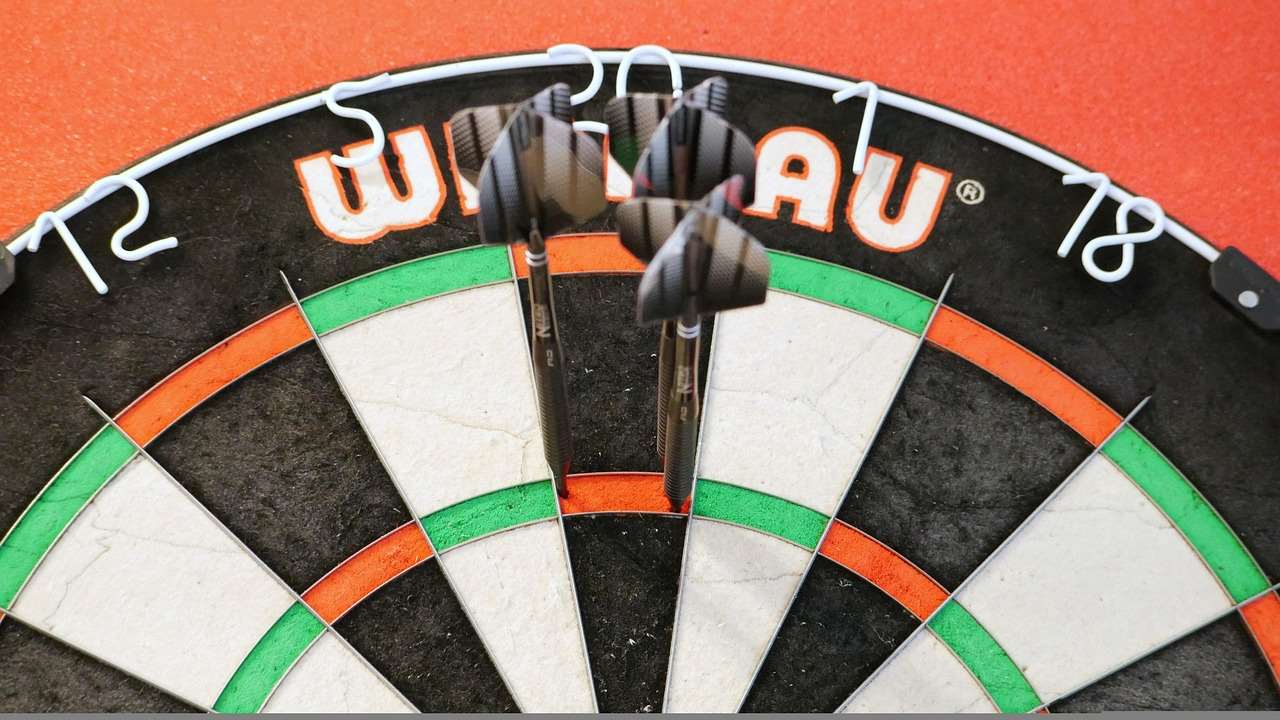
Step-by-Step Guide to Perfect Mounting Height For Dartboard
Mounting a dartboard correctly involves more than just knowing the measurements. Here’s a detailed step-by-step guide to help you achieve a professional setup:
- Gather Your Tools: You’ll need a measuring tape, pencil, level, drill, screws, and potentially a stud finder, depending on your wall type.
- Locate a Suitable Location: Choose a wall that is relatively free of obstructions and has enough space around it for players to move comfortably. Also, consider the lighting and potential for noise (especially if using steel-tip darts).
- Mark the Bullseye Height: Using your measuring tape, mark the wall at 5 feet 8 inches (68 inches or 173 centimeters) from the floor. This is where the center of your dartboard will be.
- Find a Stud (If Necessary): If possible, mount the dartboard directly into a wall stud for maximum stability. Use a stud finder to locate the studs and adjust the mounting position slightly if needed.
- Attach the Mounting Bracket: Most dartboards come with a mounting bracket. Attach this bracket to the wall, ensuring the center hole aligns with the mark you made for the bullseye height. Use screws that are appropriate for your wall type.
- Hang the Dartboard: Carefully hang the dartboard onto the mounting bracket. Ensure it’s securely in place.
- Check for Level: Use a level to ensure the dartboard is perfectly vertical. Adjust the mounting bracket if necessary.
- Measure the Throwing Distance: Measure 7 feet 9 1/4 inches (93.25 inches or 237 centimeters) horizontally from the face of the dartboard and mark the floor for the oche.
- Install the Oche: Place a raised line or marker at the oche to clearly define the throwing line.
Dealing with Alternative Wall Types
Not all walls are created equal. Here’s how to adjust your mounting height for dartboard installation based on different wall types:
- Drywall: Use drywall anchors to secure the mounting bracket. These anchors provide extra support and prevent the screws from pulling out of the drywall.
- Plaster: Plaster walls can be brittle. Pre-drill pilot holes before inserting screws to avoid cracking the plaster.
- Concrete/Brick: Use a masonry drill bit and concrete screws to attach the mounting bracket. You may need to drill deeper holes to ensure a secure hold.
What if the Floor Isn’t Level?
An uneven floor can throw off your measurements. Here’s how to compensate for an unlevel floor when determining the mounting height for dartboard:
- Measure from Different Points: Measure 5 feet 8 inches (68 inches or 173 centimeters) from the floor at several points around the dartboard location.
- Average the Measurements: Calculate the average of these measurements to determine the correct bullseye height.
- Use a Level: Always use a level to ensure the dartboard is perfectly vertical, regardless of the floor’s level.
Essential Accessories for Your Dartboard Setup
Beyond the dartboard itself and the correct mounting height for dartboard, several accessories can enhance your playing experience.
- Dartboard Surround: A dartboard surround protects your wall from stray darts and provides a professional look.
- Dartboard Lighting: Proper lighting is crucial for clear visibility. Consider using a dedicated dartboard lighting system like the Optimal Dartboard Lighting Solutions Guide to eliminate shadows and ensure even illumination.
- Dart Mat: A dart mat protects your floor and provides a comfortable standing surface.
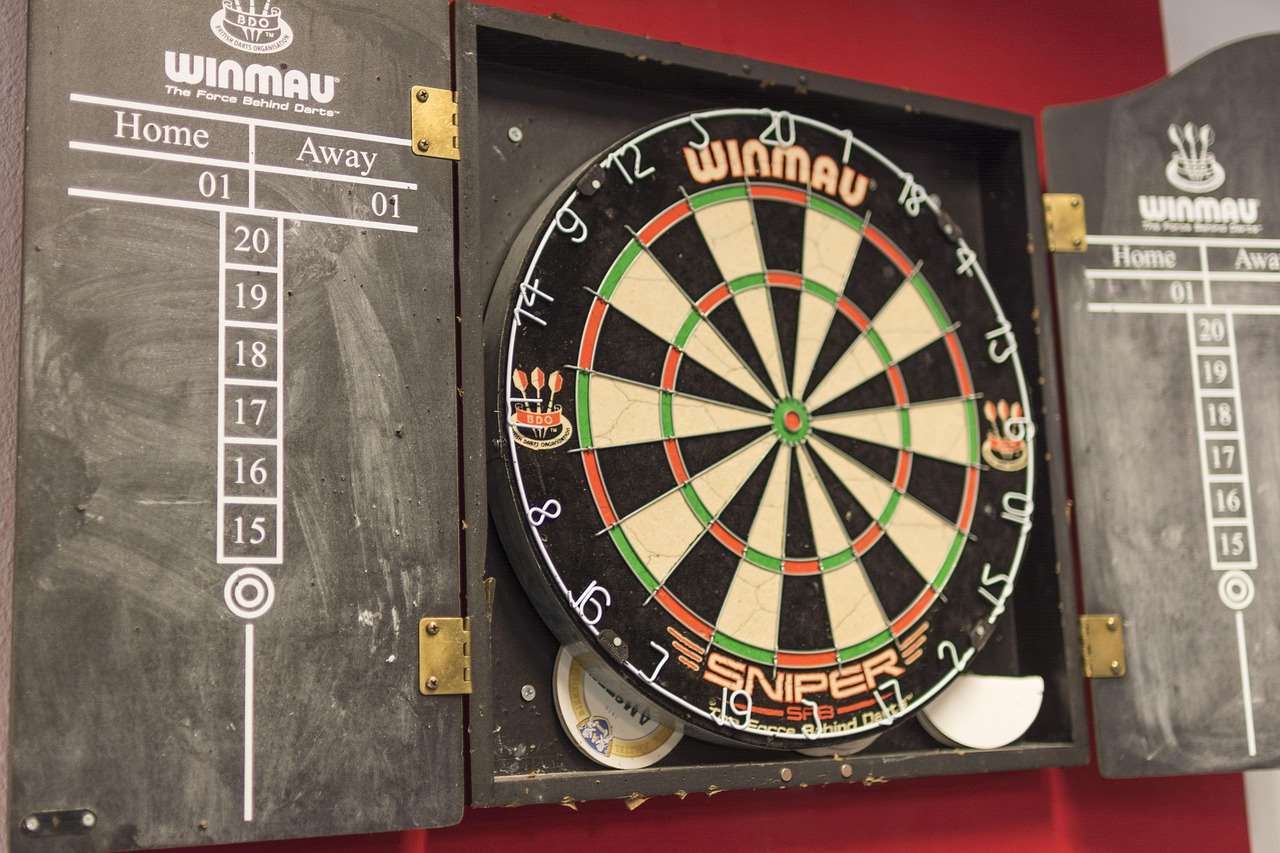
- Dartboard Cabinet: A dartboard cabinet not only protects the dartboard but also provides storage for darts and accessories.
Understanding the Importance of Consistent Measurements
Maintaining consistent measurements for both the mounting height for dartboard and the throwing distance is paramount for developing your skills and ensuring fair competition. Deviations from the standard can lead to inconsistencies in your throws and hinder your progress.
Regularly check the measurements to ensure they haven’t shifted over time. If you move your dartboard to a new location, be sure to remeasure and remount it according to the official guidelines.
Alternative Dartboard Setups: Soft-Tip Darts and Electronic Boards
While the official measurements are the same for both steel-tip and soft-tip dartboards, there are some considerations to keep in mind when setting up an electronic dartboard. Electronic dartboards often come with their own mounting systems, so follow the manufacturer’s instructions carefully. De Kies de beste Dart -apparatuur guide can help you find the perfect soft-tip dartboard!
Aanvullend, electronic dartboards may require a power outlet nearby. Consider the location of outlets when choosing a spot for your electronic dartboard. Ensure your mounting height for dartboard remains the same, regardless of the dart type.
Common Mistakes to Avoid When Setting Up Your Dartboard
Even with clear instructions, it’s easy to make mistakes when setting up your dartboard. Here are some common pitfalls to avoid:
- Incorrect Measurement: Double-check your measurements to ensure the bullseye is exactly 5 feet 8 inches (68 inches or 173 centimeters) from the floor and the throwing distance is 7 feet 9 1/4 inches (93.25 inches or 237 centimeters).
- Unstable Mounting: Use appropriate screws and anchors for your wall type to ensure the dartboard is securely mounted. A wobbly dartboard can affect your throws.
- Uneven Lighting: Poor lighting can create shadows and make it difficult to see the dartboard clearly. Invest in a dedicated dartboard lighting system.
- Ignoring the Surround: A dartboard surround is essential for protecting your wall from stray darts.
Advanced Tips for Optimizing Your Dartboard Setup
Once you’ve mastered the basics of mounting height for dartboard, consider these advanced tips to further optimize your setup:
- Adjustable Oche: Use an adjustable oche that allows you to fine-tune the throwing distance.
- Laser Throw Line: A laser throw line projects a clear line on the floor, making it easy to ensure you’re standing in the correct position.
- Soundproofing: If you’re concerned about noise, consider adding soundproofing materials to the wall behind the dartboard.
The Psychological Impact of a Properly Mounted Dartboard
Believe it or not, the correct mounting height for dartboard and oche distance can even have a subtle psychological impact on your game. When you know your setup adheres to official regulations, you can focus solely on your technique and strategy without worrying about external factors. This confidence can translate into improved performance and more enjoyable games.
Maintaining Your Dartboard for Longevity
To keep your dartboard in top condition and ensure accurate scoring, regular maintenance is essential. Rotate the dartboard regularly to distribute wear evenly. This prevents certain sections from becoming overly worn while others remain untouched.
Remove any loose fibers or debris from the board using a soft brush. Avoid using liquids or harsh chemicals, as these can damage the sisal fibers. With proper care, your dartboard will last for years to come.
Creating a Dedicated Dart Room
For serious dart players, creating a dedicated dart room is the ultimate goal. This allows you to customize the space to your exact preferences and create the ideal environment for practice and competition. Consider factors such as lighting, soundproofing, and wall protection when designing your dart room. Of course, maintaining the correct mounting height for dartboard is critical.
The Role of Dartboard Lighting in Enhancing Gameplay
Proper lighting is absolutely essential for a good dart playing experience. De Best Dartboard Lighting Systems provides critical information about selecting the ideal dartboard light. Good lighting can eliminate shadows, improve visibility, and reduce eye strain. A well-lit dartboard also enhances the visual appeal of your setup and creates a more professional atmosphere.
There are various types of dartboard lighting available, including ring lights, cabinet lights, and over-the-board lights. Choose a system that provides even and consistent illumination across the entire dartboard surface. Don’t neglect considering Reduce Dartboard Shadows Effectively En LED Dartboard Lights Benefits.
Conclusie
Setting the correct mounting height for dartboard, adhering to the official throwing distance, and optimizing your setup with essential accessories are crucial for fair play, skill development, and overall enjoyment of the game. Door de richtlijnen en tips in dit artikel te volgen, you can create a professional-grade dart-playing environment that enhances your performance and provides countless hours of fun. Nu, grab your darts, measure twice, mount once, and aim for that perfect bullseye! Ready to improve your game? Consider exploring our other resources on dartboard lighting and equipment to elevate your dart-playing experience to the next level. Happy darting!
Hoi, Ik ben Dieter, En ik heb Dartcounter gemaakt (Dartcounterapp.com). Mijn motivatie was geen darts -expert - helemaal tegenovergestelde! Toen ik voor het eerst begon te spelen, Ik hield van het spel, maar vond het moeilijk en afleidend om nauwkeurige scores te houden en statistieken te volgen.
Ik dacht dat ik niet de enige kon zijn die hiermee worstelde. Dus, Ik besloot om een oplossing te bouwen: een eenvoudig te gebruiken applicatie die iedereen, Ongeacht hun ervaringsniveau, zou kunnen gebruiken om moeiteloos te scoren.
Mijn doel voor Dartcounter was eenvoudig: Laat de app de nummers afhandelen - het scoren, de gemiddelden, de statistieken, Zelfs checkout suggesties - zodat spelers puur kunnen richten op hun worp en genieten van het spel. Het begon als een manier om het probleem van mijn eigen beginners op te lossen, En ik ben heel blij dat het is uitgegroeid tot een nuttig hulpmiddel voor de bredere darts -community.