Getting your dartboard at the right height is crucial for a fair and enjoyable game. De official dartboard hanging instructions: correct height specify that the center of the bullseye should be 5 feet 8 inches (1.73 meters) from the floor. This article will guide you through the process of achieving the perfect setup, covering everything from measuring techniques to essential equipment.
⚠️ Still Using Pen & Paper (Of een schoolbord)?! ⚠️
Stap in de toekomst! De Dart Teller -app behandelt alle scoren, stelt kassa voor, en volgt uw statistieken automatisch. It's easier than you think!
Probeer de Smart Dart Teller -app gratis!Klaar voor een upgrade? Klik hierboven!
Understanding Official Dartboard Height Specifications
The **World Darts Federation (WDF)** and the **Professional Darts Corporation (PDC)** both adhere to the same standards for dartboard setup. This consistency ensures a level playing field for competitive darts and provides a universal benchmark for recreational players. Knowing these official measurements is the first step in ensuring fair gameplay.
- Bullseye Height: 5 feet 8 inches (1.73 meters) from the floor to the center of the bullseye.
- Throwing Distance (Oche): 7 feet 9 1/4 inches (2.37 meters) from the face of the dartboard to the throwing line (oche).
These dimensions are not arbitrary; they’ve been carefully determined to provide a balance between skill and chance, making the game challenging and rewarding for players of all levels. Sticking to these guidelines, especially when practicing, is essential for building consistent throwing habits. If you’re new to the sport, it’s also beneficial to familiarize yourself with Basic Darts Fundamentals for Beginners.
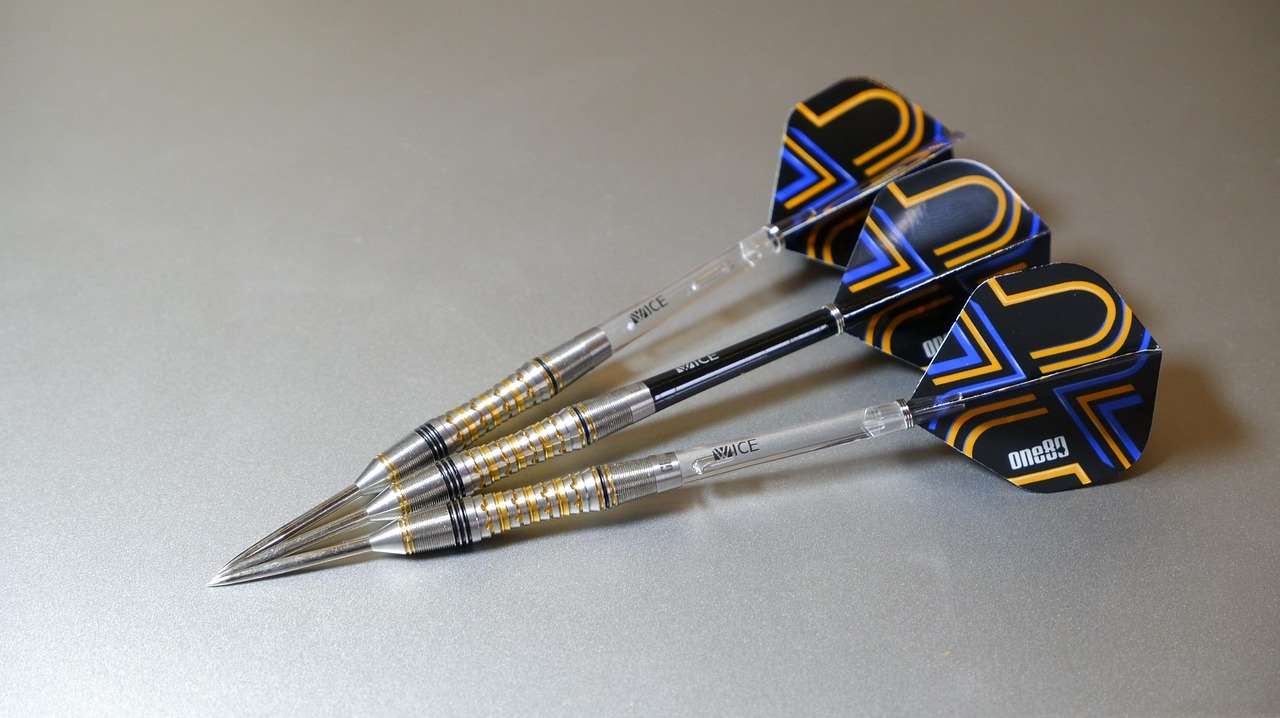
Essential Tools for Accurate Dartboard Installation
Before you even think about putting a hole in your wall, gather the necessary tools to make the job as straightforward and accurate as possible. Having the right equipment will prevent frustration and ensure a professional-looking result.
- Measuring Tape: A retractable measuring tape is essential for precise measurements.
- Level: A bubble level or spirit level will ensure your dartboard is perfectly vertical.
- Pencil: For marking the wall where you need to drill.
- Oefening: A power drill with appropriate drill bits for your wall type (wood, drywall, concrete, etc.).
- Screws and Anchors: Select screws and anchors that are suitable for the weight of your dartboard and the type of wall you’re mounting it on. Consider a heavy-duty mounting system for added security.
- Dartboard Mounting Bracket: Most dartboards come with a mounting bracket. If not, purchase one separately.
- Stud Finder (Optional): If possible, locate a wall stud to screw into for a more secure hold, particularly with heavier dartboards.
Investing in quality tools will not only make the installation easier but also provide you with the confidence that your dartboard is securely mounted. Herinneren, a wobbly dartboard can significantly impact your game and become a safety hazard.
Step-by-Step Dartboard Hanging Instructions: Correct Height Guaranteed
Follow these **dartboard hanging instructions: correct height** carefully to achieve a professional and accurate installation. Taking your time and paying attention to detail will pay off in the long run.
- Measure and Mark: Use your measuring tape to measure 5 feet 8 inches (1.73 meters) from the floor. Mark this spot on the wall with your pencil. This is where the center of your dartboard (the bullseye) will be.
- Mount the Bracket: Attach the mounting bracket to the back of your dartboard according to the manufacturer’s instructions. Ensure it is securely fastened.
- Position and Level: Hold the dartboard against the wall, aligning the center of the bracket with the mark you made earlier. Use your level to ensure the dartboard is perfectly vertical. Have someone help you hold the dartboard if needed.
- Mark Screw Locations: While holding the dartboard level and in position, use your pencil to mark the screw locations on the wall through the mounting bracket.
- Drill Pilot Holes: Drill pilot holes at the marked locations. Use a drill bit that is slightly smaller than the screws you will be using. If you’ve located a stud, you may not need anchors.
- Install Anchors (If Needed): If you are not drilling into a stud, install wall anchors into the pilot holes.
- Secure the Dartboard: Carefully align the mounting bracket with the holes in the wall (or the anchors) and screw the dartboard into place. Do not overtighten the screws.
- Double-Check: Once the dartboard is mounted, double-check the height and level. Make any necessary adjustments.
Following these steps ensures the correct height and a stable, well-mounted dartboard. If you’re considering hosting social gatherings, thinking about the fun of it is great, but safety should always be the first consideration. When getting together with friends and family, thinking about creative dart rules for parties and social gatherings can be fun!
Tips for Hanging a Dartboard on Different Wall Types
The type of wall you’re mounting your dartboard on will influence the installation process and the hardware you need. Here are some tips for different wall types:
- Drywall: Use drywall anchors designed to support the weight of your dartboard. Toggle bolts provide a stronger hold than standard plastic anchors.
- Wood: Screwing directly into a stud is the best option for wood walls. If that’s not possible, use wood screws with good holding power.
- Concrete/Brick: Use a hammer drill with a masonry drill bit to create pilot holes. Use concrete anchors or expansion bolts to secure the dartboard.
- Plaster: Plaster can be fragile. Use extra-long screws that reach into the stud behind the plaster, or use specialized plaster anchors.
Always consult with a hardware professional if you’re unsure about the best approach for your specific wall type. Improper installation can damage your wall and compromise the safety of your dartboard.
The Importance of the Oche (Throwing Line)
Terwijl de dartboard hanging instructions: correct height are critical, the throwing distance, or oche, is equally important. The oche marks the line from which players throw their darts and is essential for maintaining a fair and consistent game.
- Measuring the Distance: Measure 7 feet 9 1/4 inches (2.37 meters) horizontally from the face of the dartboard to the throwing line.
- Marking the Oche: Clearly mark the oche with tape, a raised wooden strip, or any other visible marker.
- Placement Considerations: Ensure the area around the oche is clear of obstructions and provides ample space for players to stand comfortably.
Using the correct throwing distance ensures that all players are throwing from a level playing field. Ignoring the oche can give some players an unfair advantage. Getting this measurement incorrect throws off the whole game, and the fairness of the game decreases. Maybe you could check out Hoe Darts eerlijker te maken met handicapregels.
Troubleshooting Common Dartboard Installation Problems
Even with careful planning, you might encounter some common challenges during the installation process. Here’s how to troubleshoot them:
- Dartboard Wobbles: If your dartboard wobbles, it’s likely not securely mounted. Tighten the screws or use larger anchors. Consider adding shims behind the mounting bracket to stabilize it.
- Incorrect Height: Double-check your measurements and adjust the dartboard’s position as needed. It’s easier to correct the height before fully securing the dartboard.
- Difficulty Drilling: If you’re having trouble drilling into your wall, ensure you’re using the correct drill bit for the material. Apply consistent pressure and avoid forcing the drill.
- Wall Damage: If you accidentally damage your wall, use spackle or drywall compound to repair the holes. Allow the compound to dry completely before sanding and painting.
Addressing these issues promptly will ensure a safe and enjoyable dart-playing experience. Don’t hesitate to seek assistance from a professional if you’re unsure about any aspect of the installation process.
Addressing Safety Concerns
Safety should always be a top priority when setting up your dartboard. Here are some tips to prevent accidents:
- Clear the Area: Ensure the area around the dartboard is clear of obstacles and breakable items.
- Protective Backboard: Consider installing a backboard behind the dartboard to protect your wall from stray darts.
- Inform Spectators: Remind spectators to stand clear of the throwing area while the game is in progress.
- Proper Lighting: Ensure adequate lighting around the dartboard to improve visibility and accuracy.
- Dartboard Surround: Protect your wall and errant darts with a dartboard surround, also protecting the players throwing the darts.
By taking these precautions, you can create a safe and enjoyable environment for everyone to play darts.
Maintaining Your Dartboard for Longevity
Proper maintenance will extend the life of your dartboard and ensure consistent performance. Hier zijn enkele tips:
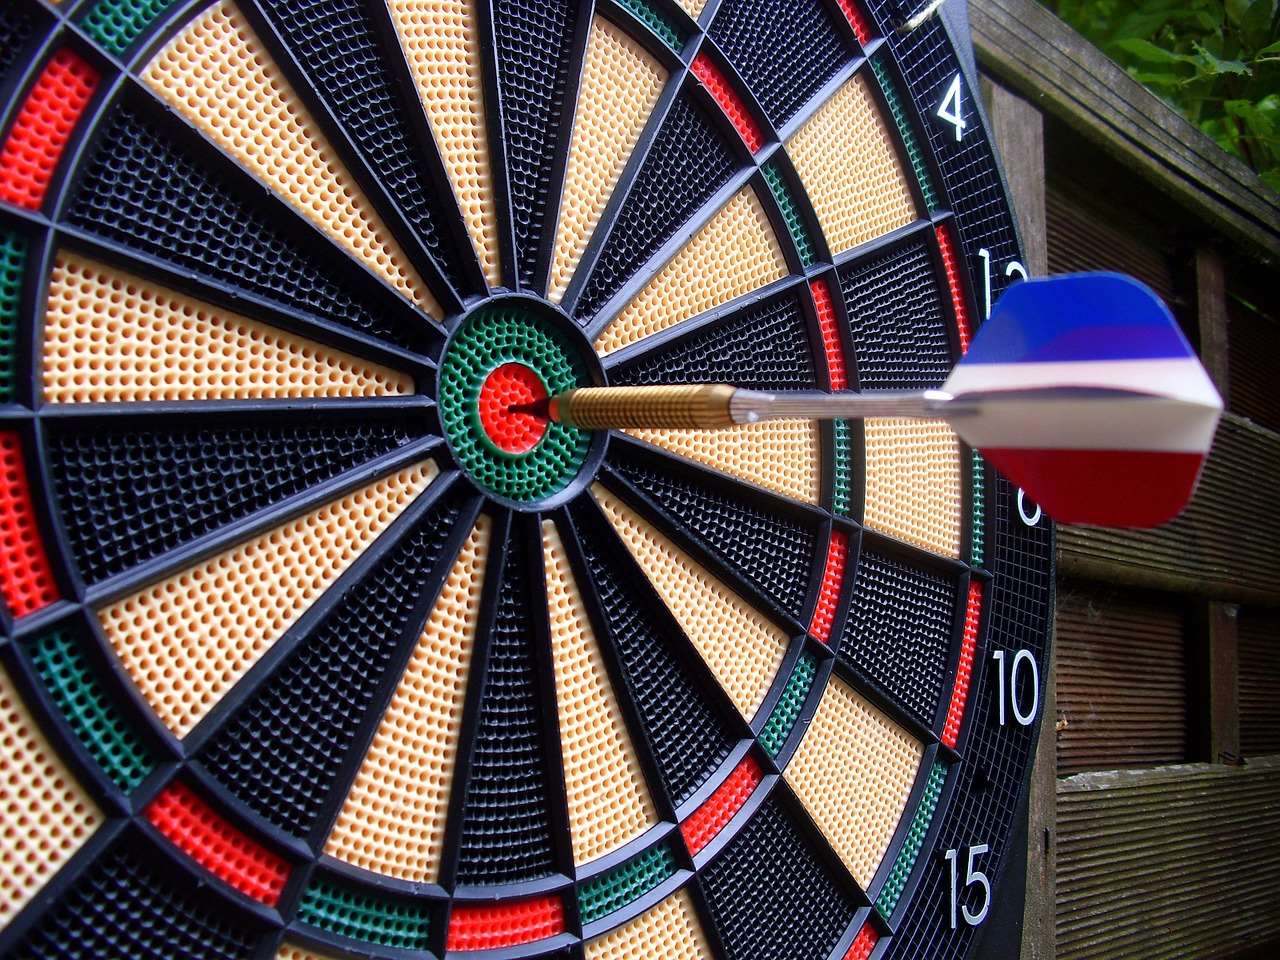
- Rotate the Dartboard: Regularly rotate your dartboard to distribute wear and tear evenly across the sisal fibers.
- Remove Darts Properly: Always remove darts by twisting them gently as you pull them out. This prevents damage to the sisal fibers.
- Clean the Dartboard: Periodically clean your dartboard with a soft brush to remove dust and debris.
- Avoid Moisture: Keep your dartboard away from moisture, as it can damage the sisal fibers.
- Repair Loose Wires: If any of the wires on your dartboard become loose, carefully push them back into place or use a dartboard wire repair tool.
By following these simple maintenance tips, you can keep your dartboard in top condition for years to come. For those who may have limited space, it might be useful to read about Adapting darts rules for small spaces: tips and tricks.
Alternatives to Traditional Dartboard Mounting
If you’re unable to drill into your walls, or prefer a more portable setup, consider these alternatives:
- Dartboard Stand: A dartboard stand provides a freestanding mounting solution. It’s portable and easy to set up, making it ideal for renters or those who want to move their dartboard around.
- Door Mounting System: Some dartboard mounting systems are designed to attach to doors. These systems typically use clamps or brackets to secure the dartboard without drilling.
- Magnetic Dartboard: While not ideal for serious play, magnetic dartboards offer a safe and drill-free option, especially for children.
These alternatives offer flexibility and convenience, allowing you to enjoy darts without permanently altering your walls.
Conclusie
Following these dartboard hanging instructions: correct height ensures a fair and enjoyable game for everyone. From gathering the right tools to understanding the official measurements and addressing potential problems, this guide has provided you with all the information you need to set up your dartboard like a pro. Remember to prioritize safety, maintain your dartboard regularly, and choose a mounting method that suits your needs. Now that you know all there is to know about mounting a dartboard at the right height, why not invest in a high-quality dart set and start practicing? Click here to browse our selection and elevate your game!
Hoi, Ik ben Dieter, En ik heb Dartcounter gemaakt (Dartcounterapp.com). Mijn motivatie was geen darts -expert - helemaal tegenovergestelde! Toen ik voor het eerst begon te spelen, Ik hield van het spel, maar vond het moeilijk en afleidend om nauwkeurige scores te houden en statistieken te volgen.
Ik dacht dat ik niet de enige kon zijn die hiermee worstelde. Dus, Ik besloot om een oplossing te bouwen: een eenvoudig te gebruiken applicatie die iedereen, Ongeacht hun ervaringsniveau, zou kunnen gebruiken om moeiteloos te scoren.
Mijn doel voor Dartcounter was eenvoudig: Laat de app de nummers afhandelen - het scoren, de gemiddelden, de statistieken, Zelfs checkout suggesties - zodat spelers puur kunnen richten op hun worp en genieten van het spel. Het begon als een manier om het probleem van mijn eigen beginners op te lossen, En ik ben heel blij dat het is uitgegroeid tot een nuttig hulpmiddel voor de bredere darts -community.