Proper dartboard fixing is crucial for accurate play and preventing damage; the most common solution involves using a rotary leveling system and ensuring the board is securely mounted to the wall at the correct height. This article covers everything you need to know about how to achieve optimal dartboard setup, including essential measurements, mounting techniques, and maintenance tips.
⚠️ Still Using Pen & Paper (Of een schoolbord)?! ⚠️
Stap in de toekomst! De Dart Teller -app behandelt alle scoren, stelt kassa voor, en volgt uw statistieken automatisch. It's easier than you think!
Probeer de Smart Dart Teller -app gratis!Klaar voor een upgrade? Klik hierboven!
The Importance of Accurate Dartboard Fixing
A wobbly or incorrectly mounted dartboard can ruin your game, lead to inaccurate scores, and even damage your darts and the surrounding area. Accurate dartboard fixing ensures fair play, extends the life of your equipment, and creates a safer environment. Think of it like aligning the sights on a rifle; if it’s off, you’ll never hit your target consistently. Similarly, if your dartboard isn’t properly installed, your throws will be affected, regardless of your skill level. Therefore, taking the time to properly mount your dartboard is an investment in your enjoyment of the game.
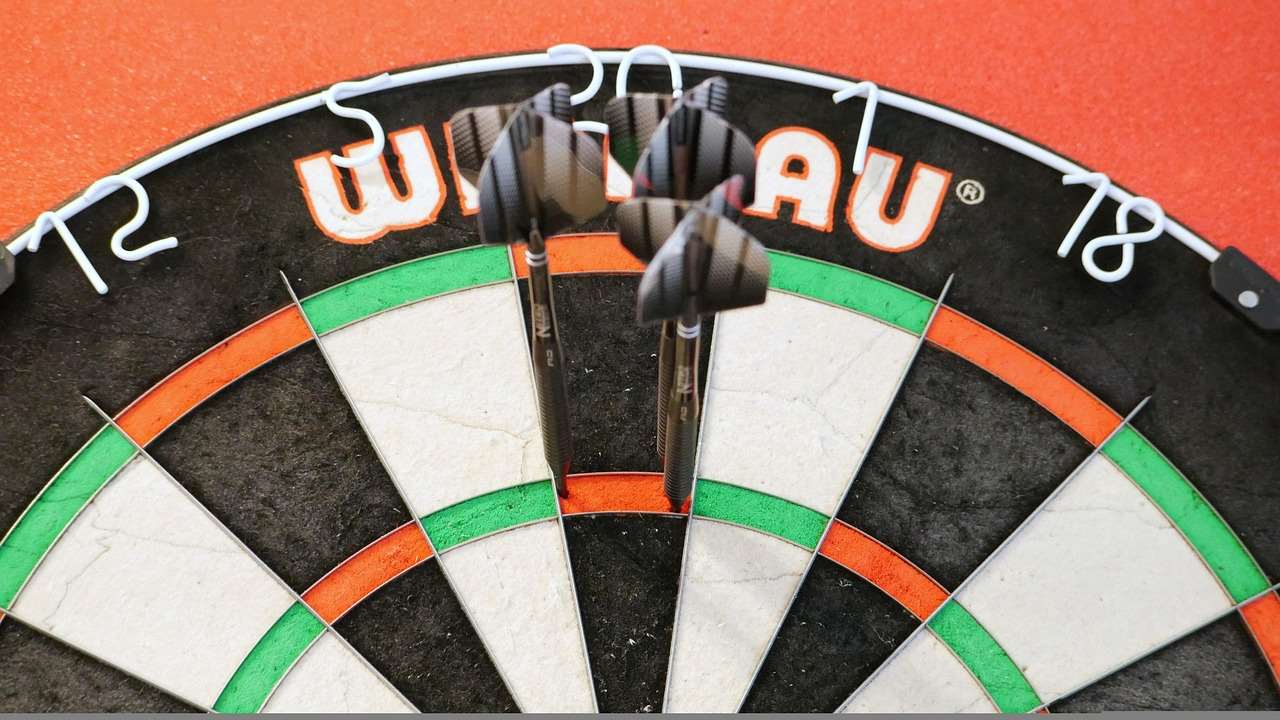
Essential Measurements for Dartboard Setup
Before you even think about drilling holes, you need to know the standard measurements for dartboard height and distance. These are dictated by the World Darts Federation (WDF) and are crucial for consistent play, whether you’re practicing at home or competing in a tournament.
Dartbordhoogte
The official height from the floor to the center of the bullseye is 5 voeten 8 inches (1.73 meters). This is a non-negotiable measurement. Use a tape measure and a level to ensure accuracy. Even a slight deviation can significantly impact your throws. Ensuring the bullseye is at this height guarantees the correct angle of throw and a consistent playing experience. Don’t eyeball it – use a reliable measuring tool!
Throwing Distance (Oche)
The throwing distance, also known as the oche (pronounced “ockey”), is the distance players stand from the dartboard when throwing. For steel-tip darts, the standard distance from the face of the dartboard to the oche is 7 voeten 9 1/4 inches (2.37 meters). For soft-tip darts, this distance is 8 voeten (2.44 meters). Remember that these measurements refer to the *face* of the dartboard, not the wall behind it. It’s important to place the oche correctly. The oche is often marked by a raised line or a piece of tape on the floor. Don’t forget to measure!
If you have friends who like to practice darts game dnd, make sure they know about these measurements too!
Dartboard Fixing: Step-by-Step Guide
Now that you know the measurements, let’s get into the actual dartboard fixing process. Here’s a step-by-step guide to ensure a secure and level installation.
1. Gather Your Tools and Materials
Before you start, make sure you have everything you need:
- Dartboard and mounting hardware (usually included with the dartboard)
- Drill with appropriate drill bits for your wall type (wood, drywall, brick, etc.)
- Tape measure
- Level
- Potlood
- Wall anchors (if needed for drywall or plaster walls)
- Stud finder (highly recommended for drywall walls)
- Screwdriver
2. Locate a Suitable Location
Choose a location with ample space around the dartboard to prevent damage from stray darts. Ensure there are no obstructions, such as furniture or doorways, within the throwing area. A dedicated dartboard area is ideal, but a corner of a room can work as well. Consider the lighting; good illumination is essential for clear visibility of the dartboard and scoring. The area should be well-lit but not have glare that obstructs the vision of the dart board.
3. Find a Stud (If Possible)
Using a stud finder, locate a wall stud behind your desired mounting location. Securing the dartboard directly to a stud provides the most stable and secure mounting. If you can’t find a stud, you’ll need to use wall anchors. It’s preferable to use a stud to avoid future problems.
4. Mark the Mounting Location
Measure 5 voeten 8 inches (1.73 meters) from the floor and mark the spot on the wall where the center of the dartboard (the bullseye) will be. Use a level to ensure the mark is perfectly vertical. This is the most critical step in ensuring proper dartboard fixing.
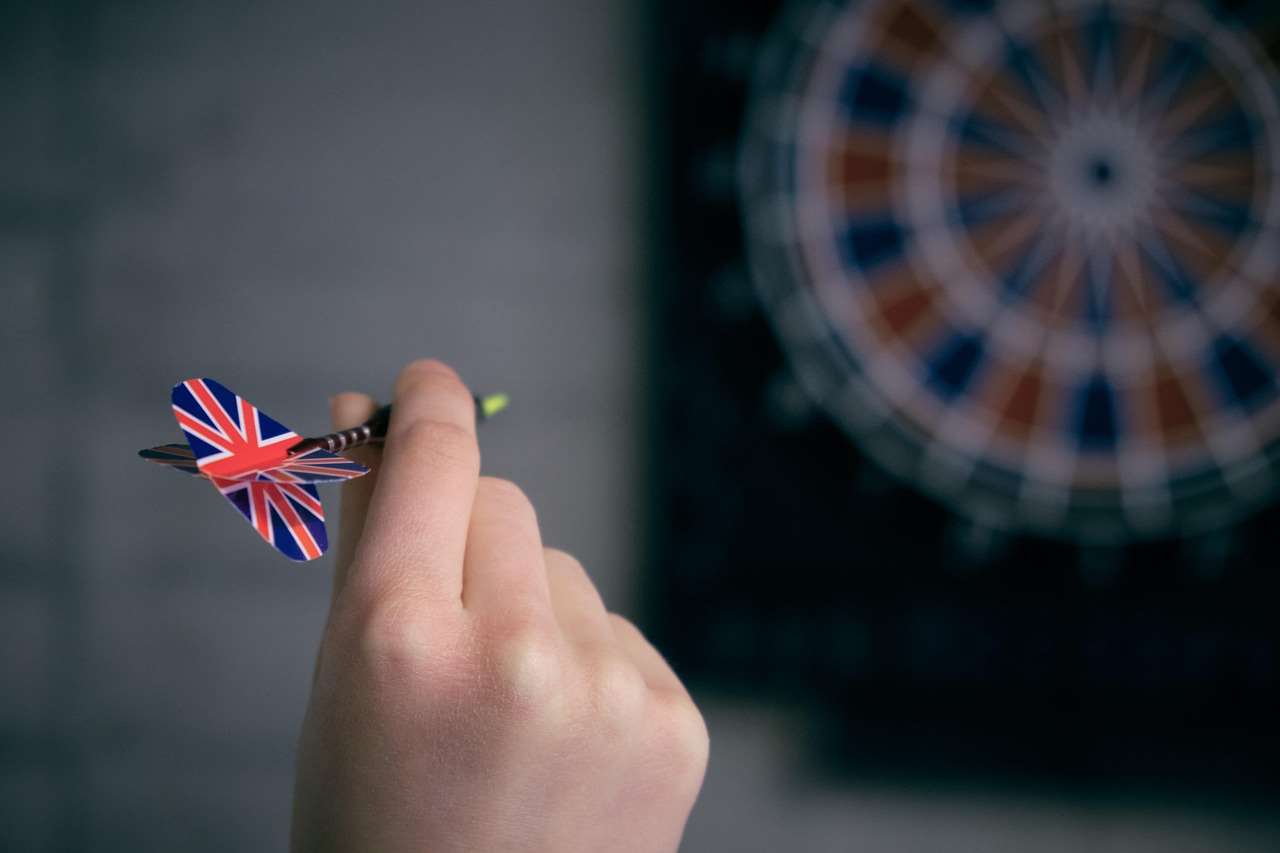
5. Install the Mounting Bracket
Most dartboards come with a mounting bracket that attaches to the back of the board. Follow the manufacturer’s instructions to attach the bracket securely. Dan, hold the bracket against the wall at the marked location and use a pencil to mark the screw holes. If mounting to a stud, pre-drill pilot holes to make screwing easier. If using wall anchors, drill holes according to the anchor instructions and insert the anchors. Finally, screw the mounting bracket to the wall.
6. Hang the Dartboard
Carefully hang the dartboard onto the mounting bracket. Ensure it’s securely attached and doesn’t wobble. Most dartboards also come with a rotary leveling system (usually three rubber feet) at the back. These allow you to fine-tune the level of the board. Loosen the screws on the rubber feet and rotate them until the dartboard is perfectly level, then tighten the screws. If you want to know about dartboard qatar prices, check out online marketplaces!
7. Double-Check and Adjust
Use a level to double-check that the dartboard is perfectly vertical and level. Make any necessary adjustments to the rotary leveling system or the mounting bracket. A perfectly aligned dartboard is essential for accurate gameplay.
Choosing the Right Wall Protection
Darts can occasionally miss the board, especially for beginners. Protecting the wall around your dartboard is essential to prevent damage. Here are some popular options:
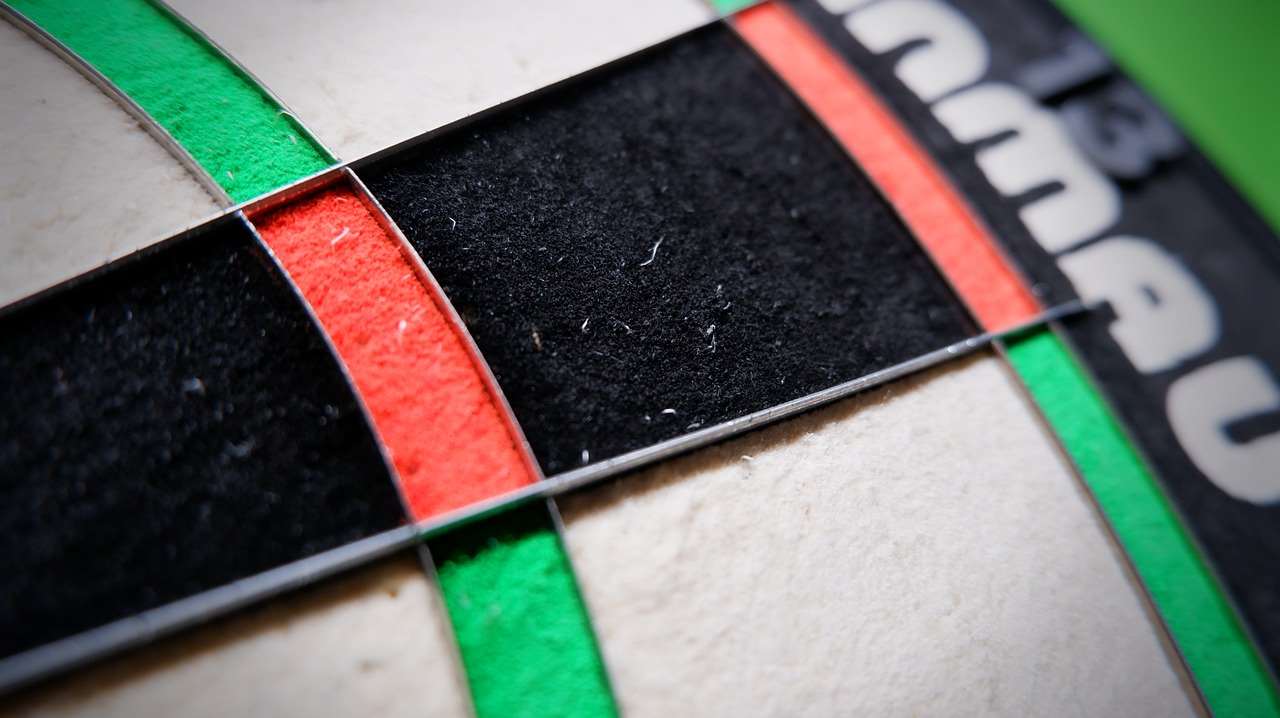
- Dartboard Surrounds: These are circular protectors made of foam or rubber that fit snugly around the dartboard. They’re easy to install and provide excellent protection against stray darts.
- Cork Boards: Large cork boards can be mounted behind the dartboard to catch errant throws. They’re a more affordable option but may not look as professional as dartboard surrounds.
- Dartboard Cabinets: These cabinets not only house the dartboard but also provide side panels to protect the surrounding wall. They often include scoreboards and dart holders for added convenience.
Consider your budget, the aesthetics of your game room, and the level of protection you need when choosing wall protection. Remember to also keep the floor in mind, a mat is recommended!
Maintaining Your Dartboard
Proper maintenance can extend the life of your dartboard and keep it in optimal condition. Here are some essential maintenance tips:
- Rotate the Dartboard: Regularly rotate the dartboard to distribute wear evenly. Most dartboards have a removable number ring that can be easily rotated. This prevents excessive wear and tear on specific areas of the board, prolonging its lifespan.
- Remove Darts Properly: Always remove darts by twisting them slightly as you pull them out. This prevents damage to the dartboard’s sisal fibers. Jerking the darts out can pull out fibers and create holes.
- Keep the Dartboard Clean: Use a soft brush or vacuum cleaner to remove dust and debris from the dartboard’s surface. Avoid using water or cleaning solutions, as they can damage the sisal fibers.
- Humidity Control: Avoid placing your dartboard in areas with high humidity, as this can cause the sisal fibers to swell and warp.
By following these maintenance tips, you can keep your dartboard in top condition and enjoy years of gameplay. Always keep an eye on your darts o rings too!
Troubleshooting Common Dartboard Fixing Problems
Even with careful planning, you might encounter some common problems during dartboard fixing. Here’s how to troubleshoot them:
Dartboard Wobbles
If your dartboard wobbles, it’s likely not mounted securely or the rotary leveling system isn’t properly adjusted. Double-check the mounting screws to ensure they’re tight and the wall anchors are firmly in place. Adjust the rotary leveling feet until the dartboard is stable and level.
Darts Fall Out Easily
If darts are falling out easily, the sisal fibers may be worn out. Rotate the dartboard to a less worn area. You can also try roughening up the dart points with a dart sharpener to improve their grip. If the problem persists, it may be time to replace the dartboard.
Dartboard is Too High or Low
If you realize after mounting that the dartboard is at the wrong height, you’ll need to remount it. Carefully remove the dartboard and mounting bracket, and re-measure the mounting location. Ensure you’re using the correct measurement of 5 voeten 8 inches (1.73 meters) from the floor to the bullseye. Correcting this ensures fair play.
Professional Dartboard Installation vs. DIY
Terwijl dartboard fixing is a relatively straightforward process, some people may prefer to hire a professional installer. Here are the pros and cons of each option:
DIY Dartboard Installation
PROS: Cost-effective, allows you to customize the installation to your preferences, provides a sense of accomplishment.
Nadelen: Requires some DIY skills, may take more time, potential for errors if not done correctly.
Professional Dartboard Installation
PROS: Ensures a professional and accurate installation, saves you time and effort, guarantees a secure and level mounting.
Nadelen: More expensive than DIY, may require scheduling an appointment.
Consider your budget, DIY skills, and the complexity of the installation when deciding whether to tackle dartboard fixing yourself or hire a professional. You might even consider using a free dart score app (visit our website: Free dart score app)!
Advanced Tips for Dartboard Placement and Setup
Beyond the basics, here are some advanced tips to elevate your dartboard setup:
- Verlichting: Invest in dedicated dartboard lighting to eliminate shadows and provide consistent illumination. Consider using a circular light that surrounds the dartboard for optimal visibility.
- Soundproofing: If you live in an apartment or have thin walls, consider adding soundproofing material behind the dartboard to reduce noise.
- Scoring System: Set up a dedicated scoring system, whether it’s a traditional chalkboard, a whiteboard, or a digital scoring system. This enhances the game experience and eliminates the need for mental math.
Conclusie
Mastering dartboard fixing is fundamental to enjoying the game of darts. By following this comprehensive guide, you can ensure a secure, accurate, and long-lasting setup. Remember to pay attention to the essential measurements, use the right tools and materials, and perform regular maintenance. Whether you choose to tackle the installation yourself or hire a professional, a properly mounted dartboard will enhance your gameplay and provide countless hours of enjoyment. Ready to improve your game? Get your dartboard fixed properly today and experience the difference!
Hoi, Ik ben Dieter, En ik heb Dartcounter gemaakt (Dartcounterapp.com). Mijn motivatie was geen darts -expert - helemaal tegenovergestelde! Toen ik voor het eerst begon te spelen, Ik hield van het spel, maar vond het moeilijk en afleidend om nauwkeurige scores te houden en statistieken te volgen.
Ik dacht dat ik niet de enige kon zijn die hiermee worstelde. Dus, Ik besloot om een oplossing te bouwen: een eenvoudig te gebruiken applicatie die iedereen, Ongeacht hun ervaringsniveau, zou kunnen gebruiken om moeiteloos te scoren.
Mijn doel voor Dartcounter was eenvoudig: Laat de app de nummers afhandelen - het scoren, de gemiddelden, de statistieken, Zelfs checkout suggesties - zodat spelers puur kunnen richten op hun worp en genieten van het spel. Het begon als een manier om het probleem van mijn eigen beginners op te lossen, En ik ben heel blij dat het is uitgegroeid tot een nuttig hulpmiddel voor de bredere darts -community.