Ensuring your dartboard is hung at the correct height and distance is crucial for fair play and enjoyment. This article provides a comprehensive guide on **DIY dartboard setup: getting the dimensions right**, covering everything from measuring techniques to safety considerations, ensuring your dart-playing experience is top-notch. We’ll explore essential measurements, mounting best practices, and tips to create the perfect dart-playing environment.
⚠️ Still Using Pen & Paper (or a Chalkboard)?! ⚠️
Step into the future! The Dart Counter App handles all the scoring, suggests checkouts, and tracks your stats automatically. It's easier than you think!
Try the Smart Dart Counter App FREE!Ready for an upgrade? Click above!
Why Getting the Dimensions Right Matters for Your DIY Dartboard Setup
When it comes to a **DIY dartboard setup**, simply hammering it onto the wall isn’t enough. Getting the dimensions right is fundamental to both fair competition and preventing injuries. Imagine consistently throwing short because your dartboard is too high – frustration will quickly set in. Similarly, an incorrectly measured throw line can give some players an unfair advantage.
Beyond fairness, correct dimensions protect your walls and floor. Darts that miss a properly positioned board are less likely to cause damage. Furthermore, using the correct measurements can even improve your game, allowing you to develop consistent throwing techniques. A proper setup allows for muscle memory to develop, leading to increased accuracy and a more enjoyable experience.
Therefore, taking the time to measure accurately during your **DIY dartboard setup** is an investment in the longevity of your equipment, the integrity of your games, and your overall enjoyment of the sport. It helps to provide a more consistent and fair playing field.

Essential Measurements for a Perfect Dartboard Setup
Let’s dive into the specific measurements you’ll need to achieve a regulation-compliant **DIY dartboard setup**. These measurements are standardized by organizations like the Professional Darts Corporation (PDC) and the British Darts Organisation (BDO), ensuring consistency across professional and recreational play. Ignoring these can also affect your Basic Darts Fundamentals for Beginners.
Dartboard Height: The Bullseye Measurement
The most important measurement is the height of the bullseye from the floor. The official measurement is 5 feet 8 inches (1.73 meters) from the floor to the center of the bullseye. Accuracy here is paramount. Use a reliable tape measure and a level to ensure the bullseye is perfectly vertical. A slight error can throw off your aim significantly.
Throwing Distance: Oche (Toe Line) Placement
The oche, or throw line, is equally critical. The distance from the face of the dartboard (not the wall) to the front edge of the oche should be 7 feet 9 1/4 inches (2.37 meters). This ensures a fair and consistent distance for all players. Some players prefer to measure to the back of the oche depending on their throwing stance, but the official measurement is to the front edge. Consider installing a raised oche or a clearly marked line on the floor.
Diagonal Measurement: The Double-Check
For ultimate accuracy, perform a diagonal measurement. This confirms that both the height and the horizontal distance are correct, ensuring your dartboard is truly square to the throwing line. Measure from the bullseye to a point on the floor directly above the oche. This diagonal distance should be approximately 9 feet 7 3/8 inches (2.93 meters). While not strictly necessary, this step provides an extra layer of confidence in your **DIY dartboard setup**.

Step-by-Step Guide to Measuring Your Dartboard Setup
Now, let’s walk through a practical, step-by-step guide to measuring your dartboard setup, ensuring accuracy and ease of installation. Remember, precise measurements are key to a professional and enjoyable dart-playing experience. These steps will significantly contribute to **DIY dartboard setup: getting the dimensions right**.
- Gather Your Tools: You’ll need a tape measure (preferably one that measures in both inches and meters), a level, a pencil or marker, and a buddy to help hold the dartboard.
- Mark the Bullseye Height: Use the tape measure to mark a point on the wall 5 feet 8 inches (1.73 meters) from the floor. Use the level to ensure the mark is perfectly vertical.
- Mount the Dartboard: Install the dartboard so that the bullseye aligns with the mark you just made. Follow the manufacturer’s instructions for mounting; typically, this involves hanging the board on a bracket.
- Measure the Throwing Distance: With the dartboard mounted, measure 7 feet 9 1/4 inches (2.37 meters) horizontally from the face of the dartboard. Mark this point on the floor – this is where the front edge of your oche will be placed.
- Install the Oche: Place your oche (whether it’s a raised line or a tape mark) along the line you just marked.
- Double-Check Everything: Remeasure both the bullseye height and the throwing distance to ensure accuracy. Perform the diagonal measurement as an optional verification step.
Choosing the Right Location for Your Dartboard
Beyond accurate measurements, the location of your dartboard significantly impacts your playing experience. Consider these factors when choosing the ideal spot for your **DIY dartboard setup**.
Wall Considerations
Select a sturdy wall that can withstand the impact of errant darts. A solid brick or concrete wall is ideal. If using drywall, consider reinforcing the area behind the dartboard with a sheet of plywood to prevent damage. This preparation helps in **DIY dartboard setup: getting the dimensions right** by providing a stable base.
Lighting
Proper lighting is essential for clear visibility. Position your dartboard in a well-lit area or install dedicated dartboard lighting to eliminate shadows and ensure you can clearly see your target. Overhead lighting, coupled with a light source that focuses on the board, provides the best illumination.
Space
Ensure you have sufficient space for players to throw comfortably without obstructions. A clear throwing lane is crucial. The area around the oche should also be free of furniture or other hazards. Also, think about storage for your darts. You may wish to include a cabinet that houses both the dartboard and storage for your darts. Some may even keep score in the cabinet. The convenience is nice but be aware that this can increase the cost of your setup.
Safety First: Protecting Your Surroundings and Players
Safety is paramount when setting up your dartboard. Darts are sharp projectiles, and precautions are necessary to prevent accidents and damage. Here are some key safety considerations for your **DIY dartboard setup**.
Dartboard Surround
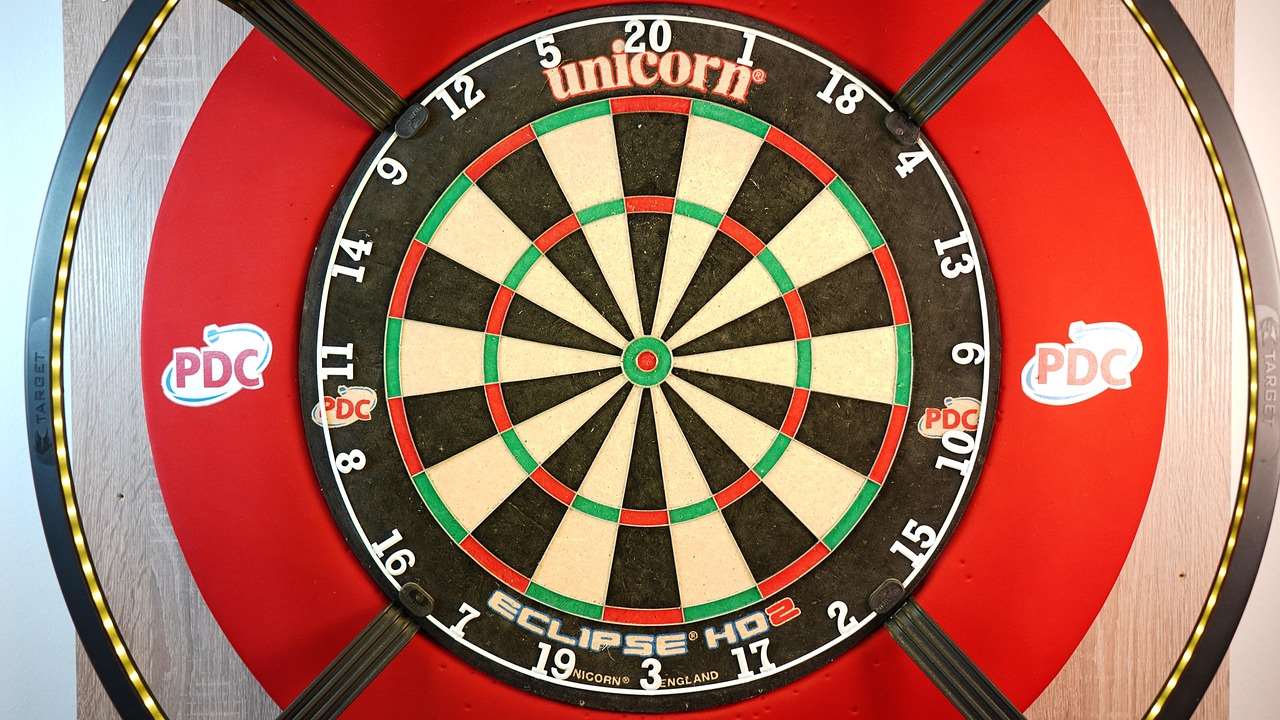
Invest in a dartboard surround. These padded rings protect the wall around the dartboard from stray darts, minimizing damage and reducing the risk of bounce-outs causing injury. Surrounds are a worthwhile investment, especially for beginners who are more likely to miss the board.
Floor Protection
Consider placing a mat or rug beneath the dartboard to protect your floor from dropped darts. This also provides a more comfortable standing surface for players and can help dampen the noise of darts hitting the floor.
Spectator Safety
Establish a clear safety zone behind the throwing line. Ensure that spectators remain behind this line while players are throwing. This prevents accidental collisions and injuries. A clear marker or barrier can help enforce this rule.
Leveling and Adjusting for Uneven Floors
Uneven floors can introduce inconsistencies in your throwing stance, affecting your accuracy. Here’s how to address this issue during your **DIY dartboard setup**.
Using a Level
Use a level to check the floor around the oche. If the floor is uneven, you can use shims or a small piece of wood to raise the oche to a level position. Ensuring the oche is level ensures fair play and helps prevent injuries.
Adjustable Oches
Consider using an adjustable oche. These allow you to fine-tune the height of the throwing line to compensate for minor floor irregularities. Adjustable oches provide flexibility and convenience, particularly in older homes with uneven floors. Consider that you might also need to think about Adapting darts rules for small spaces: tips and tricks.

Troubleshooting Common Setup Problems
Even with careful planning, you might encounter some challenges during your **DIY dartboard setup**. Here are some common problems and their solutions.
Wobbly Dartboard
If your dartboard wobbles after installation, it’s likely due to an uneven wall or a loose mounting bracket. Tighten the bracket screws and use shims between the dartboard and the wall to create a stable base. Consider the type of wall you are mounting the dartboard too. Softer material, like drywall, will not support the board as well as harder materials like brick.
Inaccurate Measurements
Double-check your measurements using a reliable tape measure. Ensure you are measuring from the face of the dartboard to the front edge of the oche. It’s easy to make a mistake, so taking the time to verify your measurements is crucial.
Damaged Walls
If you’ve already damaged your walls from errant darts, patch the holes with spackle and consider installing a larger dartboard surround to provide more protection. Learning some fun dart game variations with modified rules is also a great way to keep the game interesting, even if your setup isn’t perfect.
Maintenance Tips for Your Dartboard Setup
Once your dartboard is set up, regular maintenance will keep it in top condition and extend its lifespan. Proper care ensures fair play and reduces the need for frequent replacements. Remember, maintaining your setup is an integral part of **DIY dartboard setup: getting the dimensions right** in the long term.
- Rotate the Dartboard: Regularly rotate the dartboard to distribute wear evenly. This prevents certain segments from becoming overly worn, extending the life of the board. Most dartboards are designed with a movable number ring so that you can take this important step to ensure longevity.
- Clean the Board: Periodically clean the dartboard with a soft brush to remove dust and debris. Avoid using liquids, as they can damage the sisal fibers.
- Sharpen Your Darts: Keep your darts sharp to ensure clean entry into the board. Dull darts are more likely to cause bounce-outs and damage the sisal fibers. Sharpening your darts also adds a degree of safety for yourself and others.

Creating a Professional-Looking Dart Playing Space
Beyond the technical aspects, creating an aesthetically pleasing and functional dart-playing space enhances the overall experience. Consider these tips to elevate your **DIY dartboard setup**.
Dartboard Cabinet
Install a dartboard cabinet to protect the dartboard when not in use and to provide a more polished look. Cabinets also offer storage for darts and accessories. Many cabinets have a built-in scoreboard as well. A dartboard cabinet is a great way to add sophistication to any room or space.
Scoreboard
Use a dedicated scoreboard to keep track of scores. This can be a traditional chalkboard, a whiteboard, or an electronic scoreboard. A clear and easily readable scoreboard enhances the competitive aspect of the game. If you have kids playing, you might think about Adapting dart game rules for children.
Dart Mat
A dedicated dart mat not only protects your floor but also adds a professional touch to your setup. Choose a mat with clear markings for the throwing line to ensure consistent measurements. A great mat can make the whole set up look and feel complete!
Conclusion
Achieving a successful **DIY dartboard setup: getting the dimensions right** requires careful attention to detail, accurate measurements, and a commitment to safety. By following the steps outlined in this guide, you can create a professional-quality dart-playing environment that enhances your enjoyment of the game. Remember to prioritize accuracy, safety, and regular maintenance to ensure the longevity of your setup. Now that you know how to set it up, why not invite some friends over for a game? So, grab your tape measure, level, and get ready to enjoy countless hours of dart-throwing fun! Start your **DIY dartboard setup** project today and elevate your game!
Hi, I’m Dieter, and I created Dartcounter (Dartcounterapp.com). My motivation wasn’t being a darts expert – quite the opposite! When I first started playing, I loved the game but found keeping accurate scores and tracking stats difficult and distracting.
I figured I couldn’t be the only one struggling with this. So, I decided to build a solution: an easy-to-use application that everyone, no matter their experience level, could use to manage scoring effortlessly.
My goal for Dartcounter was simple: let the app handle the numbers – the scoring, the averages, the stats, even checkout suggestions – so players could focus purely on their throw and enjoying the game. It began as a way to solve my own beginner’s problem, and I’m thrilled it has grown into a helpful tool for the wider darts community.