Successful Dartboard Cabinet Installation hinges on precise measurements and secure mounting to protect your wall and enhance your playing experience. This guide will walk you through each step, from gathering the right tools to properly mounting your cabinet, ensuring a level and professional setup. We’ll also cover essential safety tips, maintenance advice, and troubleshooting common issues for long-lasting enjoyment.
⚠️ Still Using Pen & Paper (or a Chalkboard)?! ⚠️
Step into the future! The Dart Counter App handles all the scoring, suggests checkouts, and tracks your stats automatically. It's easier than you think!
Try the Smart Dart Counter App FREE!Ready for an upgrade? Click above!
Planning Your Dartboard Cabinet Installation
Before you even pick up a drill, careful planning is essential. This stage ensures your dartboard setup is not only functional but also aesthetically pleasing and safe. Consider these factors:
- Available Space: You’ll need ample space for players to stand at the regulation distance. Generally, you’ll need at least 5 feet behind the oche (throwing line) and several feet on either side of the dartboard for comfortable movement.
- Wall Type: Is your wall drywall, plaster, brick, or concrete? Each material requires different mounting hardware and techniques. Drywall anchors are suitable for lighter setups, while brick and concrete require masonry drill bits and heavy-duty anchors.
- Lighting: Good lighting is crucial for visibility. Consider installing a dedicated dartboard light above the cabinet to eliminate shadows.
- Stud Finder: Locate wall studs to maximize stability. Mounting directly into a stud provides the strongest support for your dartboard cabinet.
Failing to plan correctly can lead to wobbly boards, damaged walls, and a less enjoyable playing experience. Proper preparation is key to a successful and secure dartboard cabinet installation.
Essential Tools and Materials
Having the right tools and materials on hand will streamline the dartboard cabinet installation process. Here’s a comprehensive checklist:
- Dartboard Cabinet: Choose a cabinet that suits your style and budget. Ensure it comes with mounting hardware, although you might need to upgrade it based on your wall type.
- Dartboard: Select a high-quality dartboard made of sisal fibers for optimal durability and playability.
- Measuring Tape: Accurate measurements are critical for proper dartboard height and oche distance.
- Level: Ensures the dartboard is perfectly vertical, preventing biased throws.
- Pencil: For marking drill locations and oche position.
- Stud Finder: To locate wall studs for secure mounting.
- Drill: With various drill bits suitable for different wall materials (drywall, wood, masonry).
- Screwdriver: For tightening screws – a power screwdriver can speed up the process.
- Mounting Hardware: Includes screws, anchors, and possibly a mounting bracket. Ensure they are appropriate for your wall type and the weight of the cabinet and dartboard.
- Safety Glasses: Protect your eyes from debris during drilling.
- Oche (Throwing Line): A physical marker or tape to define the throwing line.
Investing in good quality tools will not only make the installation easier but also ensure a more secure and professional result. If you’re not comfortable with power tools, consider enlisting the help of a friend or professional.
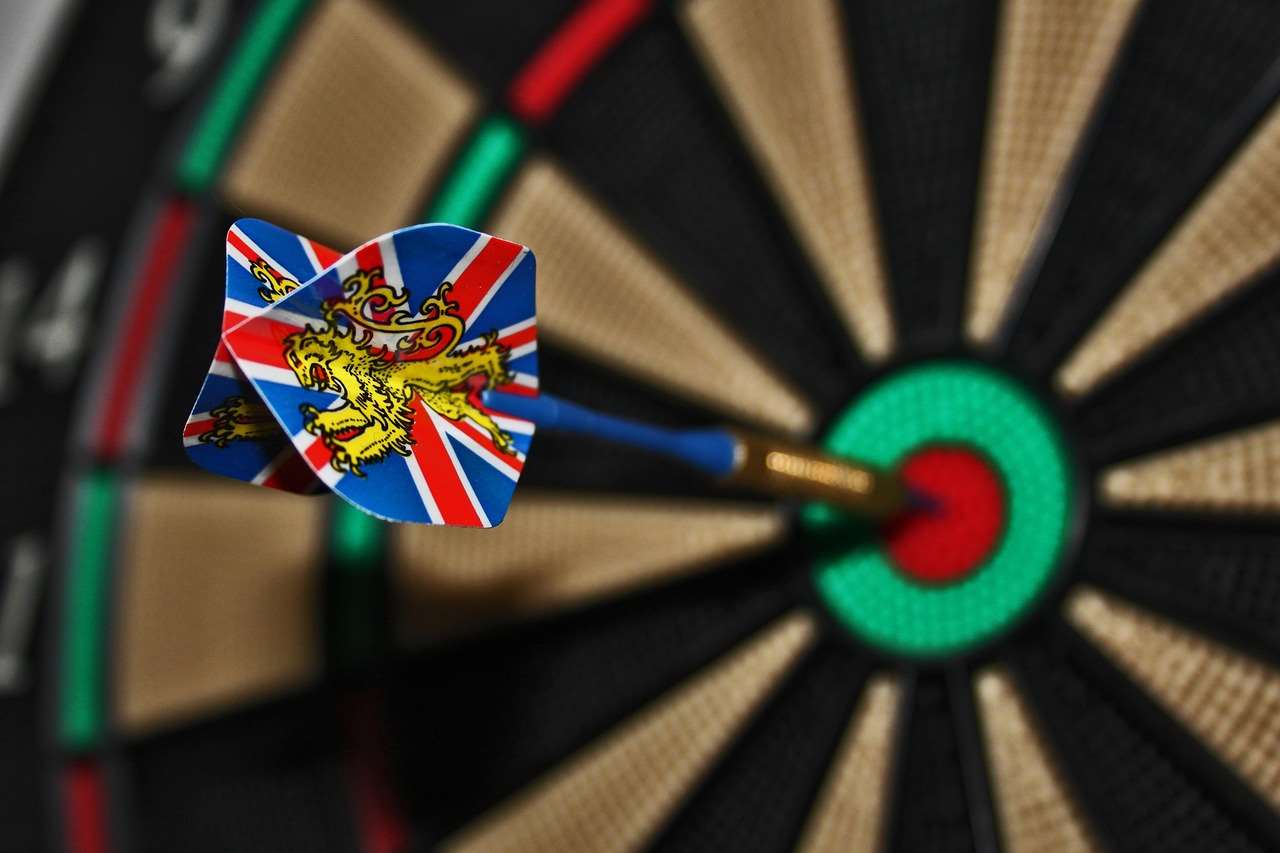
Step-by-Step Dartboard Cabinet Installation Guide
Now, let’s dive into the actual dartboard cabinet installation process. Follow these steps carefully for a secure and properly aligned setup:
- Locate Wall Studs: Use a stud finder to identify the location of wall studs. Mark their positions clearly with a pencil. Ideally, you want to mount at least one side of the cabinet directly into a stud for maximum stability.
- Measure and Mark Dartboard Height: The official height for the bullseye is 5 feet 8 inches (1.73 meters) from the floor. Mark this height on the wall.
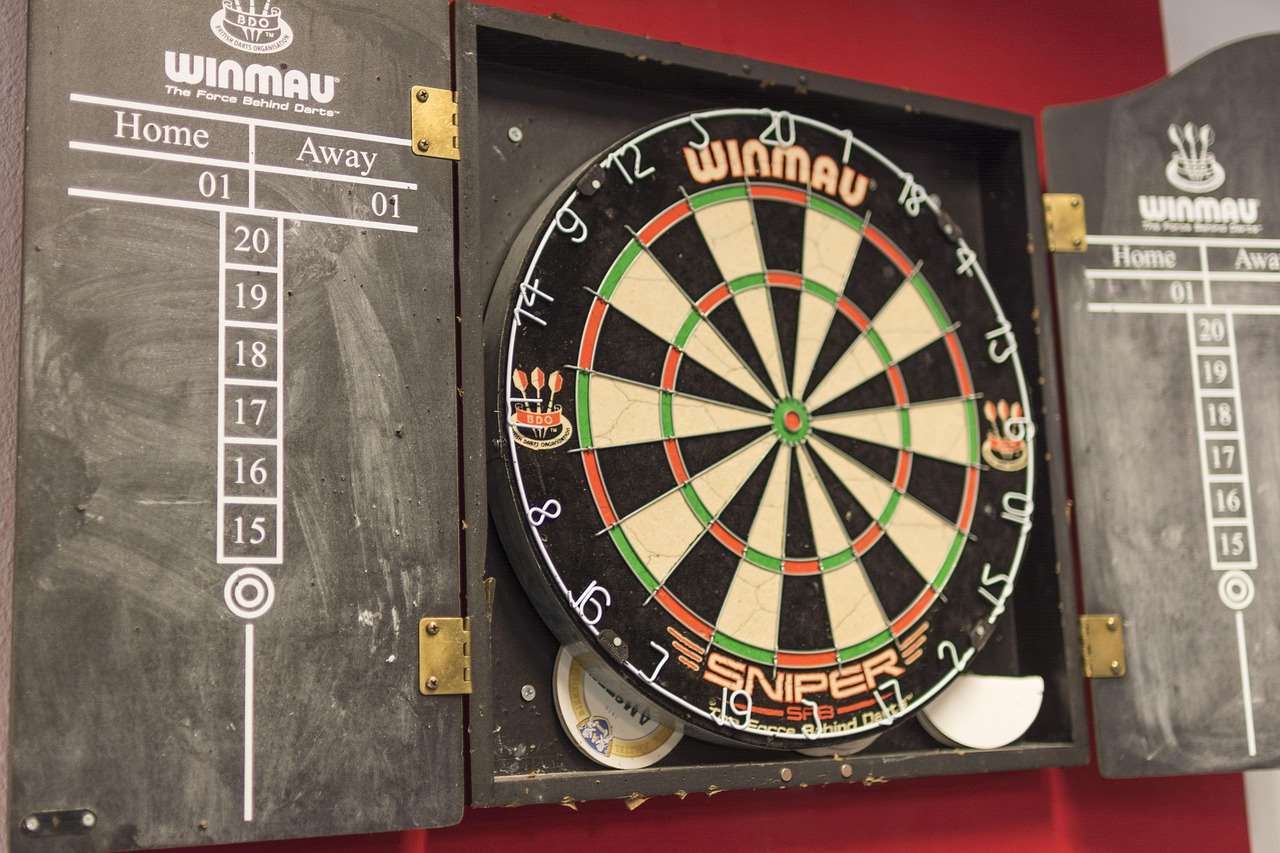
- Position the Cabinet: Center the cabinet on your marked bullseye height. Use a level to ensure the cabinet is perfectly vertical.
- Mark Mounting Holes: Using a pencil, mark the locations of the mounting holes on the wall through the back of the cabinet.
- Drill Pilot Holes: Drill pilot holes at the marked locations. If you’re drilling into a stud, use a drill bit slightly smaller than the screw size. If you’re drilling into drywall, use anchors appropriate for the cabinet’s weight.
- Attach the Cabinet: Align the cabinet with the pilot holes and screw it securely to the wall. If using anchors, insert them into the pilot holes before attaching the cabinet.
- Install the Dartboard: Most dartboards come with a mounting bracket. Attach the bracket to the back of the dartboard according to the manufacturer’s instructions.
- Hang the Dartboard: Hang the dartboard onto the cabinet’s mounting system.
- Measure and Mark Oche Distance: The official distance from the front of the dartboard to the oche is 7 feet 9 1/4 inches (2.37 meters). Mark this distance on the floor.
- Secure the Oche: Place a physical oche (a raised marker) or use tape to clearly define the throwing line.
- Test and Adjust: Throw a few darts to test the setup. Ensure the dartboard is stable and the oche distance is comfortable. Make any necessary adjustments to the cabinet or dartboard position.
By following these steps carefully, you can achieve a professional-looking and secure dartboard cabinet installation.
Choosing the Right Mounting Hardware
Selecting the correct mounting hardware is crucial for a secure dartboard cabinet installation. The type of wall you’re working with dictates the appropriate hardware:
- Drywall: Use drywall anchors. These come in various types, including plastic ribbed anchors, self-drilling anchors, and toggle bolts. Toggle bolts offer the strongest hold but require a larger hole.
- Wood Studs: Screws are sufficient when mounting directly into wood studs. Use screws that are long enough to penetrate at least 1 inch into the stud.
- Plaster: Plaster walls can be tricky. Use toggle bolts or specialty plaster anchors that distribute the weight over a larger area.
- Brick or Concrete: Use masonry drill bits and concrete anchors. These anchors expand when a screw is inserted, creating a strong grip in the concrete or brick.
Always choose mounting hardware that is rated for the weight of your dartboard and cabinet. Using inadequate hardware can lead to the cabinet pulling away from the wall.
Safety Tips for Dartboard Installation and Play
Safety should always be a top priority during dartboard cabinet installation and gameplay. Here are some essential safety tips:
- Wear Safety Glasses: Protect your eyes from flying debris when drilling.
- Clear the Area: Ensure the area around the dartboard is clear of obstacles and bystanders.
- Proper Lighting: Adequate lighting reduces the risk of misthrows and accidents.
- Supervise Children: Keep children away from the dartboard when it’s in use.
- Intoxication: Avoid playing darts while intoxicated, as it impairs judgment and coordination.
- Dart Condition: Regularly inspect your darts for damage, such as loose flights or bent points.
- Wall Protection: Consider using a surround to protect the wall around the dartboard from stray darts.
By following these safety tips, you can minimize the risk of accidents and enjoy a safe and fun dart-playing experience. When you Choose Best Dart Equipment, also consider safety elements.
Troubleshooting Common Dartboard Cabinet Installation Issues
Even with careful planning, you might encounter some common issues during dartboard cabinet installation. Here’s how to troubleshoot them:
- Cabinet Not Level: Use shims behind the cabinet to level it. A few thin pieces of wood or cardboard can make a big difference.
- Screws Stripping: If screws are stripping in drywall, try using larger anchors or moving the cabinet slightly to a different location.
- Cabinet Wobbling: Ensure all screws are tightened securely. If the cabinet is still wobbling, it may be necessary to add additional mounting points or reinforce the wall.
- Dartboard Falling Out: Double-check that the dartboard is securely attached to the mounting bracket. Make sure the bracket is properly installed on both the dartboard and the cabinet.
- Difficulty Finding Studs: Try using a different stud finder or tapping lightly on the wall to listen for a solid sound. Studs are typically spaced 16 inches apart.
Addressing these common issues promptly will ensure a stable and long-lasting dartboard setup.
Dartboard Maintenance and Care
Proper maintenance will extend the life of your dartboard and cabinet. Here are some tips:
- Rotate the Dartboard: Regularly rotate the dartboard to distribute wear evenly. This prevents certain sections from becoming overly worn.
- Clean the Sisal Fibers: Use a soft brush or cloth to remove dust and debris from the sisal fibers. Avoid using water or cleaning solutions, as they can damage the board.
- Sharpen Dart Points: Keep your dart points sharp to ensure they penetrate the dartboard properly. A dull dart point can damage the sisal fibers.
- Protect from Moisture: Avoid exposing the dartboard to excessive moisture, as this can cause it to warp or mildew.
- Tighten Screws: Periodically check and tighten all screws on the cabinet and dartboard mounting system.
By following these maintenance tips, you can keep your dartboard and cabinet in top condition for years to come. You may consider looking into Are Premium Darts Worth It to help with longevity.
Enhancing Your Dartboard Setup
Beyond the basic dartboard cabinet installation, there are several ways to enhance your setup and create a more professional and enjoyable playing experience:
- Dartboard Surround: A dartboard surround protects the wall around the dartboard from stray darts, preventing damage and reducing the need for repairs.
- Dedicated Lighting: A dedicated dartboard light provides even and consistent illumination, improving visibility and reducing shadows.
- Scoreboard: A scoreboard, either electronic or manual, helps keep track of scores and adds to the competitive atmosphere.
- Dart Mat: A dart mat protects the floor and provides a comfortable standing surface. It also helps maintain the correct oche distance.
- Custom Cabinet: Consider building or purchasing a custom dartboard cabinet to match your décor and personal style.
These enhancements can transform your dartboard area into a professional-grade game room.
Professional Dartboard Cabinet Installation vs. DIY
While dartboard cabinet installation is a manageable DIY project for many, there are situations where hiring a professional might be the better option. Consider these factors:
- Wall Type: If you have a difficult wall type, such as concrete or plaster, a professional will have the necessary tools and expertise to ensure a secure installation.
- Limited Experience: If you’re not comfortable using power tools or lack experience with home improvement projects, hiring a professional can save you time and frustration.
- Time Constraints: If you’re short on time, a professional can complete the installation quickly and efficiently.
- Complex Setup: If you’re planning a complex setup with custom lighting or wiring, a professional electrician or handyman can ensure everything is installed safely and correctly.
The cost of professional installation varies depending on the complexity of the project and your location. Weigh the costs and benefits carefully to determine the best option for your needs. When weighing your options look into Budget vs Premium Darts Compared to see where you can save on the other end.
Optimizing Your Dart Throwing Technique
Once your dartboard cabinet installation is complete, focus on refining your dart throwing technique. Here are a few tips:
- Stance: Maintain a consistent stance with one foot forward and your body angled towards the dartboard.
- Grip: Use a comfortable and consistent grip. Experiment with different grips to find what works best for you.
- Arm Motion: Keep your upper arm stable and use your forearm to throw the dart.
- Follow Through: Follow through with your arm motion after releasing the dart.
- Practice: Regular practice is essential for improving your accuracy and consistency.
Consider watching videos of professional dart players to learn advanced techniques and strategies. Practice doesn’t make perfect, but perfect practice does.
Choosing the Right Darts
The darts you use can significantly impact your performance. Consider these factors when choosing darts:
- Weight: Experiment with different dart weights to find what feels most comfortable and gives you the best control.
- Material: Tungsten darts are more dense than brass darts, allowing for a slimmer barrel and tighter groupings.
- Grip: Choose darts with a grip that suits your throwing style. Some grips are more aggressive than others.
- Flights: Experiment with different flight shapes and sizes to find what provides the best stability and accuracy.
- Shafts: Choose shafts that are the right length for your throwing style. Shorter shafts provide more stability, while longer shafts provide more control.
Investing in a quality set of darts can make a noticeable difference in your game. You can compare Quality Comparison Budget Premium Darts and their effect on performance.
Conclusion
A successful Dartboard Cabinet Installation involves careful planning, precise measurements, and the right tools. By following the steps outlined in this guide, you can create a professional-looking and secure setup that will provide years of enjoyment. Remember to prioritize safety and maintain your equipment properly. Now that your dartboard is ready, why not invite some friends over for a game? Don’t forget to inspect Finding Value Budget Dart Sets if they need their own darts! Get started today and transform your space into the ultimate dart-playing haven!
Hi, I’m Dieter, and I created Dartcounter (Dartcounterapp.com). My motivation wasn’t being a darts expert – quite the opposite! When I first started playing, I loved the game but found keeping accurate scores and tracking stats difficult and distracting.
I figured I couldn’t be the only one struggling with this. So, I decided to build a solution: an easy-to-use application that everyone, no matter their experience level, could use to manage scoring effortlessly.
My goal for Dartcounter was simple: let the app handle the numbers – the scoring, the averages, the stats, even checkout suggestions – so players could focus purely on their throw and enjoying the game. It began as a way to solve my own beginner’s problem, and I’m thrilled it has grown into a helpful tool for the wider darts community.