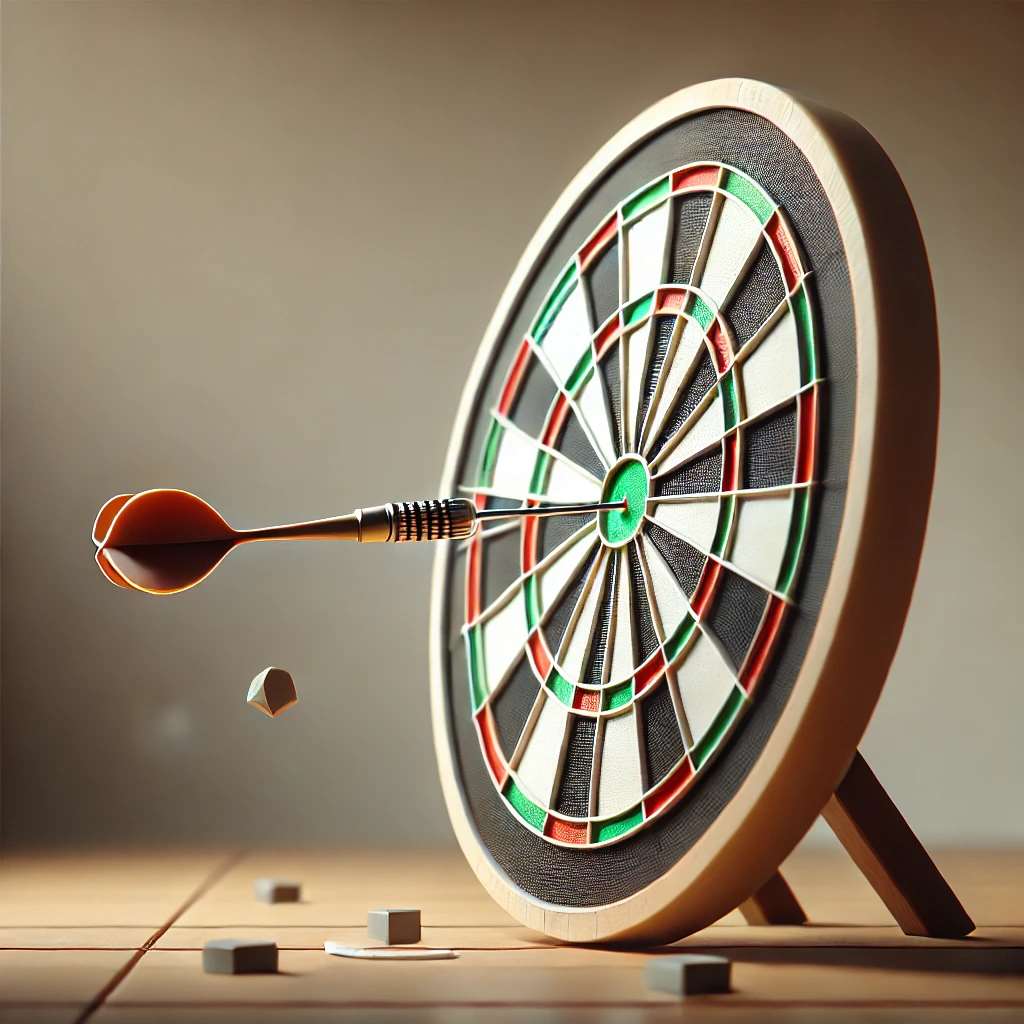
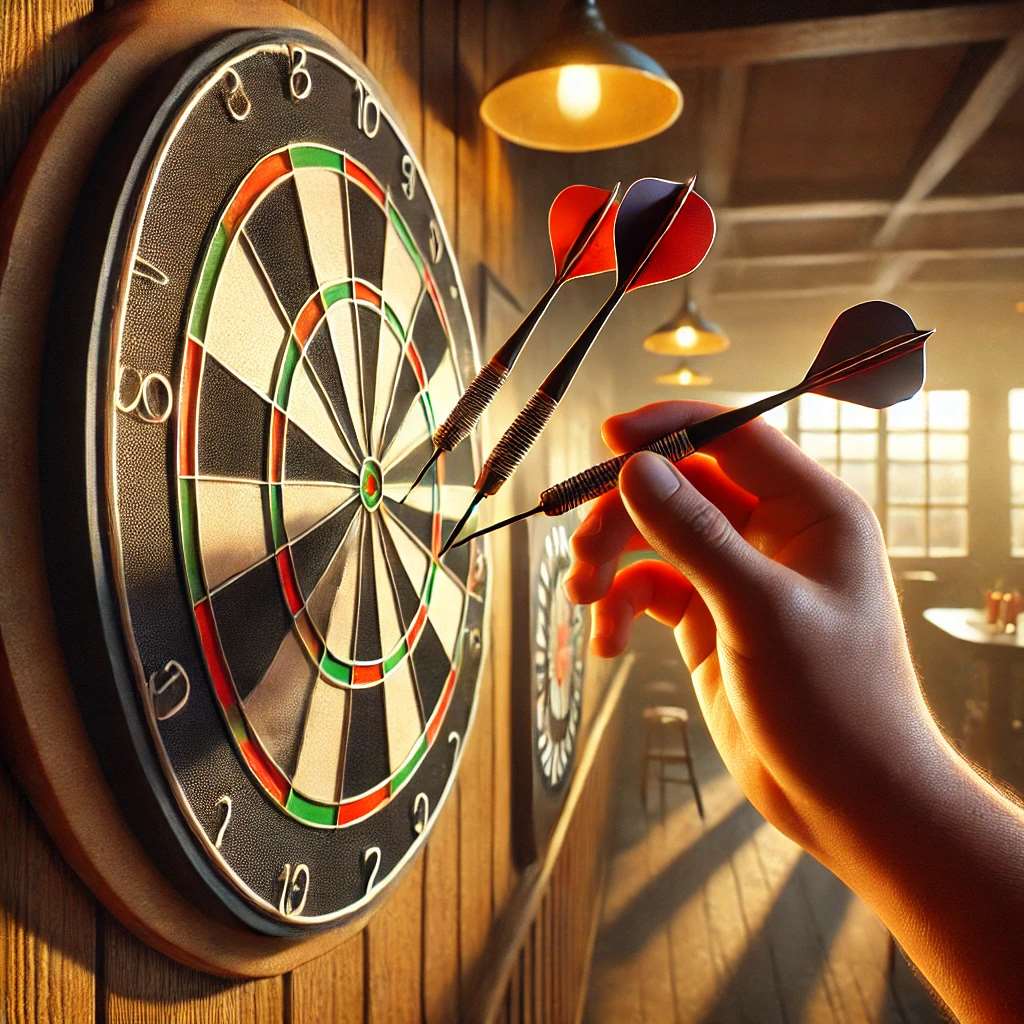
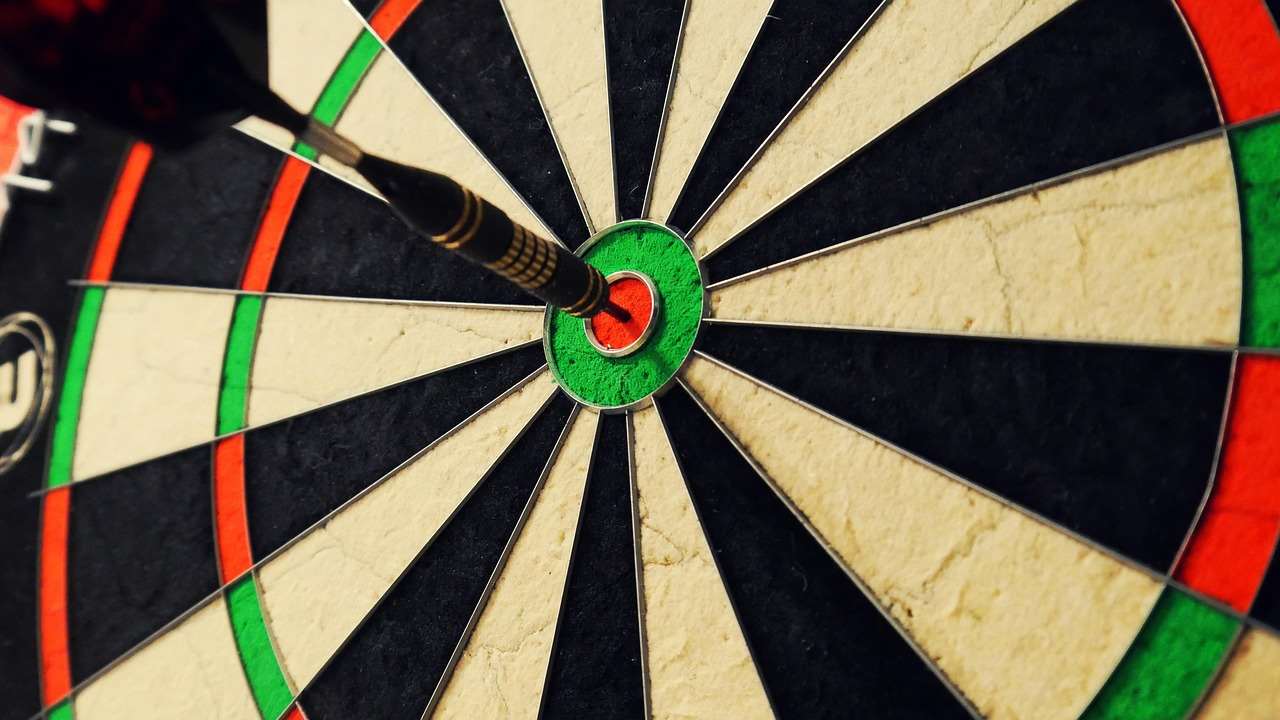
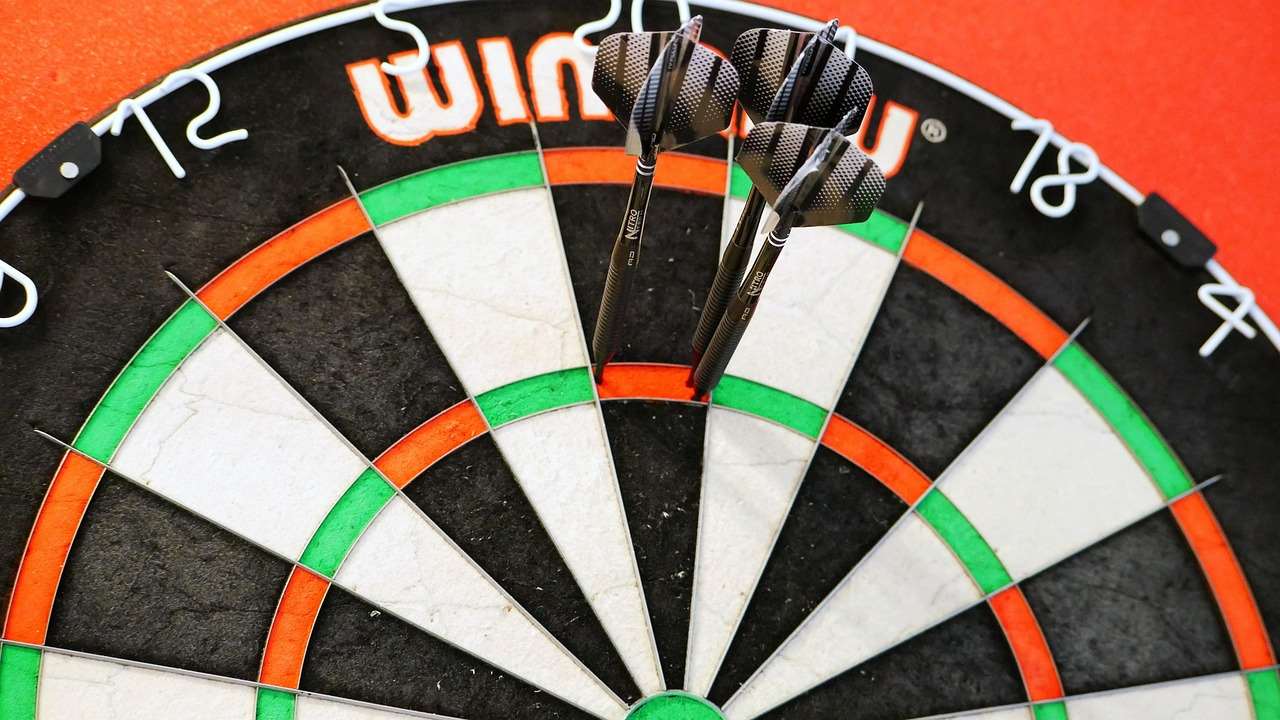
Want to enjoy darts from the comfort of your own home? Then learning dart board how to make can be a rewarding DIY project, saving you money and providing a personalized gaming experience. This article guides you through the entire process, from choosing materials to mounting your finished dartboard, and even offers tips on improving your dart game.
 Still Using Pen & Paper (or a Chalkboard)?!
Step into the future! The Dart Counter App handles all the scoring, suggests checkouts, and tracks your stats automatically. It's easier than you think!
Try the Smart Dart Counter App FREE!Ready for an upgrade? Click above!
Why Build Your Own Dart Board?
While commercially available dartboards are readily accessible, creating your own offers several advantages. First and foremost is cost savings. Building a dartboard yourself allows you to utilize readily available materials, potentially repurposing items you already have. Secondly, it provides a creative outlet. You can customize the board’s design and materials to match your personal preferences and style. Finally, the satisfaction of using something you built yourself is a rewarding experience.

Materials Required for Dart Board Construction
Before embarking on your dartboard construction journey, gather the necessary materials. The core of your dartboard needs to be made out of strong durable material, like tightly packed sisal fibers, tightly compressed paper, or balsa wood. Sisal provides the most traditional and durable surface, but also tends to be the most expensive.
- Backing Material: A sturdy piece of wood (plywood or MDF) to provide a solid base for the dartboard. A 24-inch square is usually sufficient.
- Target Material: Sisal fibers, tightly compressed paper or balsa wood.
- Metal Wire: For creating the segments and bullseye. Steel wire is recommended for durability.
- Metal Numbers: To indicate the scoring segments. These can be purchased or crafted yourself.
- Fasteners: Nails, screws, or staples to secure the target material to the backing board.
- Glue: Strong adhesive to bind the sisal fibers or compressed paper together.
- Paint: To color the scoring segments.
- Measuring Tools: Ruler, compass, and protractor for accurate measurements.
- Cutting Tools: Saw, knife, or scissors for cutting the materials.
- Safety Gear: Gloves and eye protection to protect yourself during the construction process.
Step-by-Step Guide: Dart Board How To Make
Now, let’s delve into the step-by-step instructions for constructing your own dartboard.
Step 1: Preparing the Backing Board
Begin by preparing the backing board. Ensure it is clean and free of any splinters or imperfections. If necessary, sand the surface to create a smooth finish. You may want to paint the backing board a dark color, as any gaps in the sisal or paper will be less noticeable.
Step 2: Creating the Target Surface
This is the most crucial step. If using sisal fibers, tightly pack them into a circular mold. Ensure they are compressed evenly to create a consistent density throughout the target area. If using tightly compressed paper, cut the paper into strips and tightly roll them into a circular mold. If using balsa wood, cut the balsa into thin sheets and glue them together.
Step 3: Securing the Target Material
Once the target surface is formed, carefully secure it to the backing board. Use strong adhesive to bind the target material to the backing. Ensure the entire surface is firmly attached. Use fasteners (nails, screws, or staples) around the perimeter to provide additional support.

Step 4: Adding the Wire Segments
Using the metal wire, create the segments of the dartboard. This requires precise measurements to ensure accurate scoring. Use a compass and protractor to mark the segment boundaries. Bend the wire to match the segment shapes and securely attach them to the target surface using small nails or staples. The bullseye also requires careful construction and placement in the center of the board.
Step 5: Installing the Metal Numbers
Attach the metal numbers to the corresponding segments. Ensure they are securely fastened and easily visible. The numbers should be positioned slightly above the wire segments. Proper placement of the numbers is critical for easy scoring. You can also use target darts flight punch.
Step 6: Painting and Finishing
Paint the scoring segments according to the standard dartboard color scheme. Typically, the segments are painted black, white, red, and green. Use high-quality paint that is durable and resistant to wear and tear. Allow the paint to dry completely before using the dartboard.
Alternative Materials and Techniques
While sisal fibers are the preferred material for professional dartboards, you can explore alternative materials and techniques to create a more budget-friendly version. Consider using cork, dense foam, or even recycled materials. Experiment with different adhesives and fastening methods to find what works best for you. Building a dartboard is a learning process, so don’t be afraid to try new things.
You can also learn more about the sport and the equipment, and what else is used in it. For example you can read about us darts supply.
Tips for Maintaining Your DIY Dart Board
To extend the lifespan of your DIY dartboard, consider the following maintenance tips:
- Rotate the Board: Regularly rotate the dartboard to distribute wear and tear evenly across the surface.
- Remove Loose Fibers: Periodically remove any loose fibers or debris from the target area.
- Avoid Moisture: Keep the dartboard dry to prevent warping or damage.
- Use Sharp Darts: Sharp darts will penetrate the target surface more cleanly and reduce wear and tear.
Improving Your Dart Game
Once you have built your own dartboard, it’s time to improve your dart game. Here are some tips to help you enhance your skills:
- Practice Regularly: Consistent practice is key to improving your accuracy and consistency.
- Develop a Consistent Throwing Technique: Find a comfortable stance and throwing motion and stick with it.
- Focus on Your Target: Concentrate on the specific segment you are aiming for.
- Experiment with Different Darts: Try different weights, shapes, and materials to find the darts that work best for you.
- Join a Dart League: Competing against other players can help you improve your skills and learn new strategies.
When throwing it’s important to know darts how to stand.
Mounting Your Dart Board Securely
Properly mounting your dartboard is crucial for safety and stability. Here’s how to do it:
- Choose a Suitable Location: Select a location with ample space around the dartboard.
- Use a Dartboard Surround: A surround will protect the wall from stray darts.
- Mount at the Correct Height: The center of the bullseye should be 5 feet 8 inches (1.73 meters) from the floor.
- Secure the Mounting Bracket: Use strong screws to attach the mounting bracket to the wall.
- Hang the Dartboard: Carefully hang the dartboard on the mounting bracket.
- Check for Stability: Ensure the dartboard is securely mounted and does not wobble.

Advanced Dart Board Construction Techniques
For those looking to take their dartboard construction skills to the next level, consider exploring these advanced techniques:
- Segment Dividers: Adding thin metal strips between the segments can enhance the board’s appearance and durability.
- Electronic Scoring: Incorporate electronic sensors and a digital display to automate scoring.
- Custom Designs: Experiment with different color schemes, patterns, and materials to create a unique dartboard.
Where to Find Dart Board Supplies
You can source dartboard supplies from various locations:
- Hardware Stores: For backing boards, fasteners, and other construction materials.
- Craft Stores: For sisal fibers, paint, and decorative elements.
- Online Retailers: For specialized dartboard components, such as metal wires and numbers.
- Recycling Centers: For repurposing materials and saving money.
You can even find information about players like stephen bunting darts stats.
Troubleshooting Common Dart Board Problems
Even with careful construction, you may encounter some common dartboard problems. Here’s how to troubleshoot them:
- Darts Falling Out: Use sharper darts or roughen the target surface slightly.
- Wobbly Board: Tighten the mounting screws or add shims behind the mounting bracket.
- Uneven Wear: Rotate the board more frequently.
- Damaged Segments: Replace the damaged segments or repair them with adhesive.

Conclusion
Building your own dartboard is a rewarding project that combines creativity, craftsmanship, and a love for the game of darts. By following the steps outlined in this article, you can create a custom dartboard that meets your specific needs and preferences. Remember to prioritize safety, accuracy, and durability throughout the construction process. And remember, there’s always a darts double out meaning. Now that you know dart board how to make, grab your tools, gather your materials, and get ready to enjoy countless hours of dart-throwing fun on your very own DIY dartboard! Download a Free dart score app today and start tracking your progress!
Hi, I’m Dieter, and I created Dartcounter (Dartcounterapp.com). My motivation wasn’t being a darts expert – quite the opposite! When I first started playing, I loved the game but found keeping accurate scores and tracking stats difficult and distracting.
I figured I couldn’t be the only one struggling with this. So, I decided to build a solution: an easy-to-use application that everyone, no matter their experience level, could use to manage scoring effortlessly.
My goal for Dartcounter was simple: let the app handle the numbers – the scoring, the averages, the stats, even checkout suggestions – so players could focus purely on their throw and enjoying the game. It began as a way to solve my own beginner’s problem, and I’m thrilled it has grown into a helpful tool for the wider darts community.